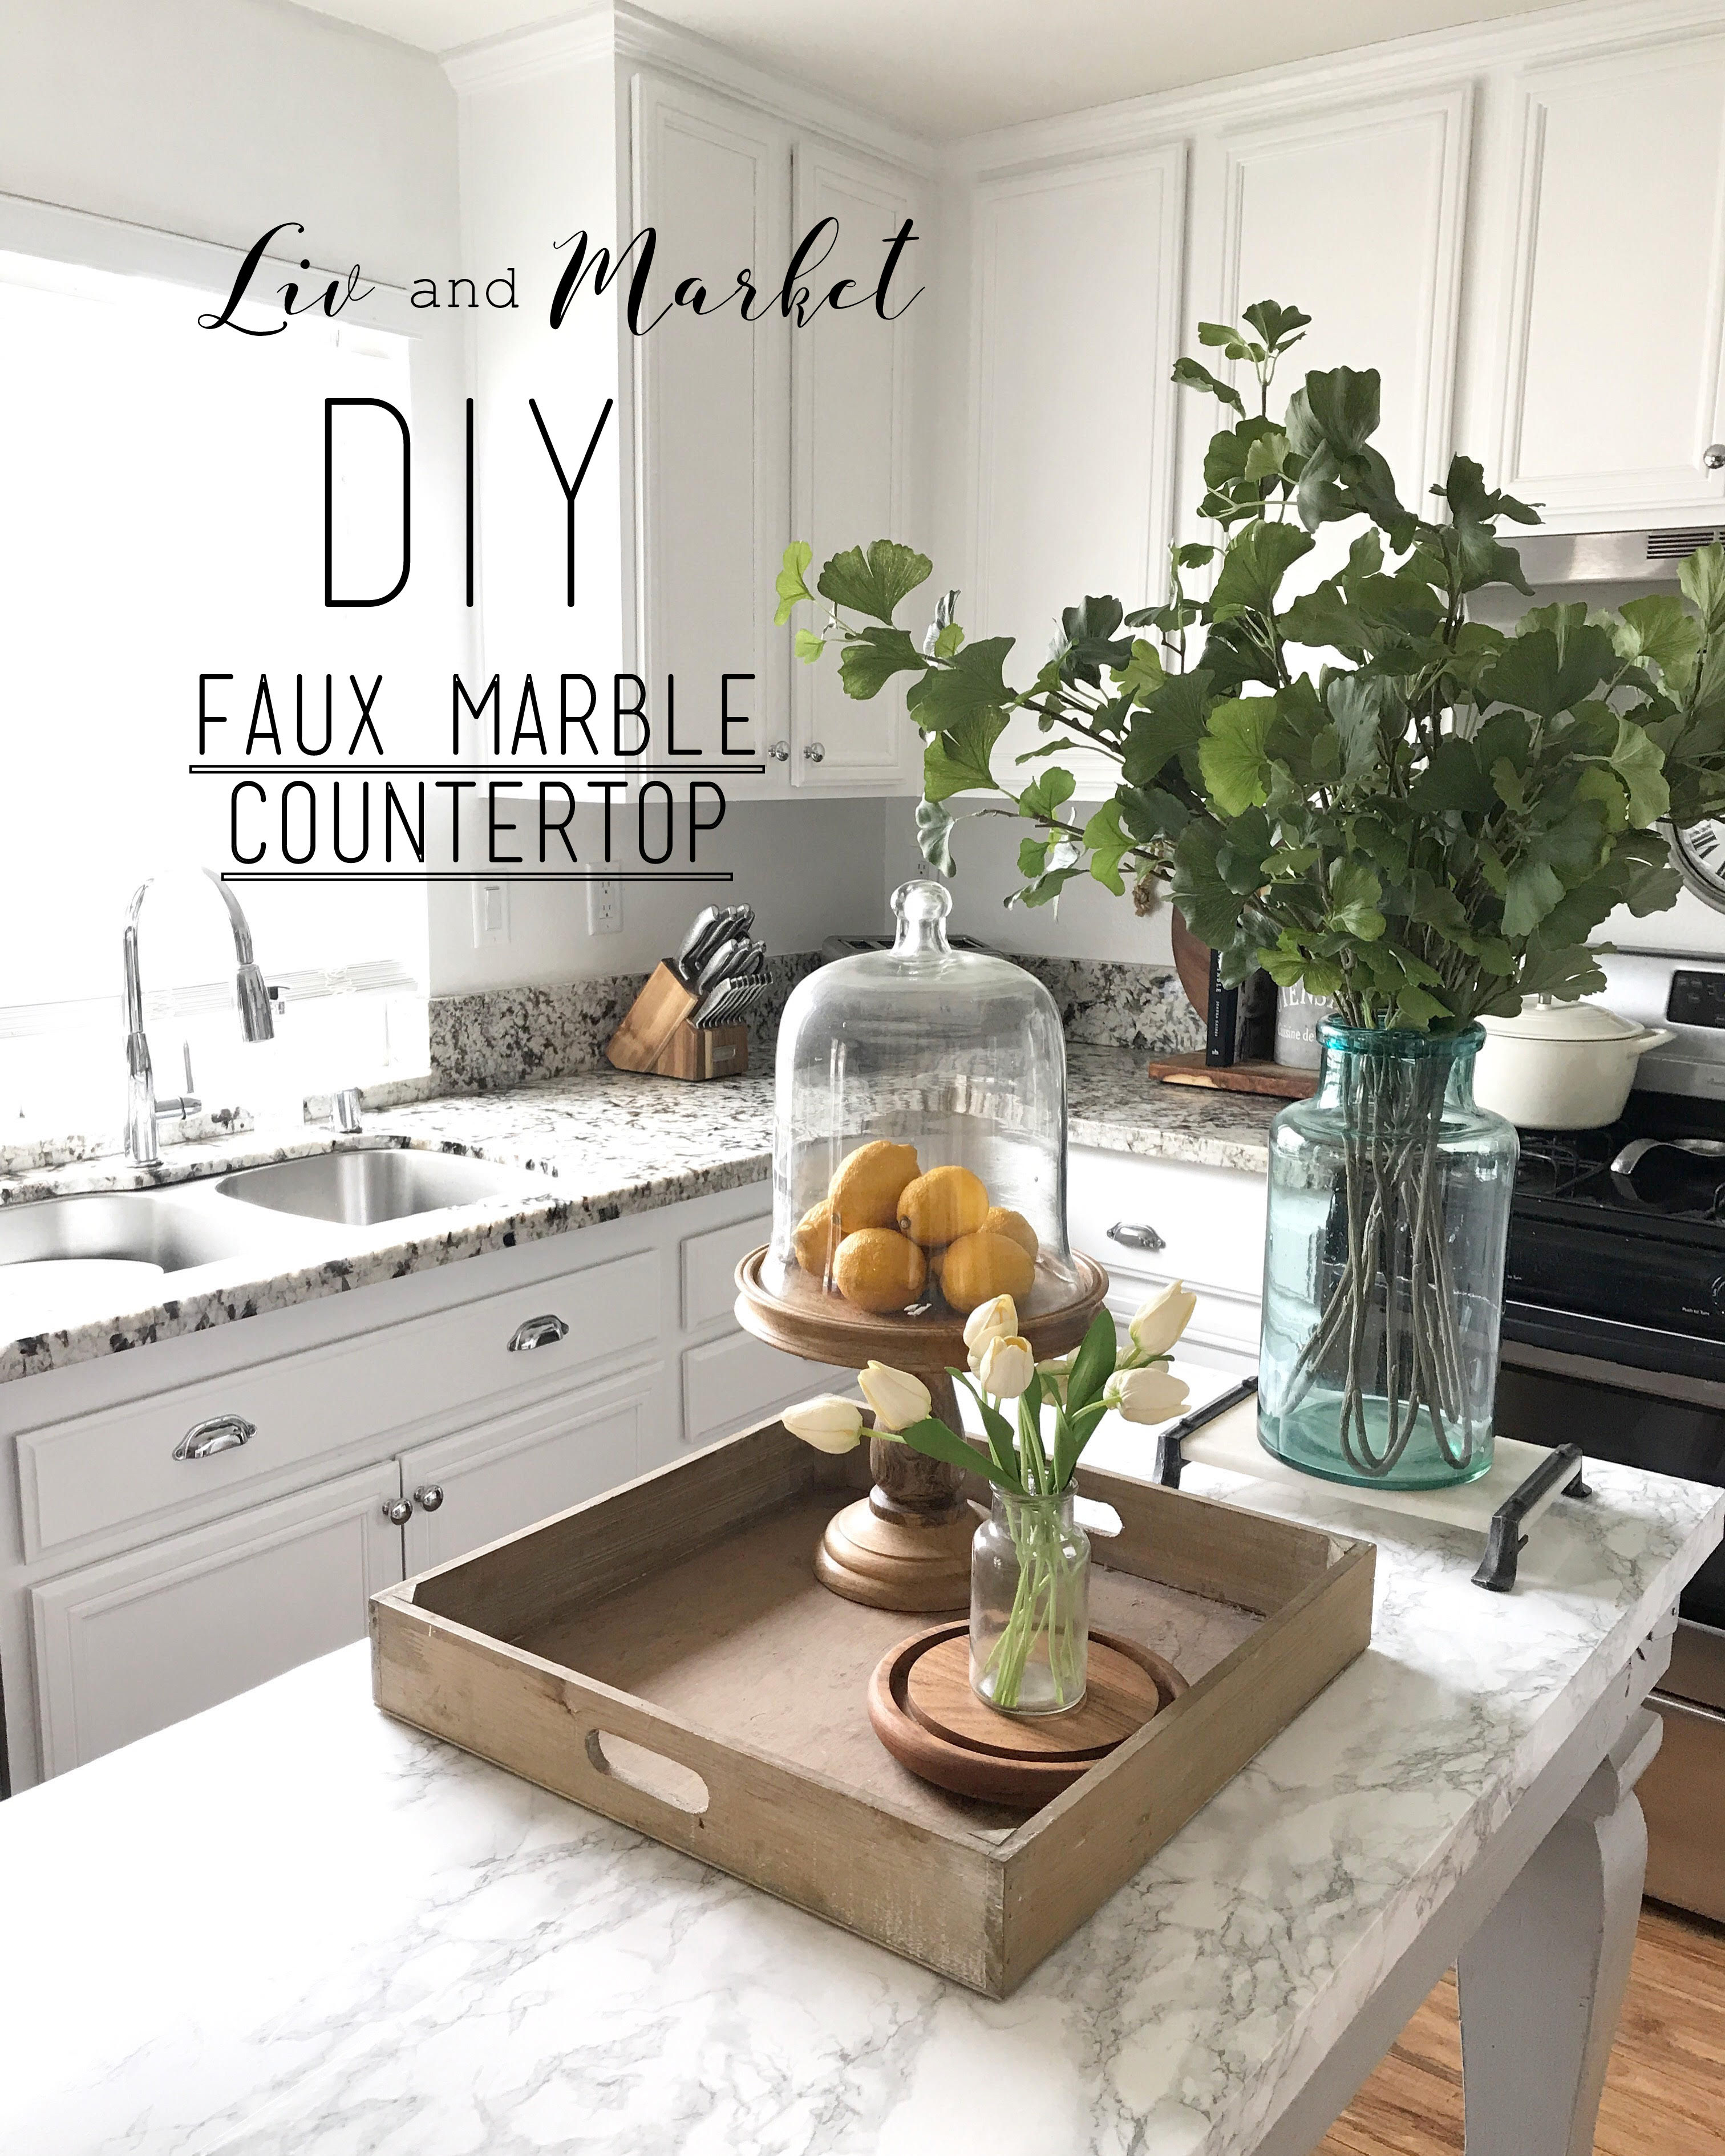
Featured

No Spend January

Hello FRIENDS!

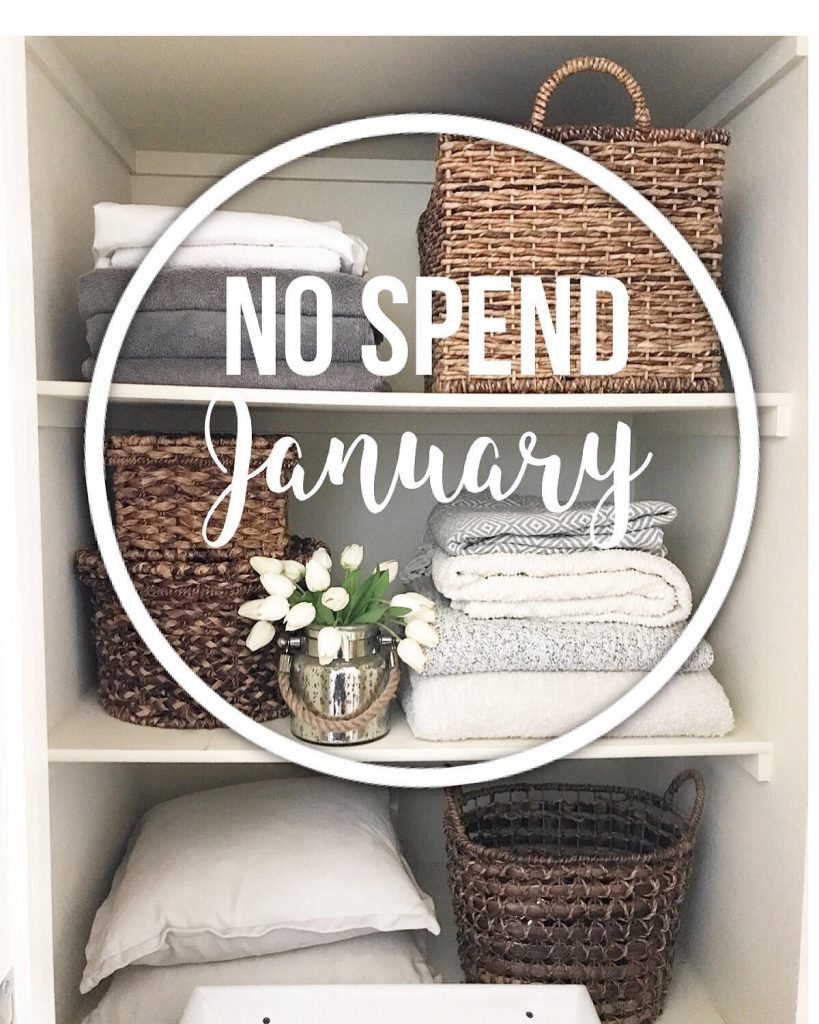
Well we are nearly at the end of January and I wanted to take the time to finally sit down to write this post before anymore days passed us by. The purpose behind this post is to share a little bit more information about the challenge I gave myself (Mel speaking) for “No Spend January.” Some of you wrote me and were curious as to what it all entailed, so I wanted to clear up a few things and update you on my progress.

Does No Spend January mean you can’t buy ANYTHING all month…what about food, gas…your bills?! Let me just start off by clarifying what this challenge represents and the “rules” I put in place for myself.

  1. Yes, you can still buy groceries and pay your bills. I don’t recommend not paying those, especially your rent or mortgage.    (Wishful thinking, we could do some things aka house projects with that extra money!! )

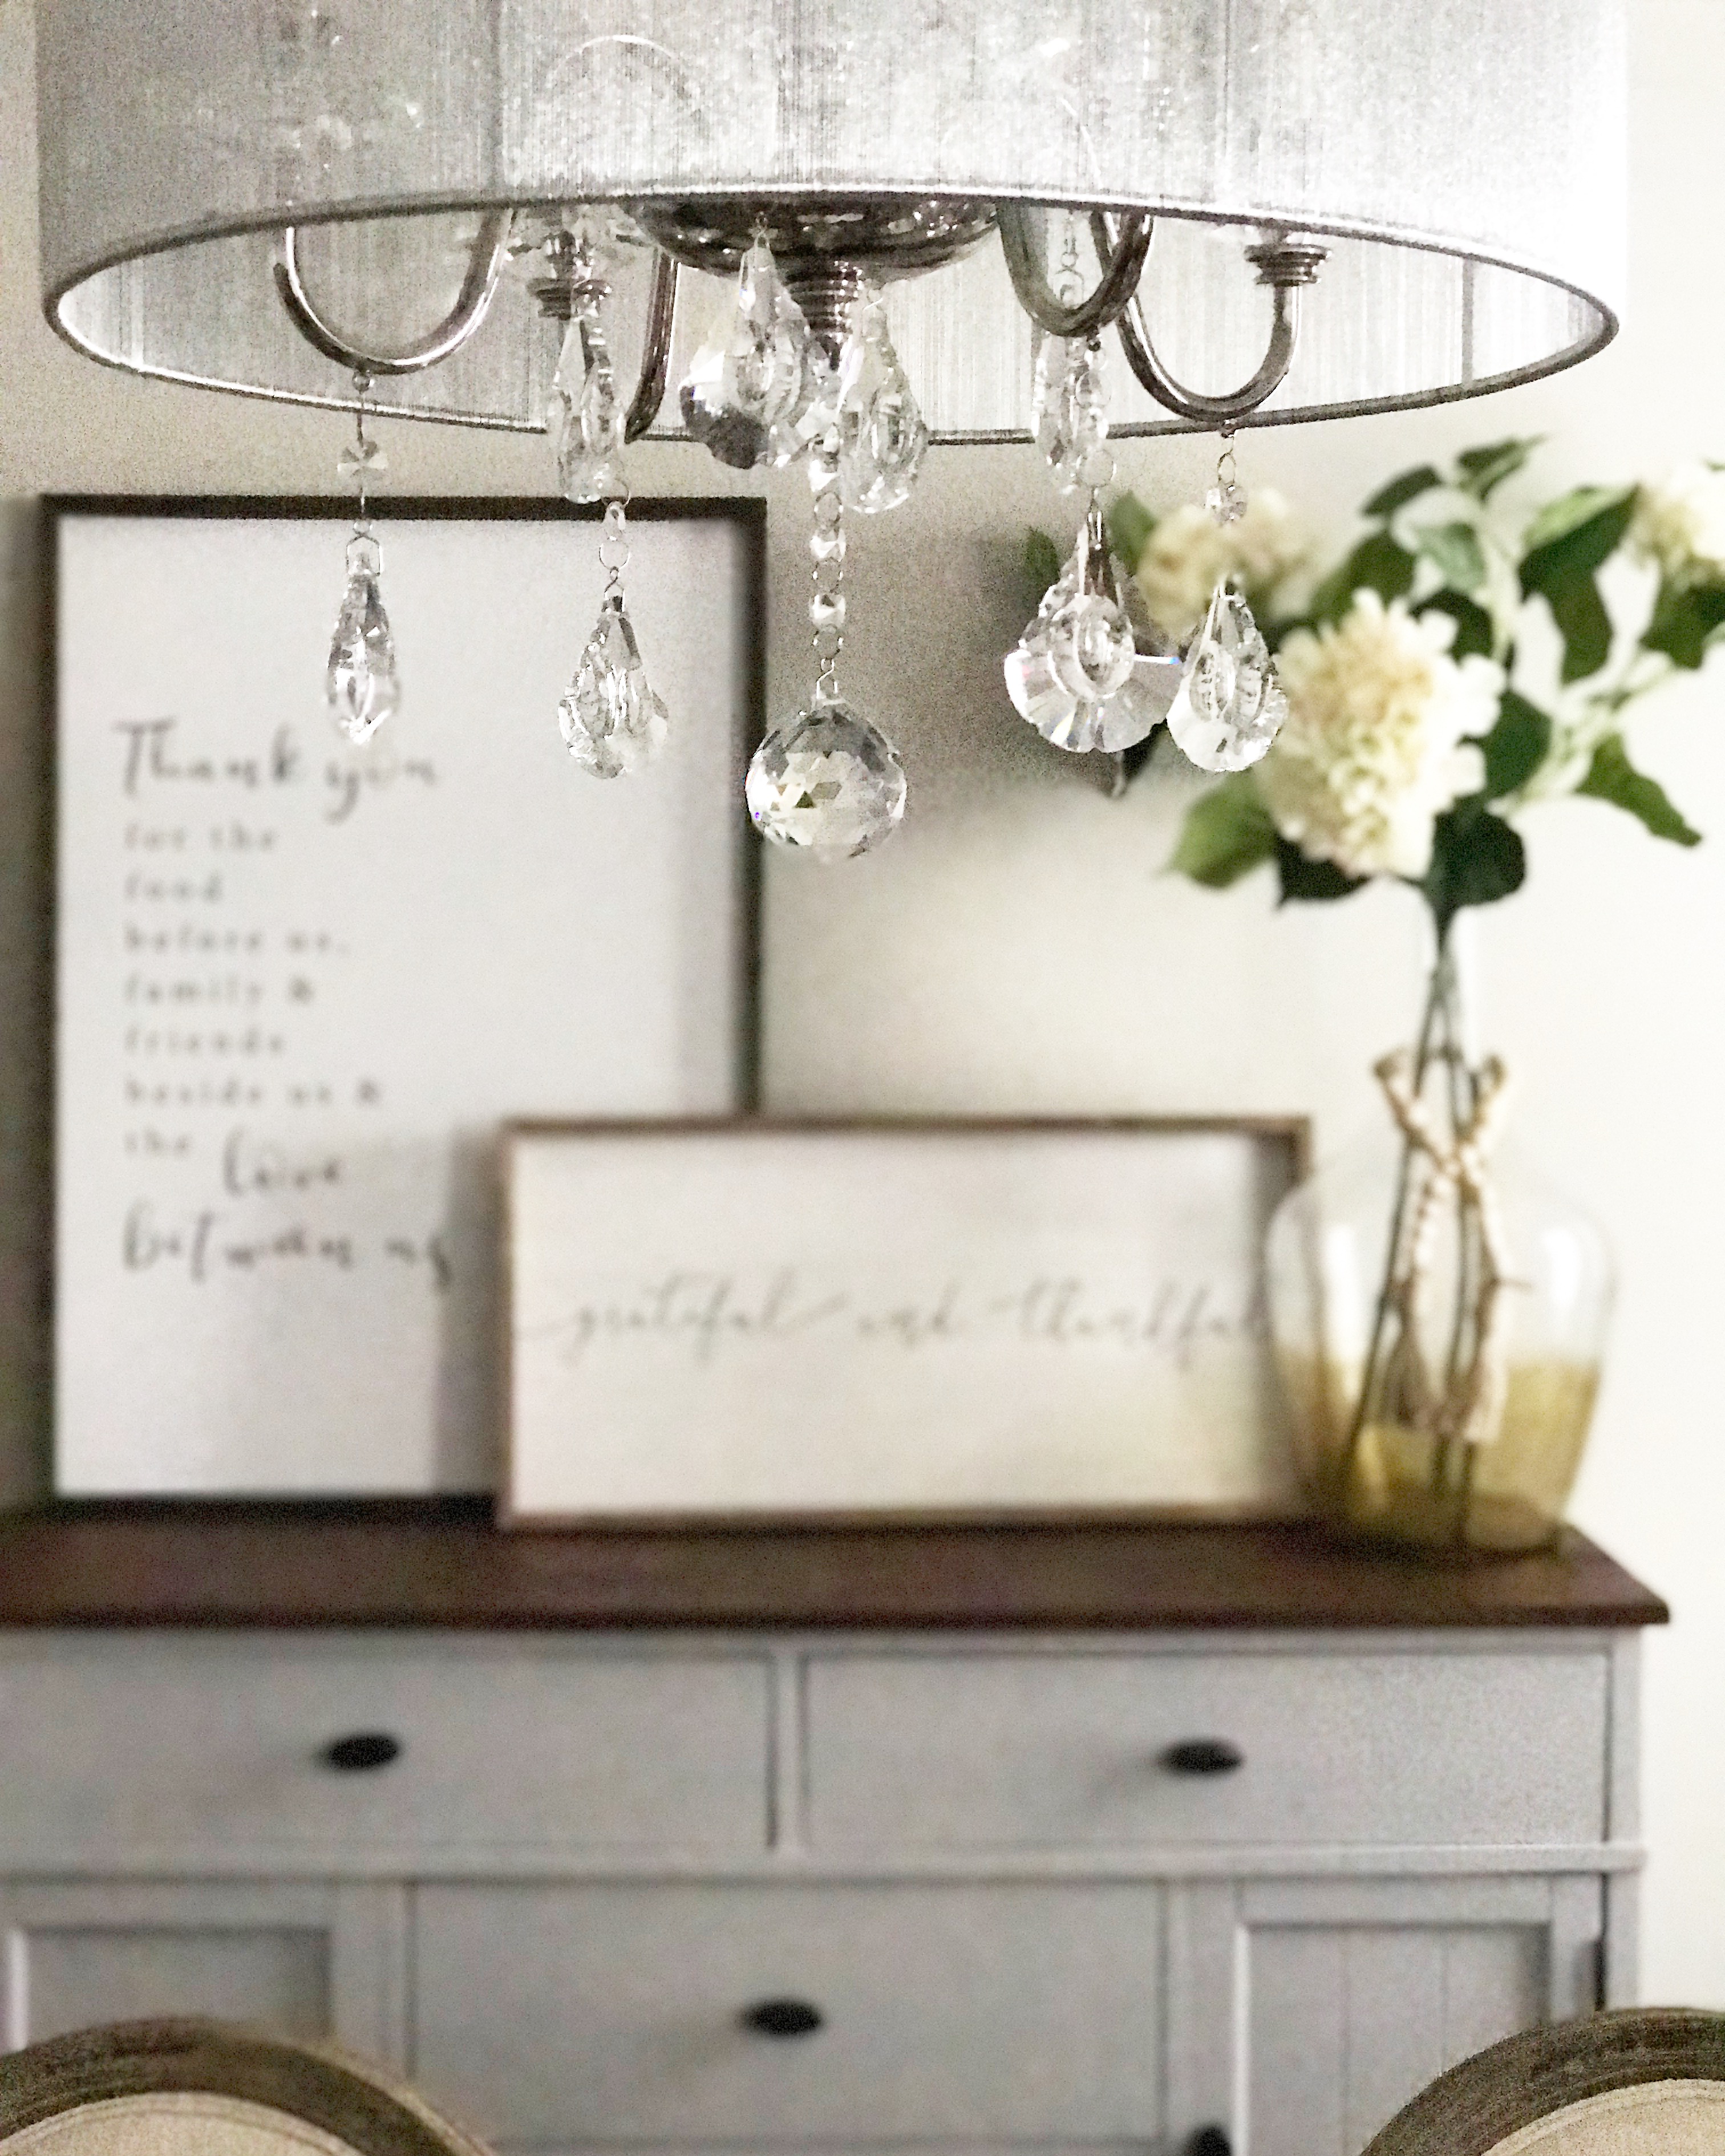
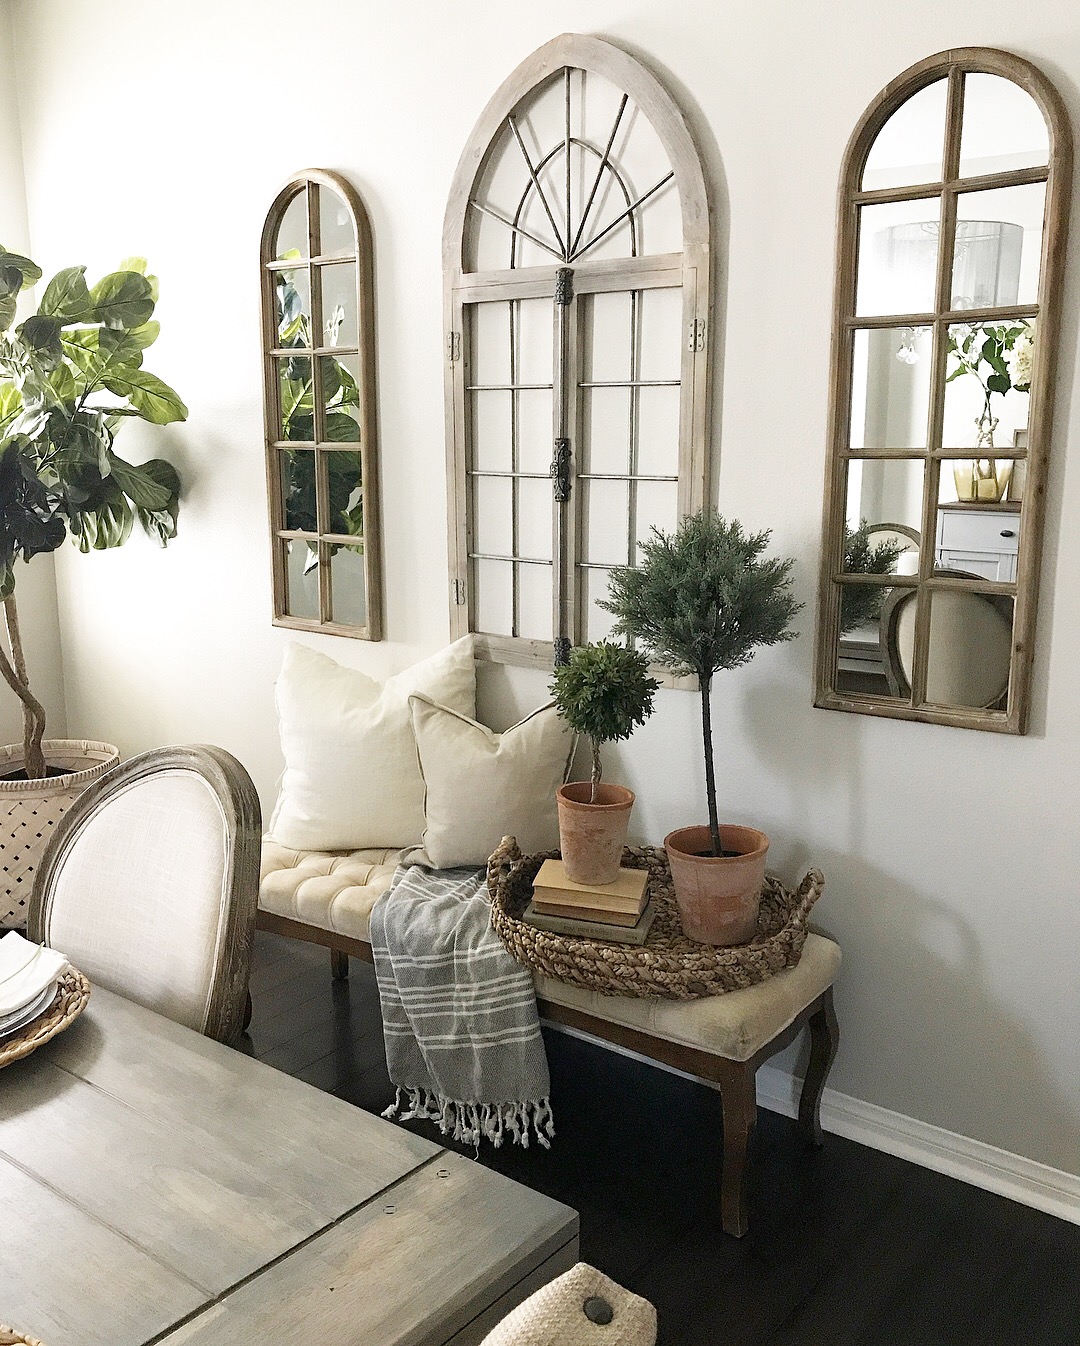
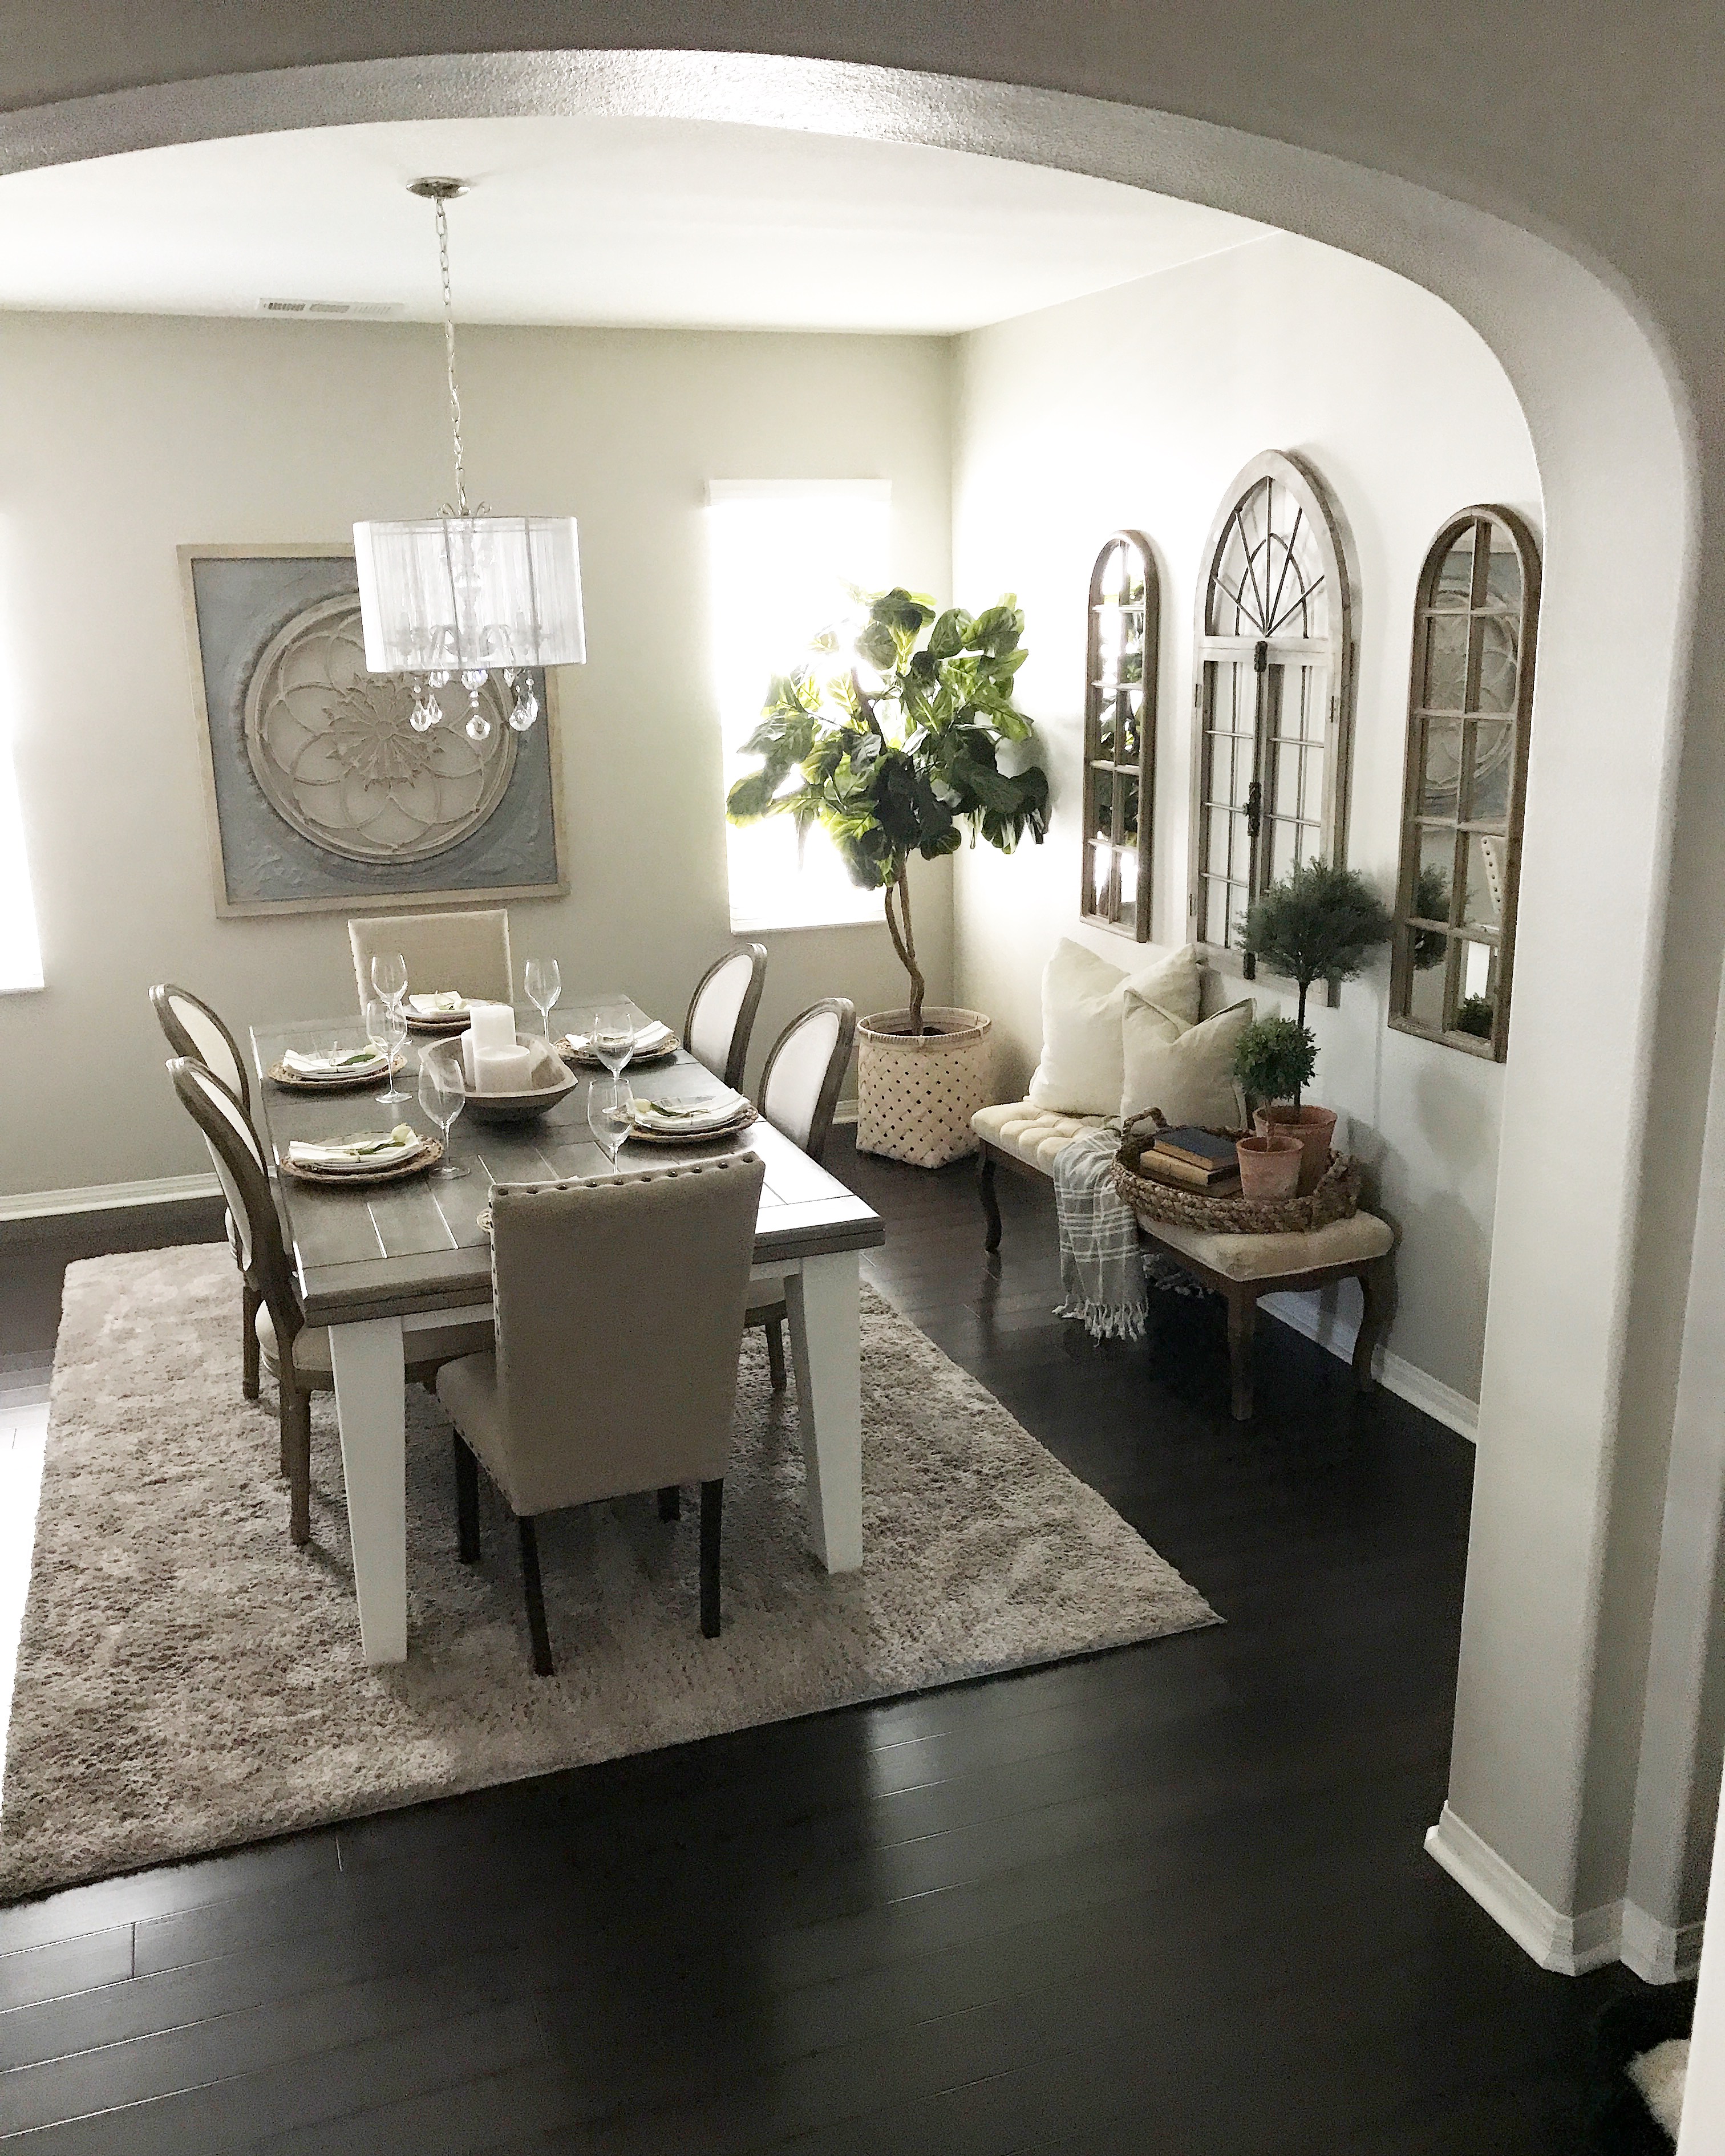
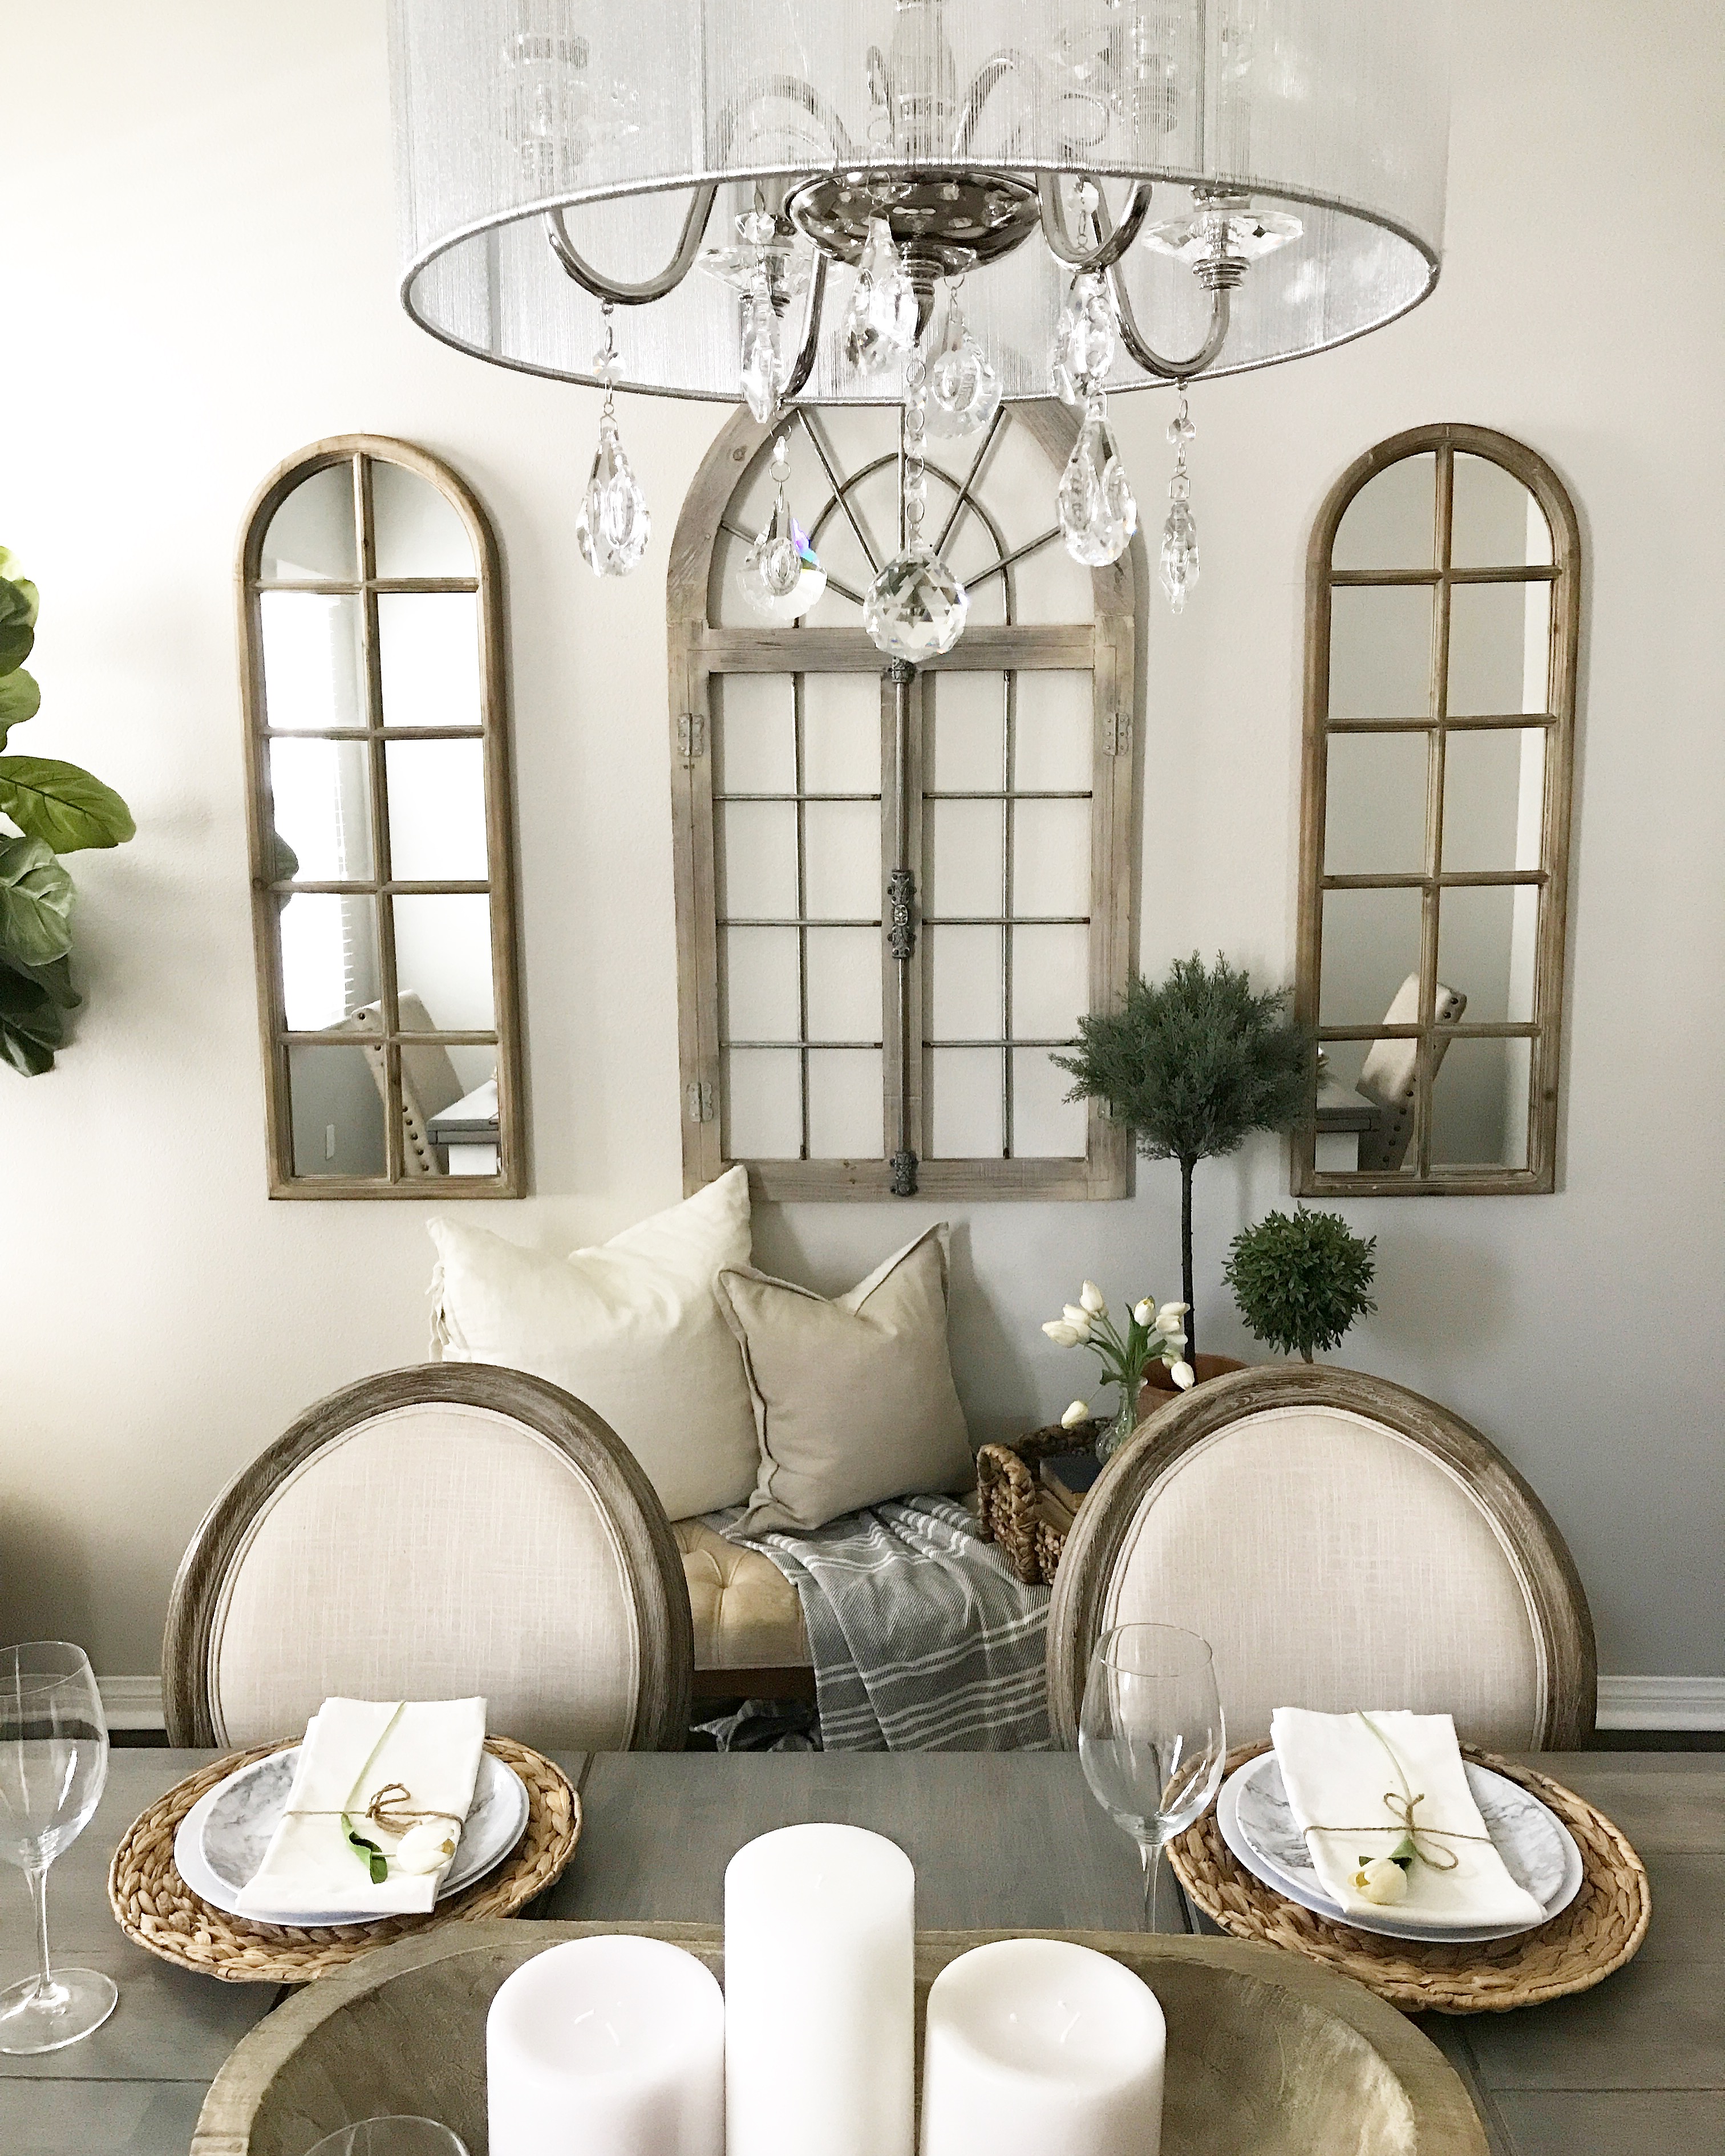
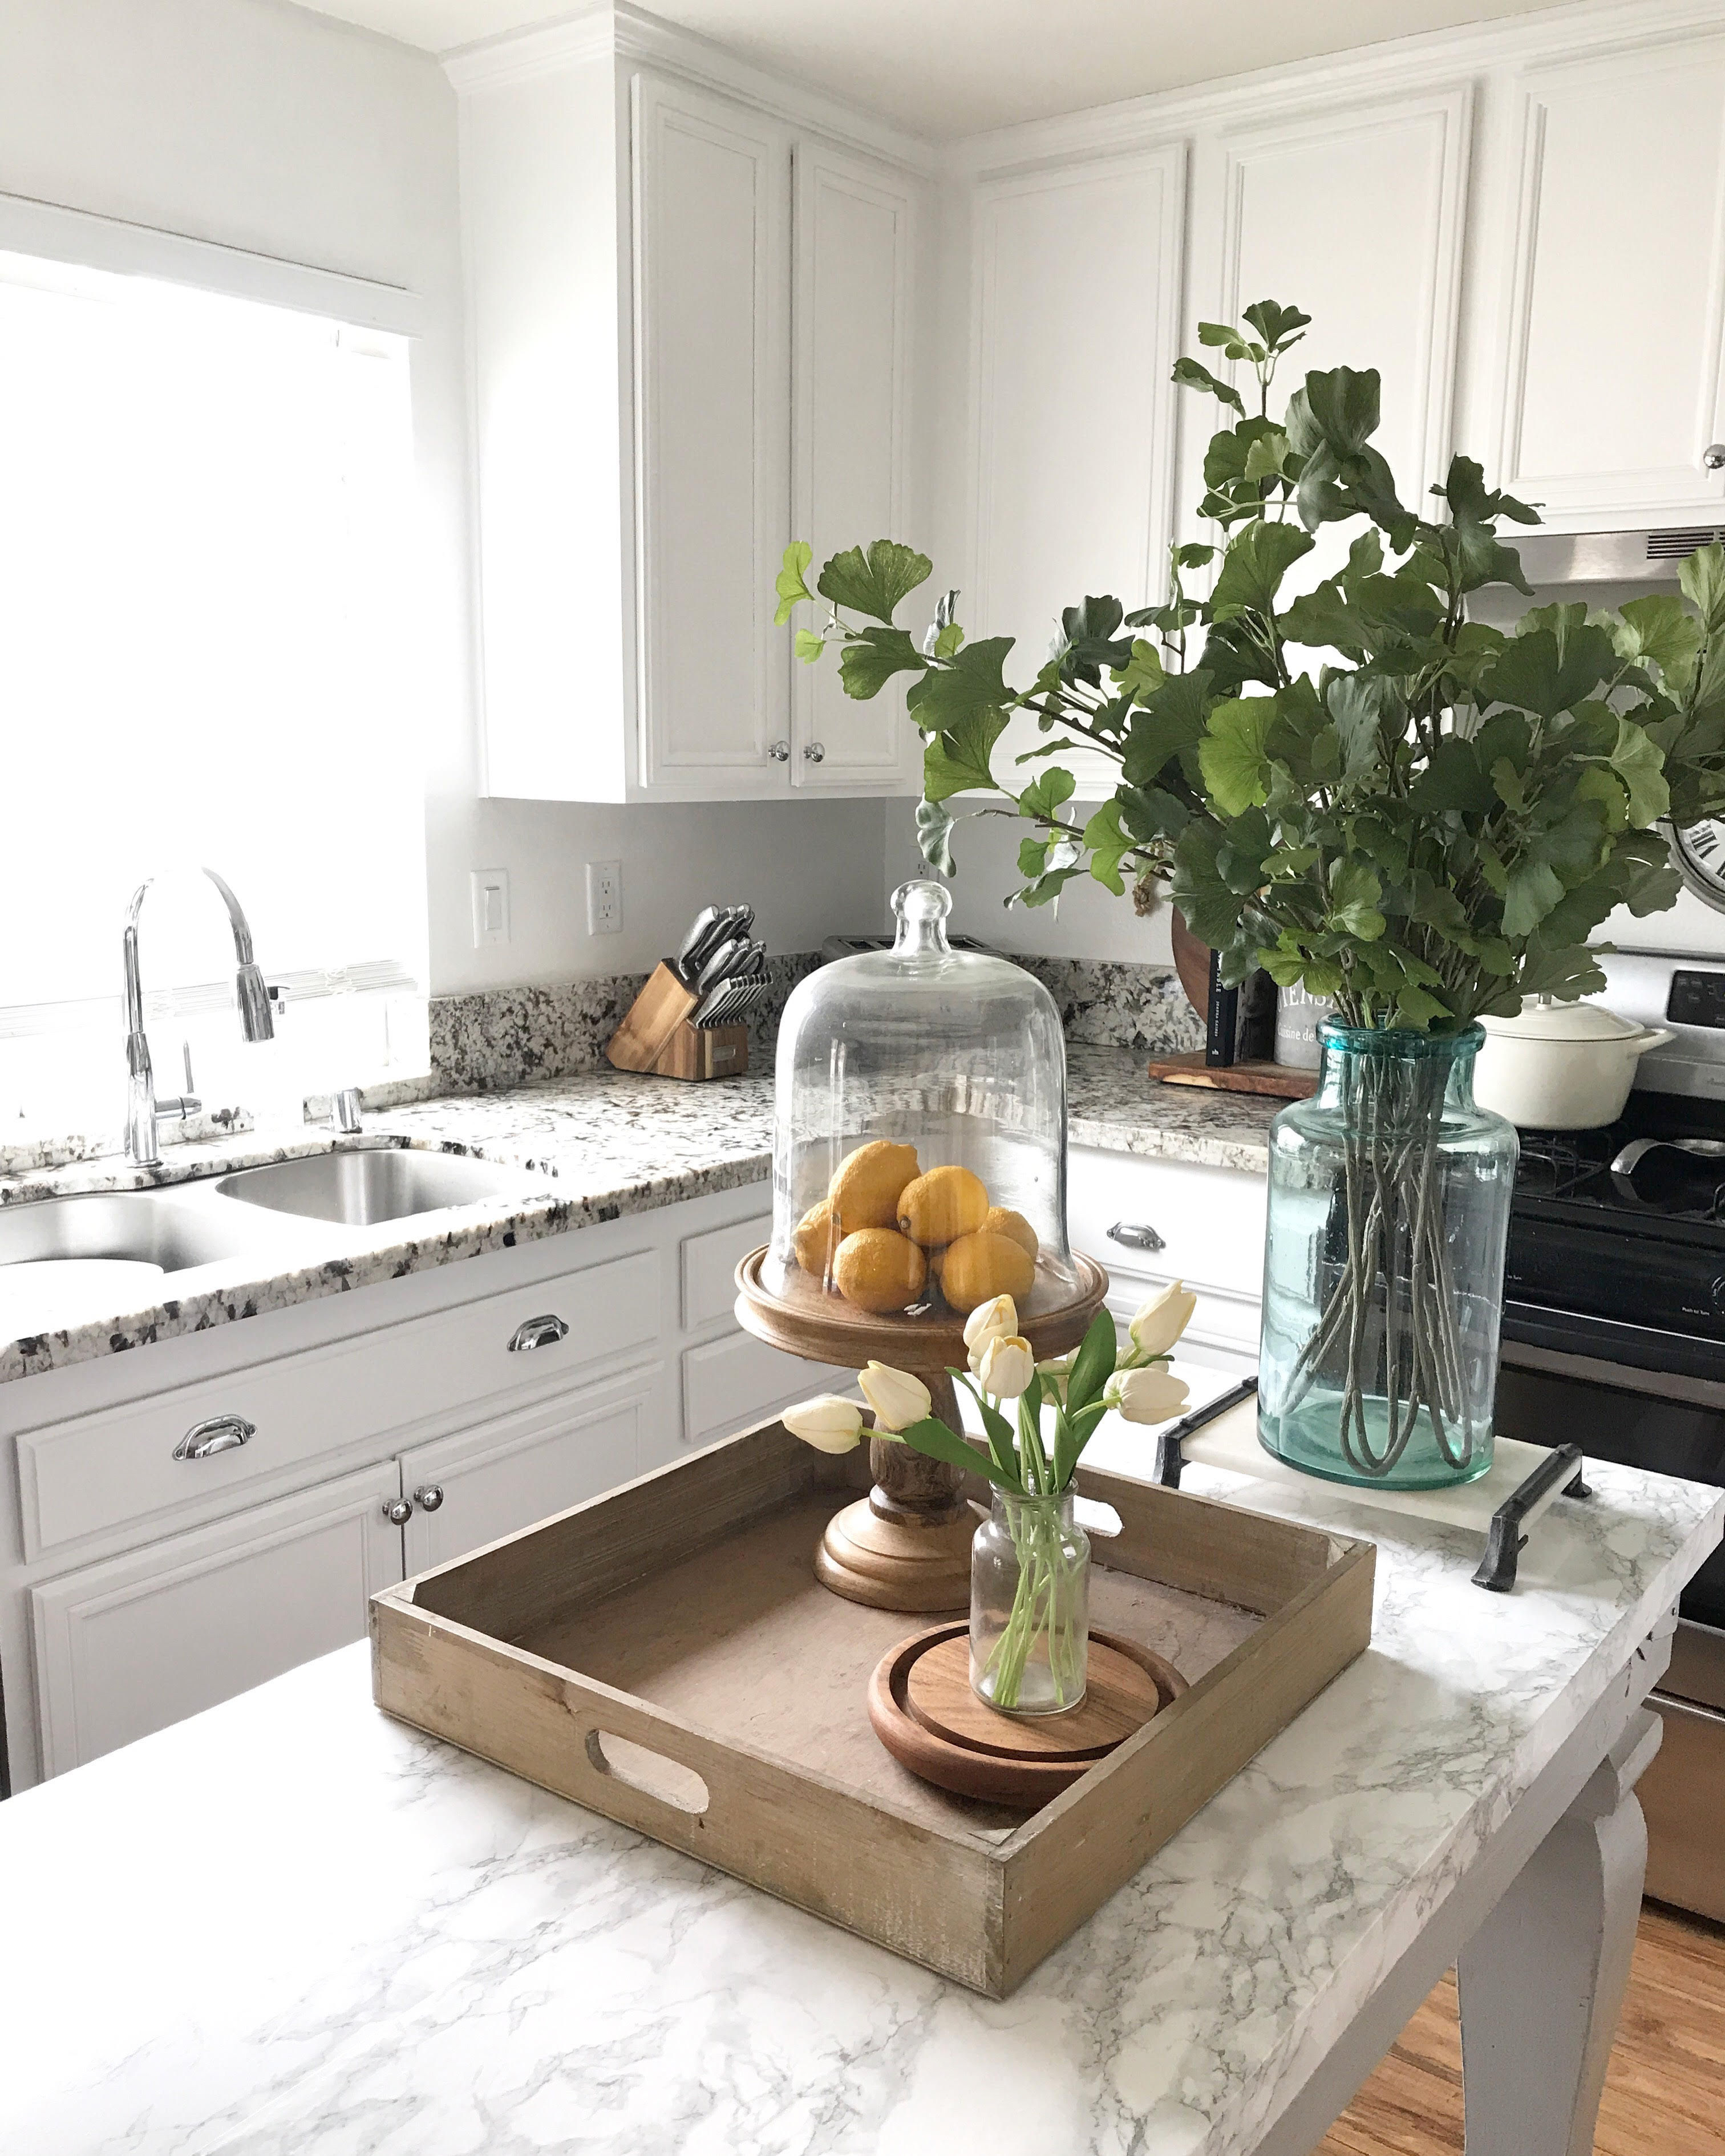
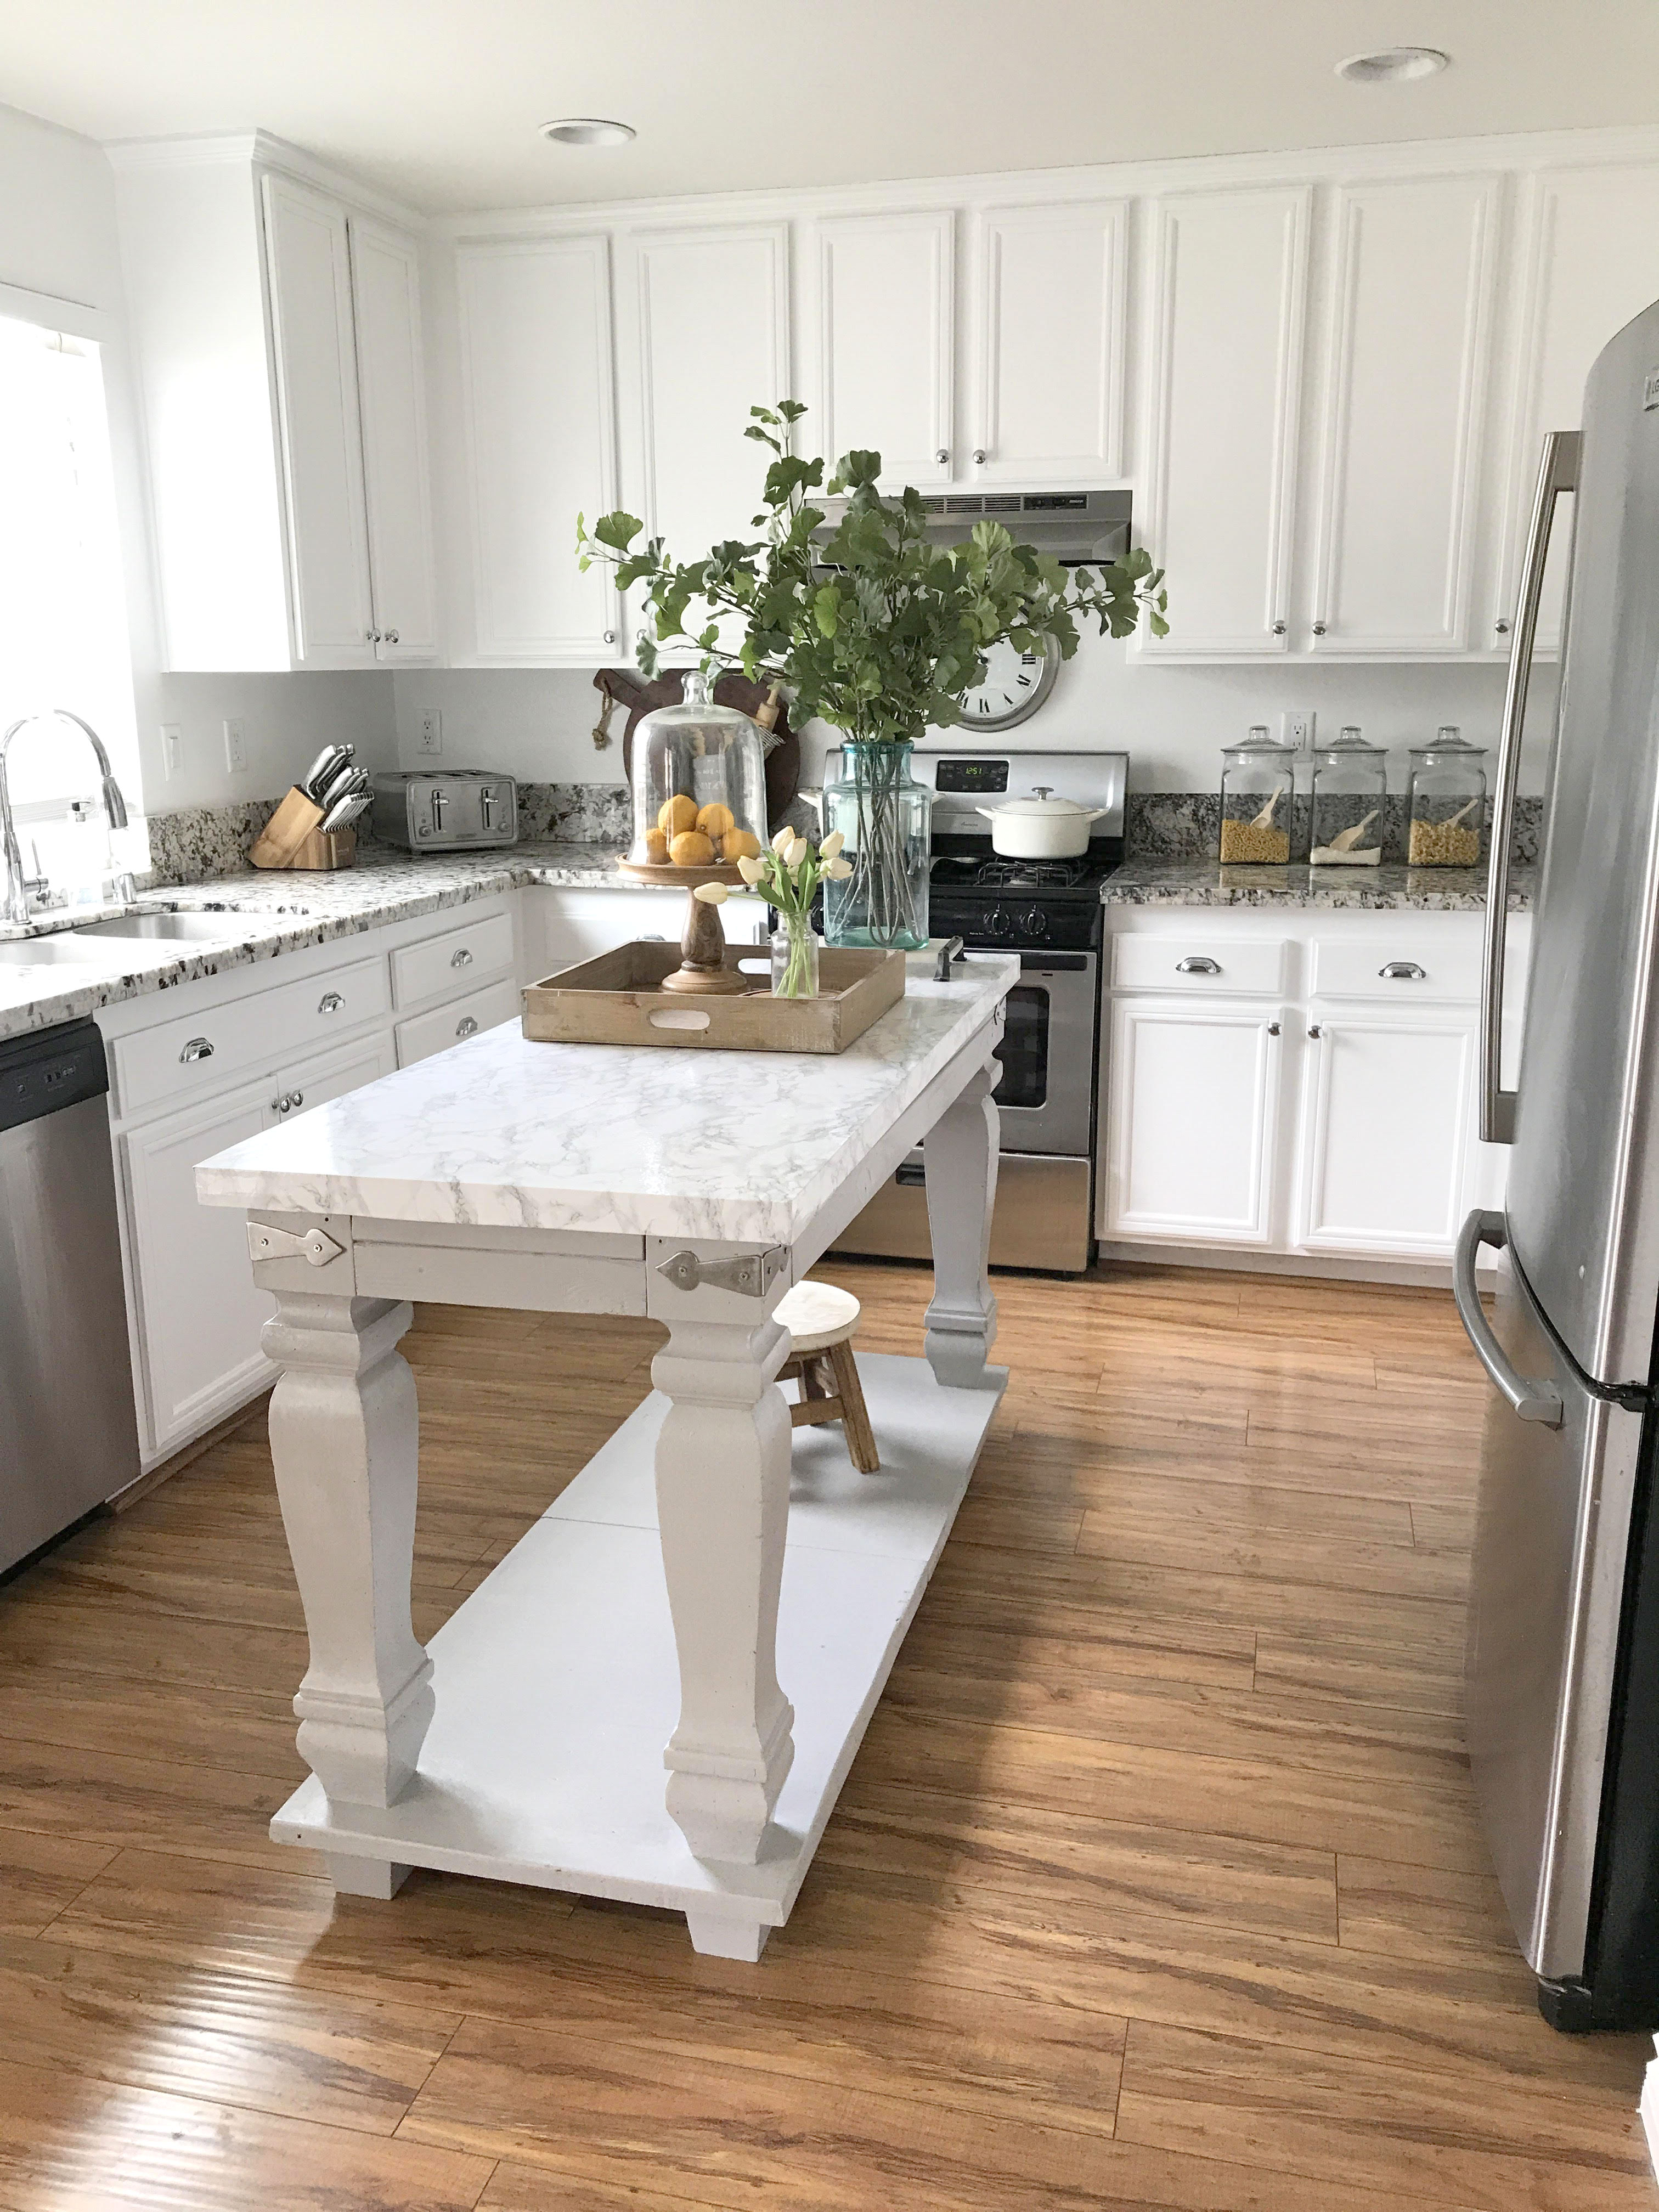
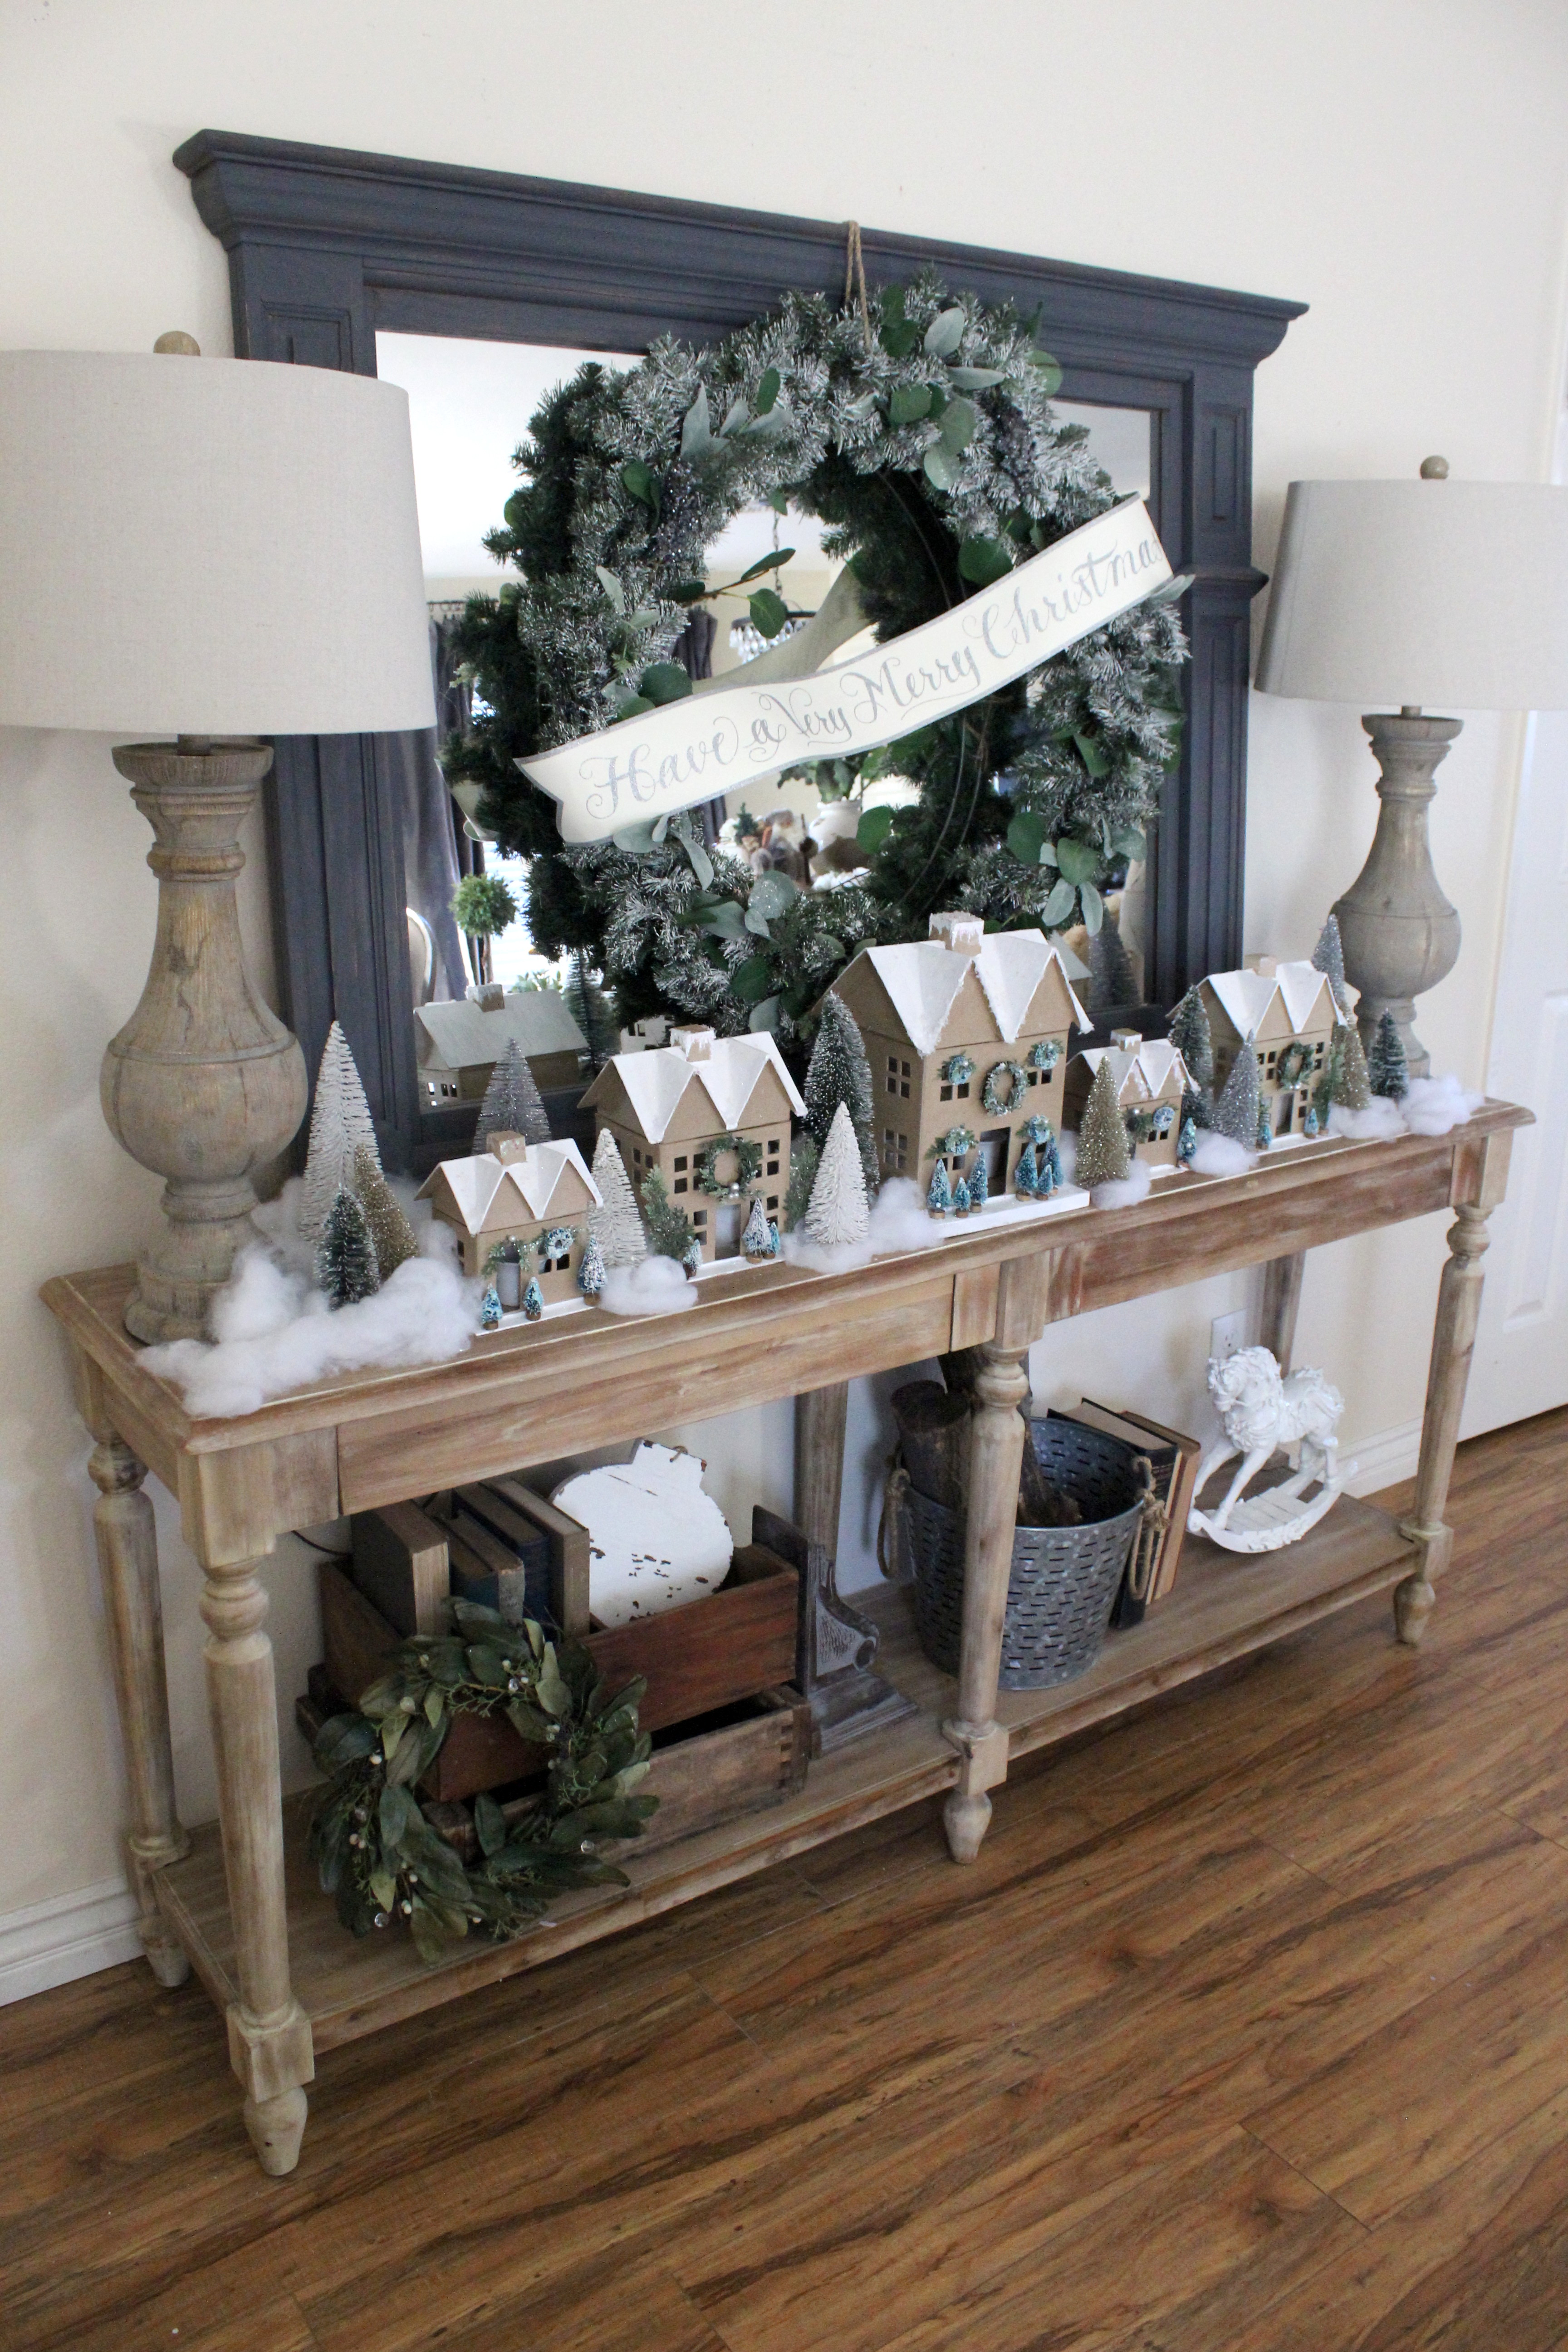
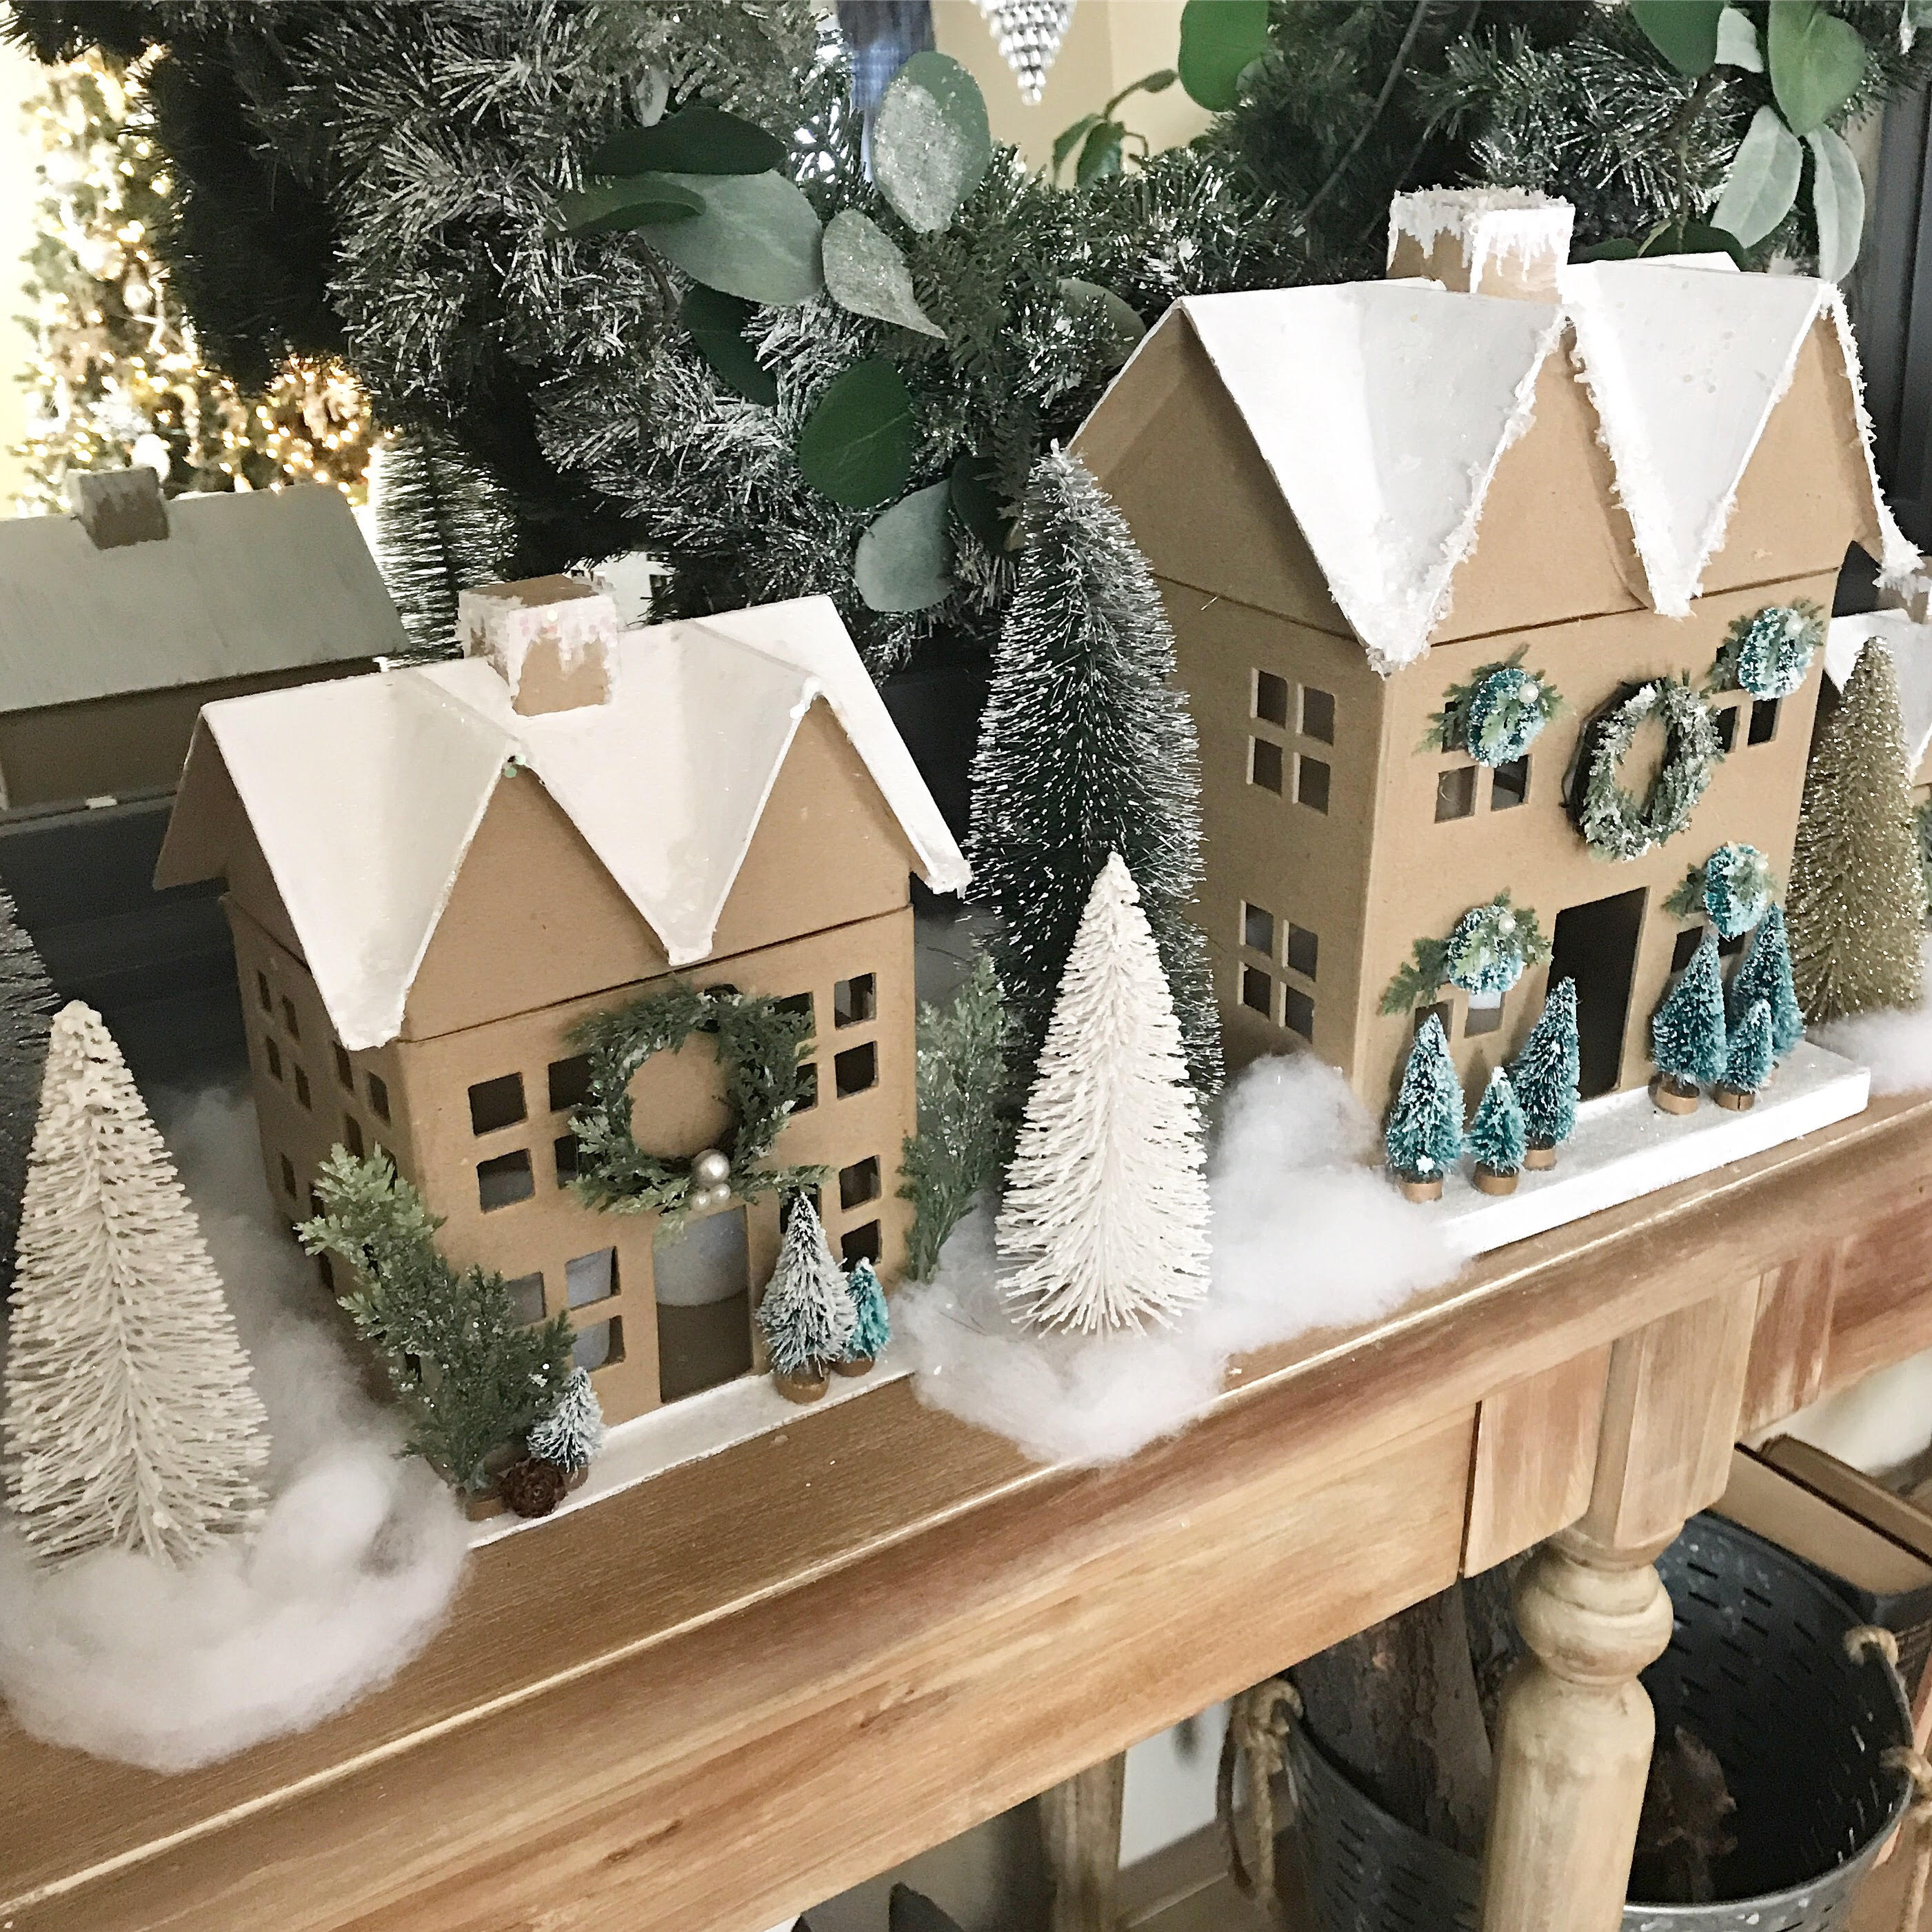
No spend January (or insert whichever month you choose to challenge yourself) is a way to not spend on unnecessary “wants”. For me, this is almost always stuff for our home, whether it be home decor or furniture. I decided that January would be the perfect month to do this and a great way to start off to the new year. 

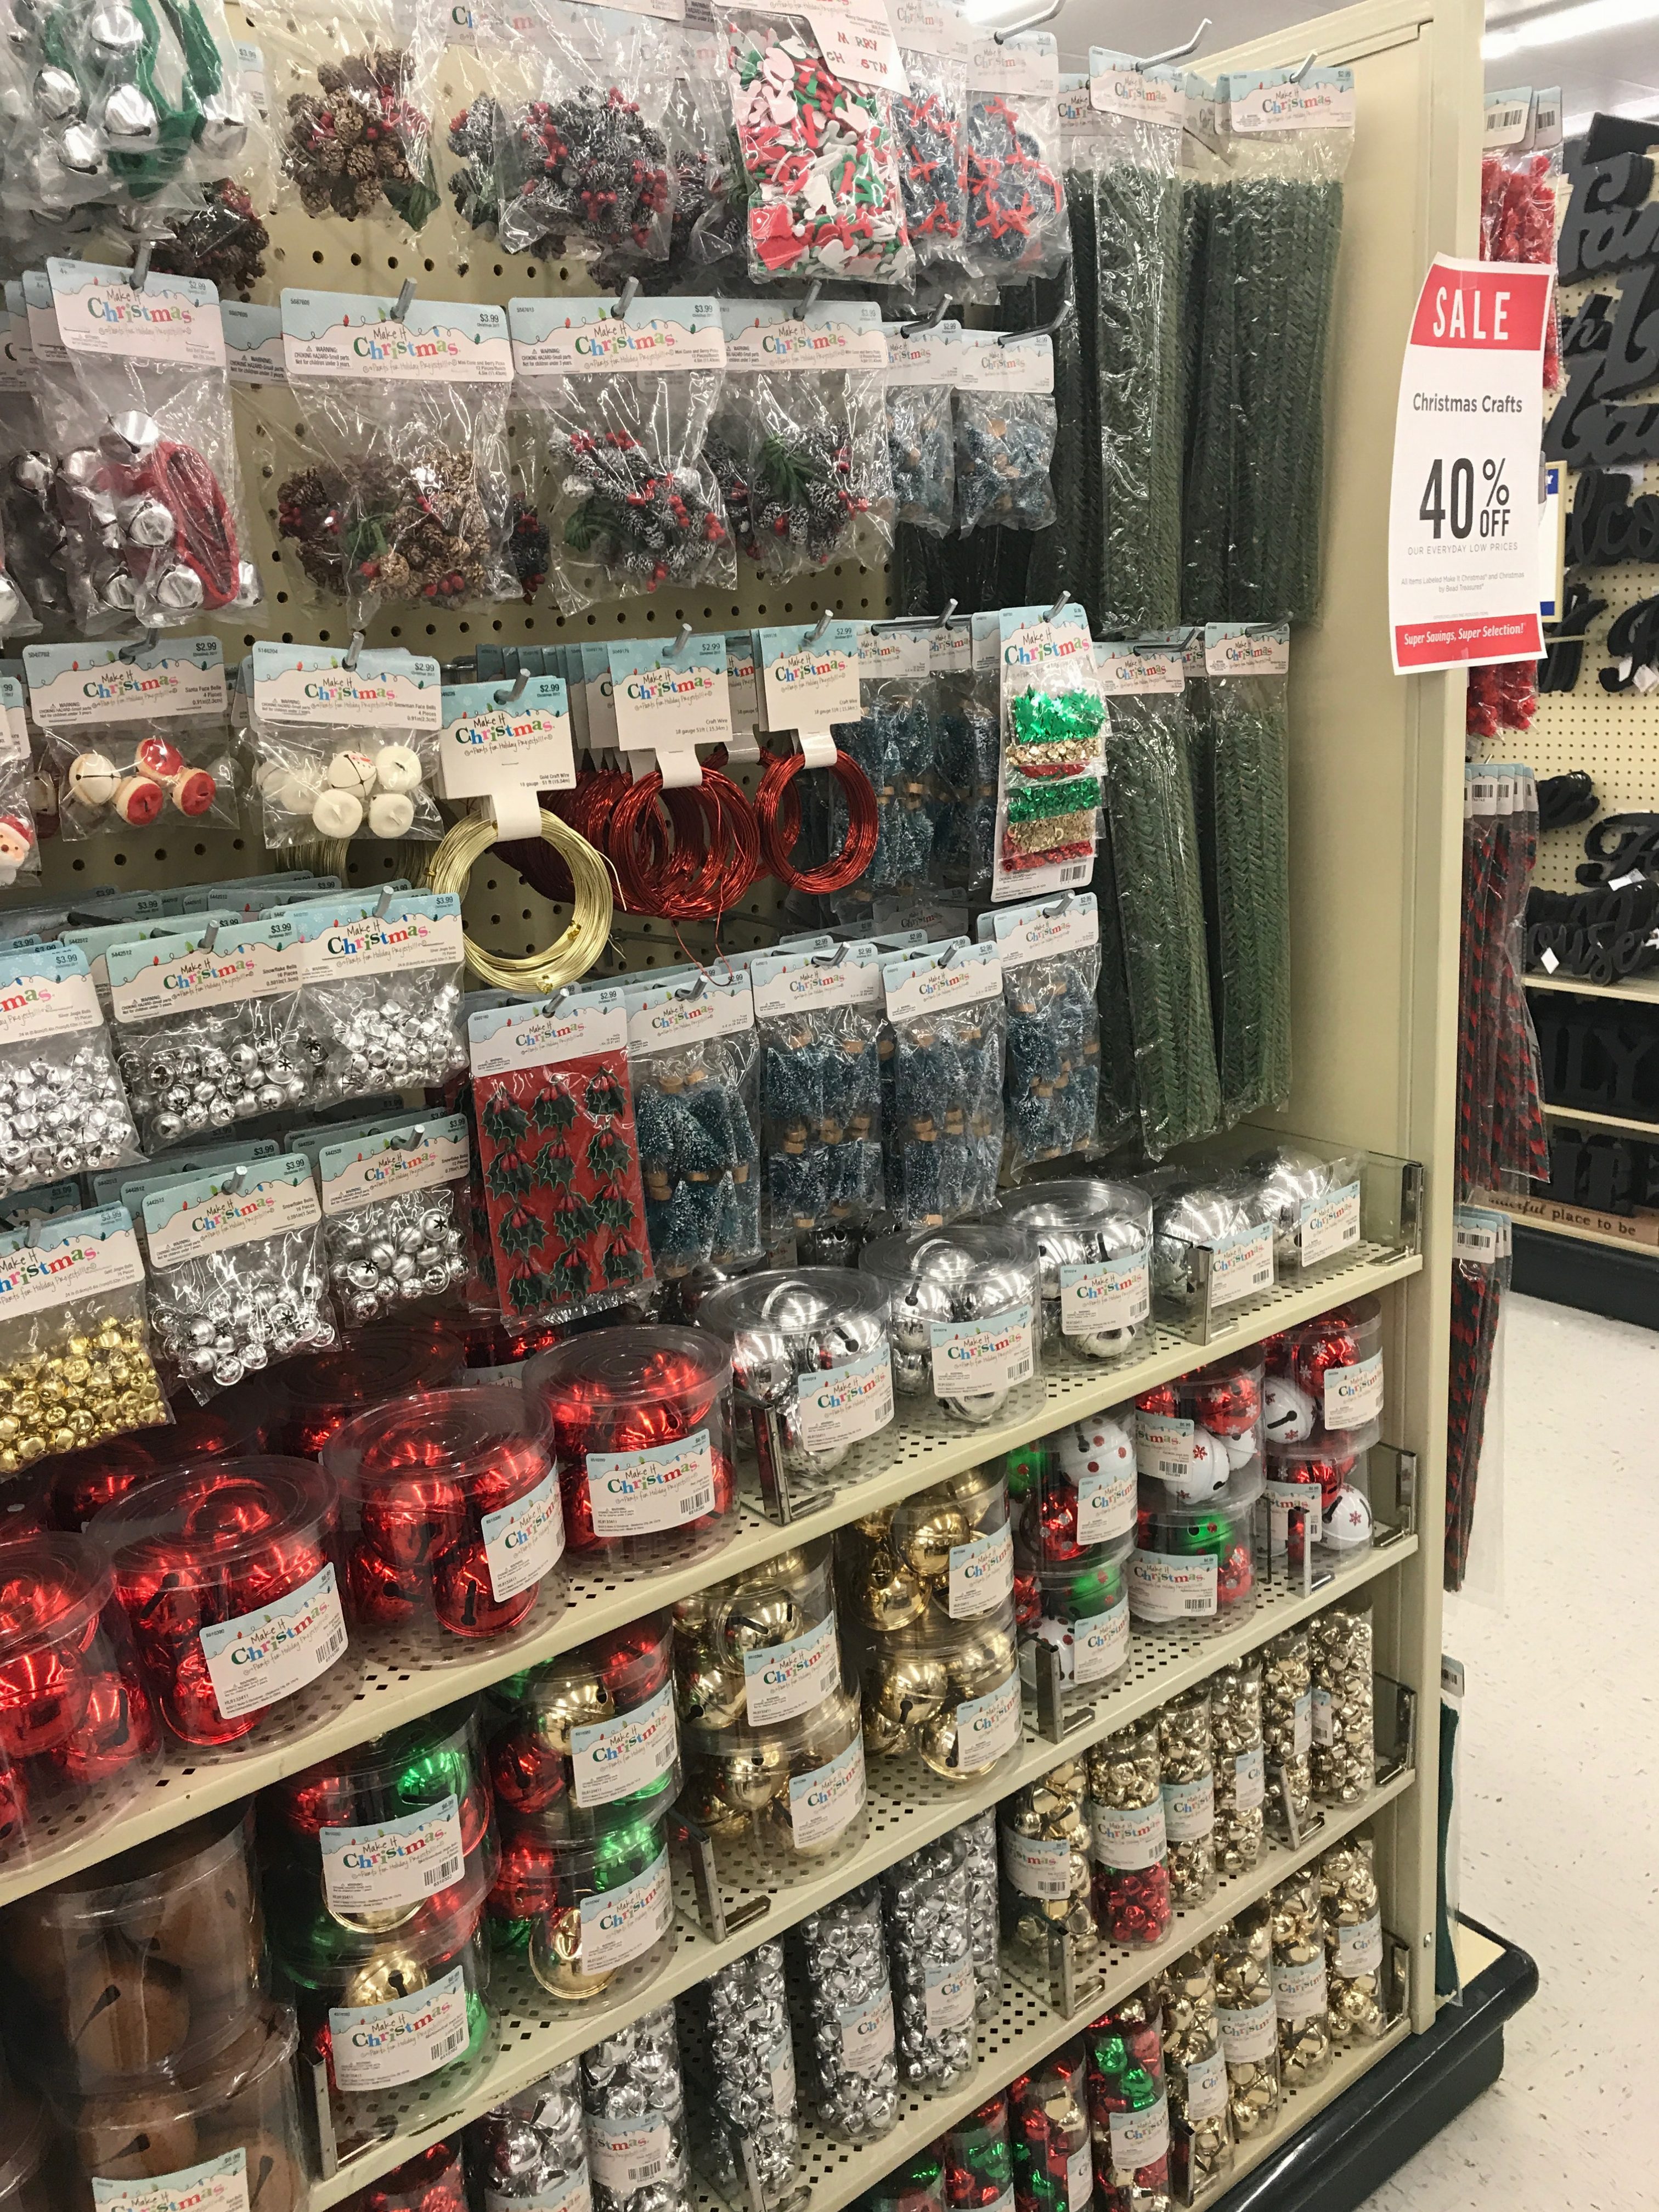
Let me just say that I love a good sale and after Christmas clearance shopping is no exception. You could always find me up and early on the 26th, checking out multiple stores, scoping out all the deals!  But for about the past year and a half, we have been really trying get better about budgeting and saving up to help us meet goals and plan for our future. And while it has been tough, I have gotten better at saying “no” to unnecessary spending and being more intentional with what we bring into our home. It also makes me question myself when out shopping with, “Do I really love this?” (you will notice, this is a favorite quote of mine 🙂 )

But, this year was different and I actually stayed home on the 26th, didn’t even have the desire to go out! And guys, this was a HUGE change! Instead, I made a list of a few things I wanted to look for ( Christmas paper and ribbon, since this Christmas I tried to be more resourceful and use up gift wrap we already had) and went out a few days before New Years Eve. I didn’t find very much of what I was looking for and probably would have had better luck if I had repeated history and gone out on my usual day. But instead of worrying about “all the good deals” I may have missed out on like old me would have, I just tried to think of it as money not spent on items I won’t even “need” until a year from now!

This quote is really powerful to me and it serves as a great reminder when out shopping. As a result, I am more particular with what I buy.
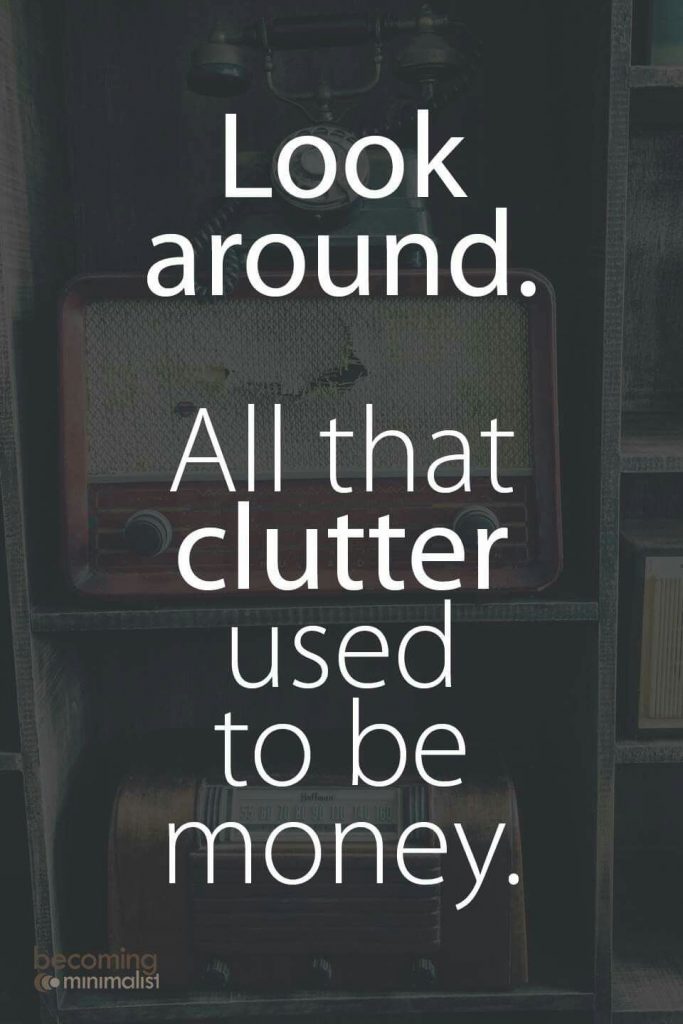
Image: Becoming Minimalist

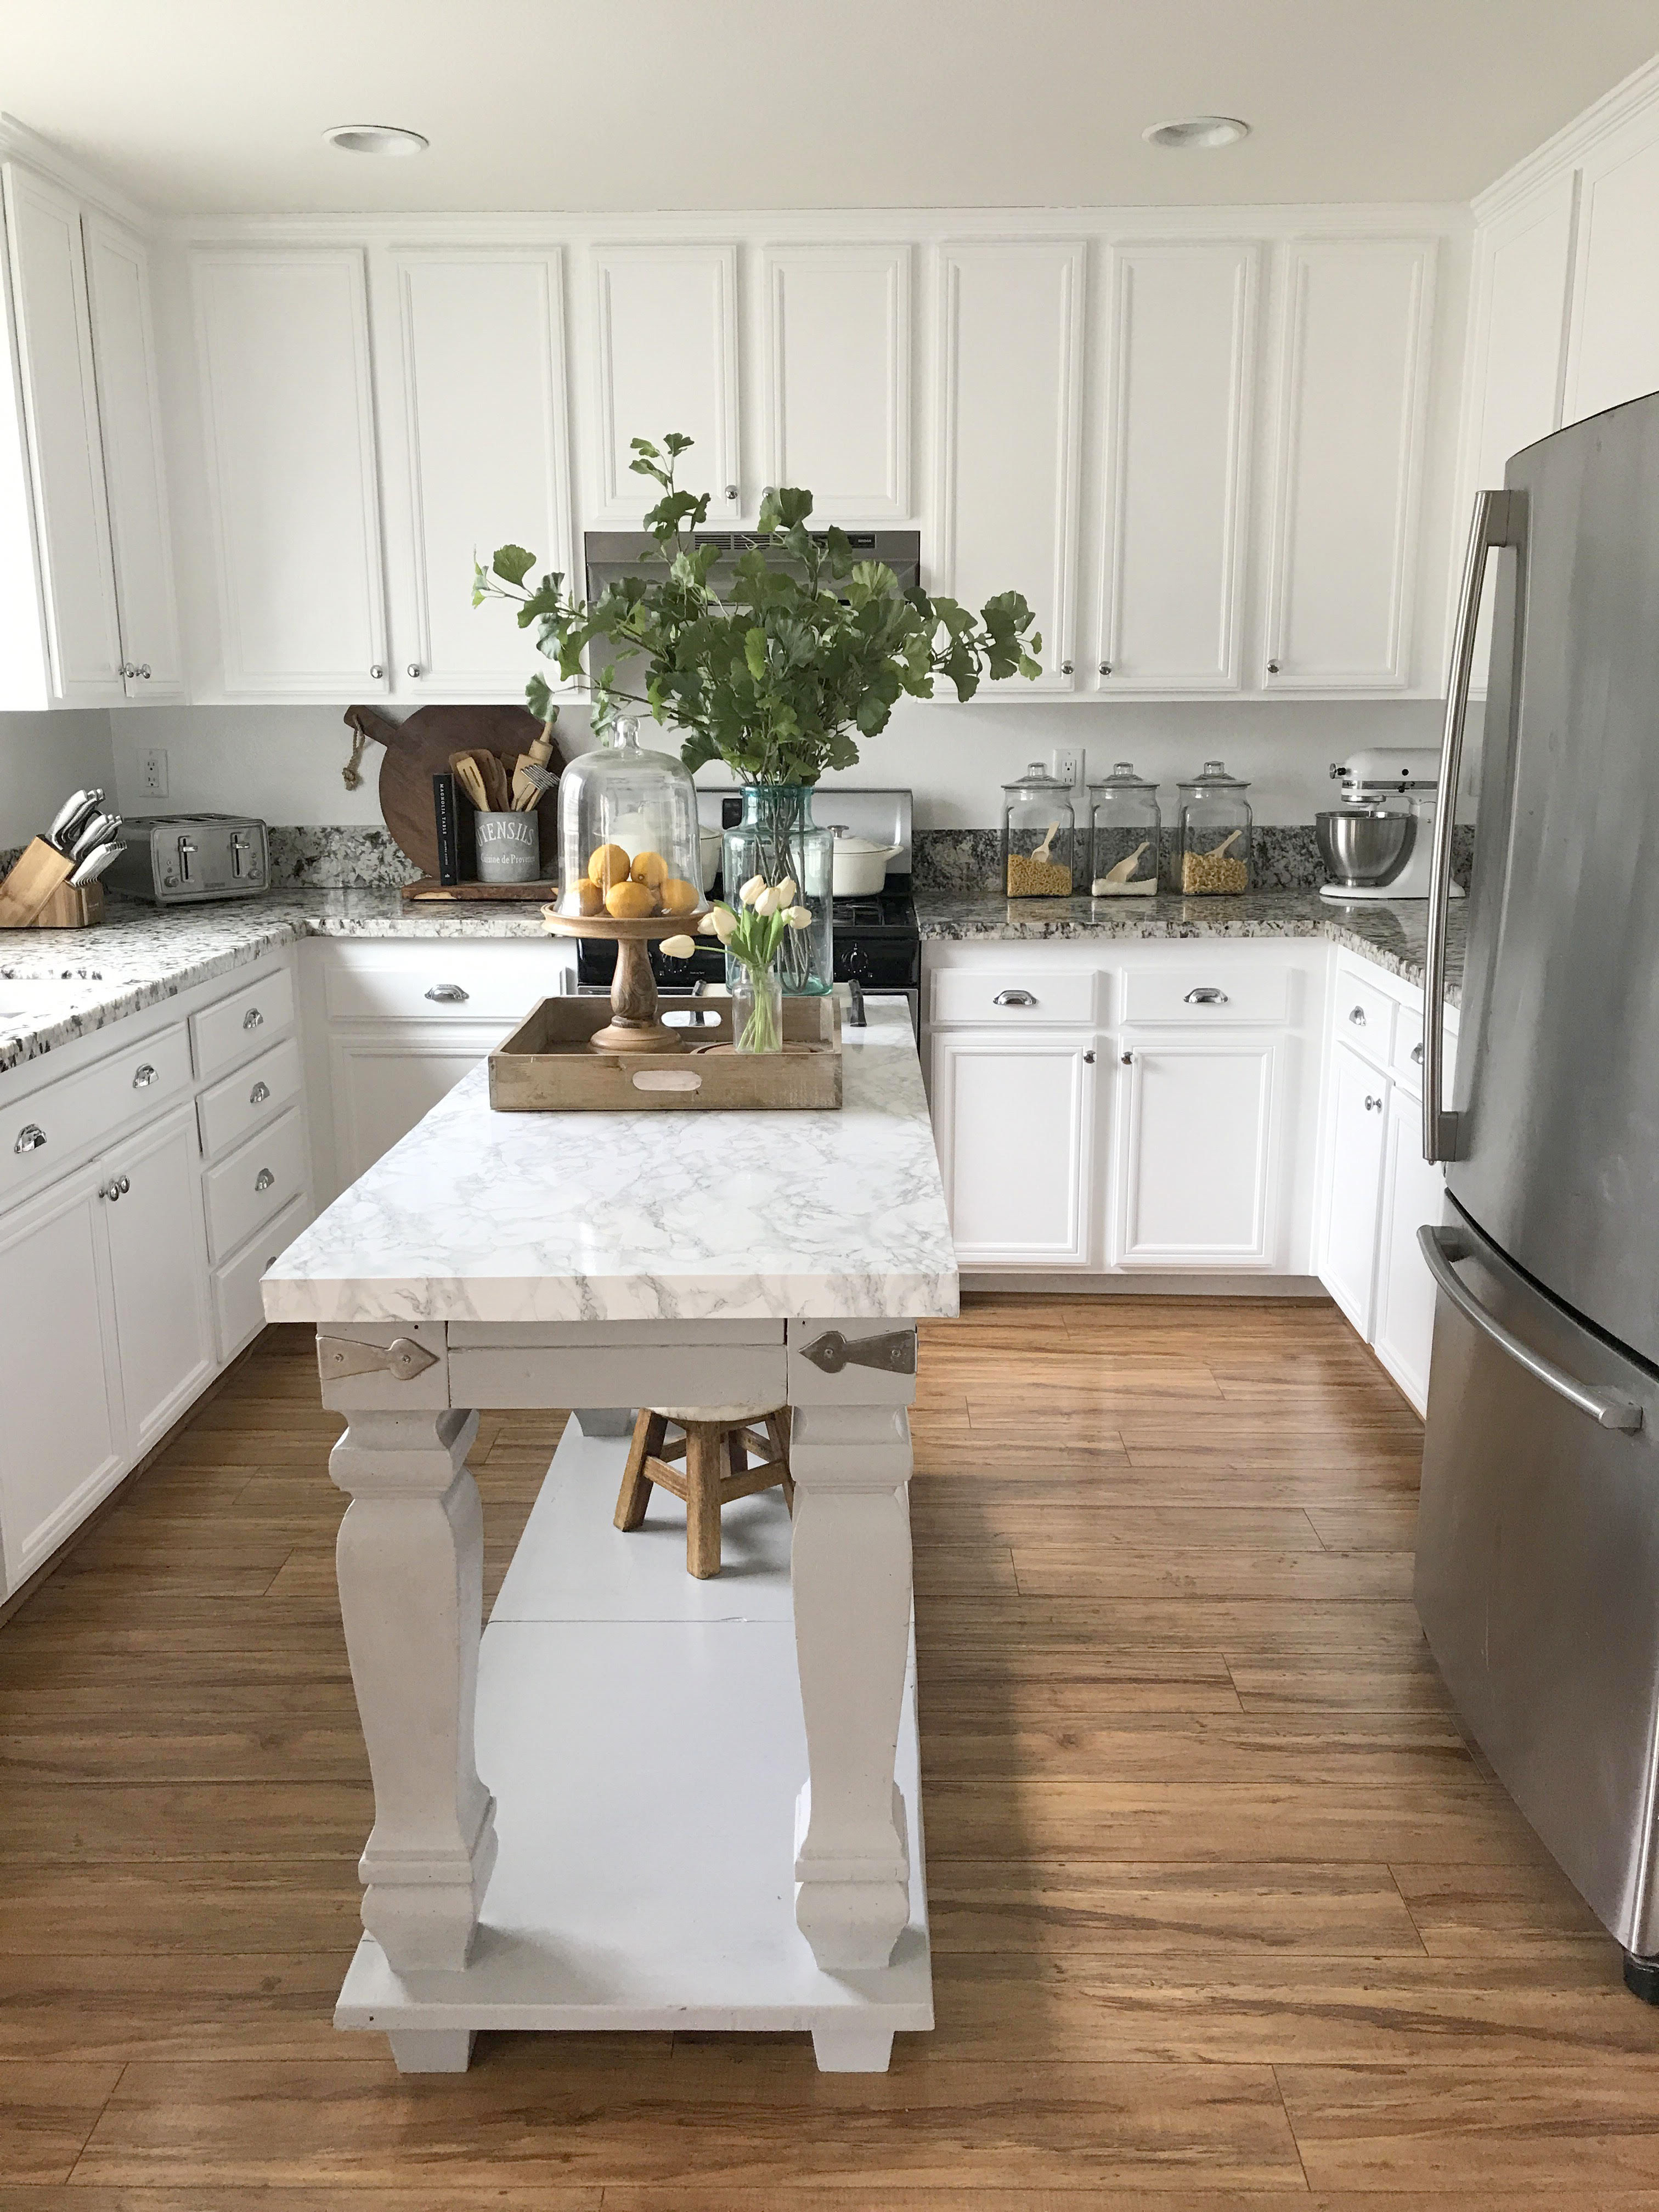
2. You CAN buy a “want” but only if you have sold something else to pay for it. 

       This helps keep the goal realistic and attainable for me. So if I buy a little something for the house or myself, I’m not beating myself up about it because I sold something else to pay for it.

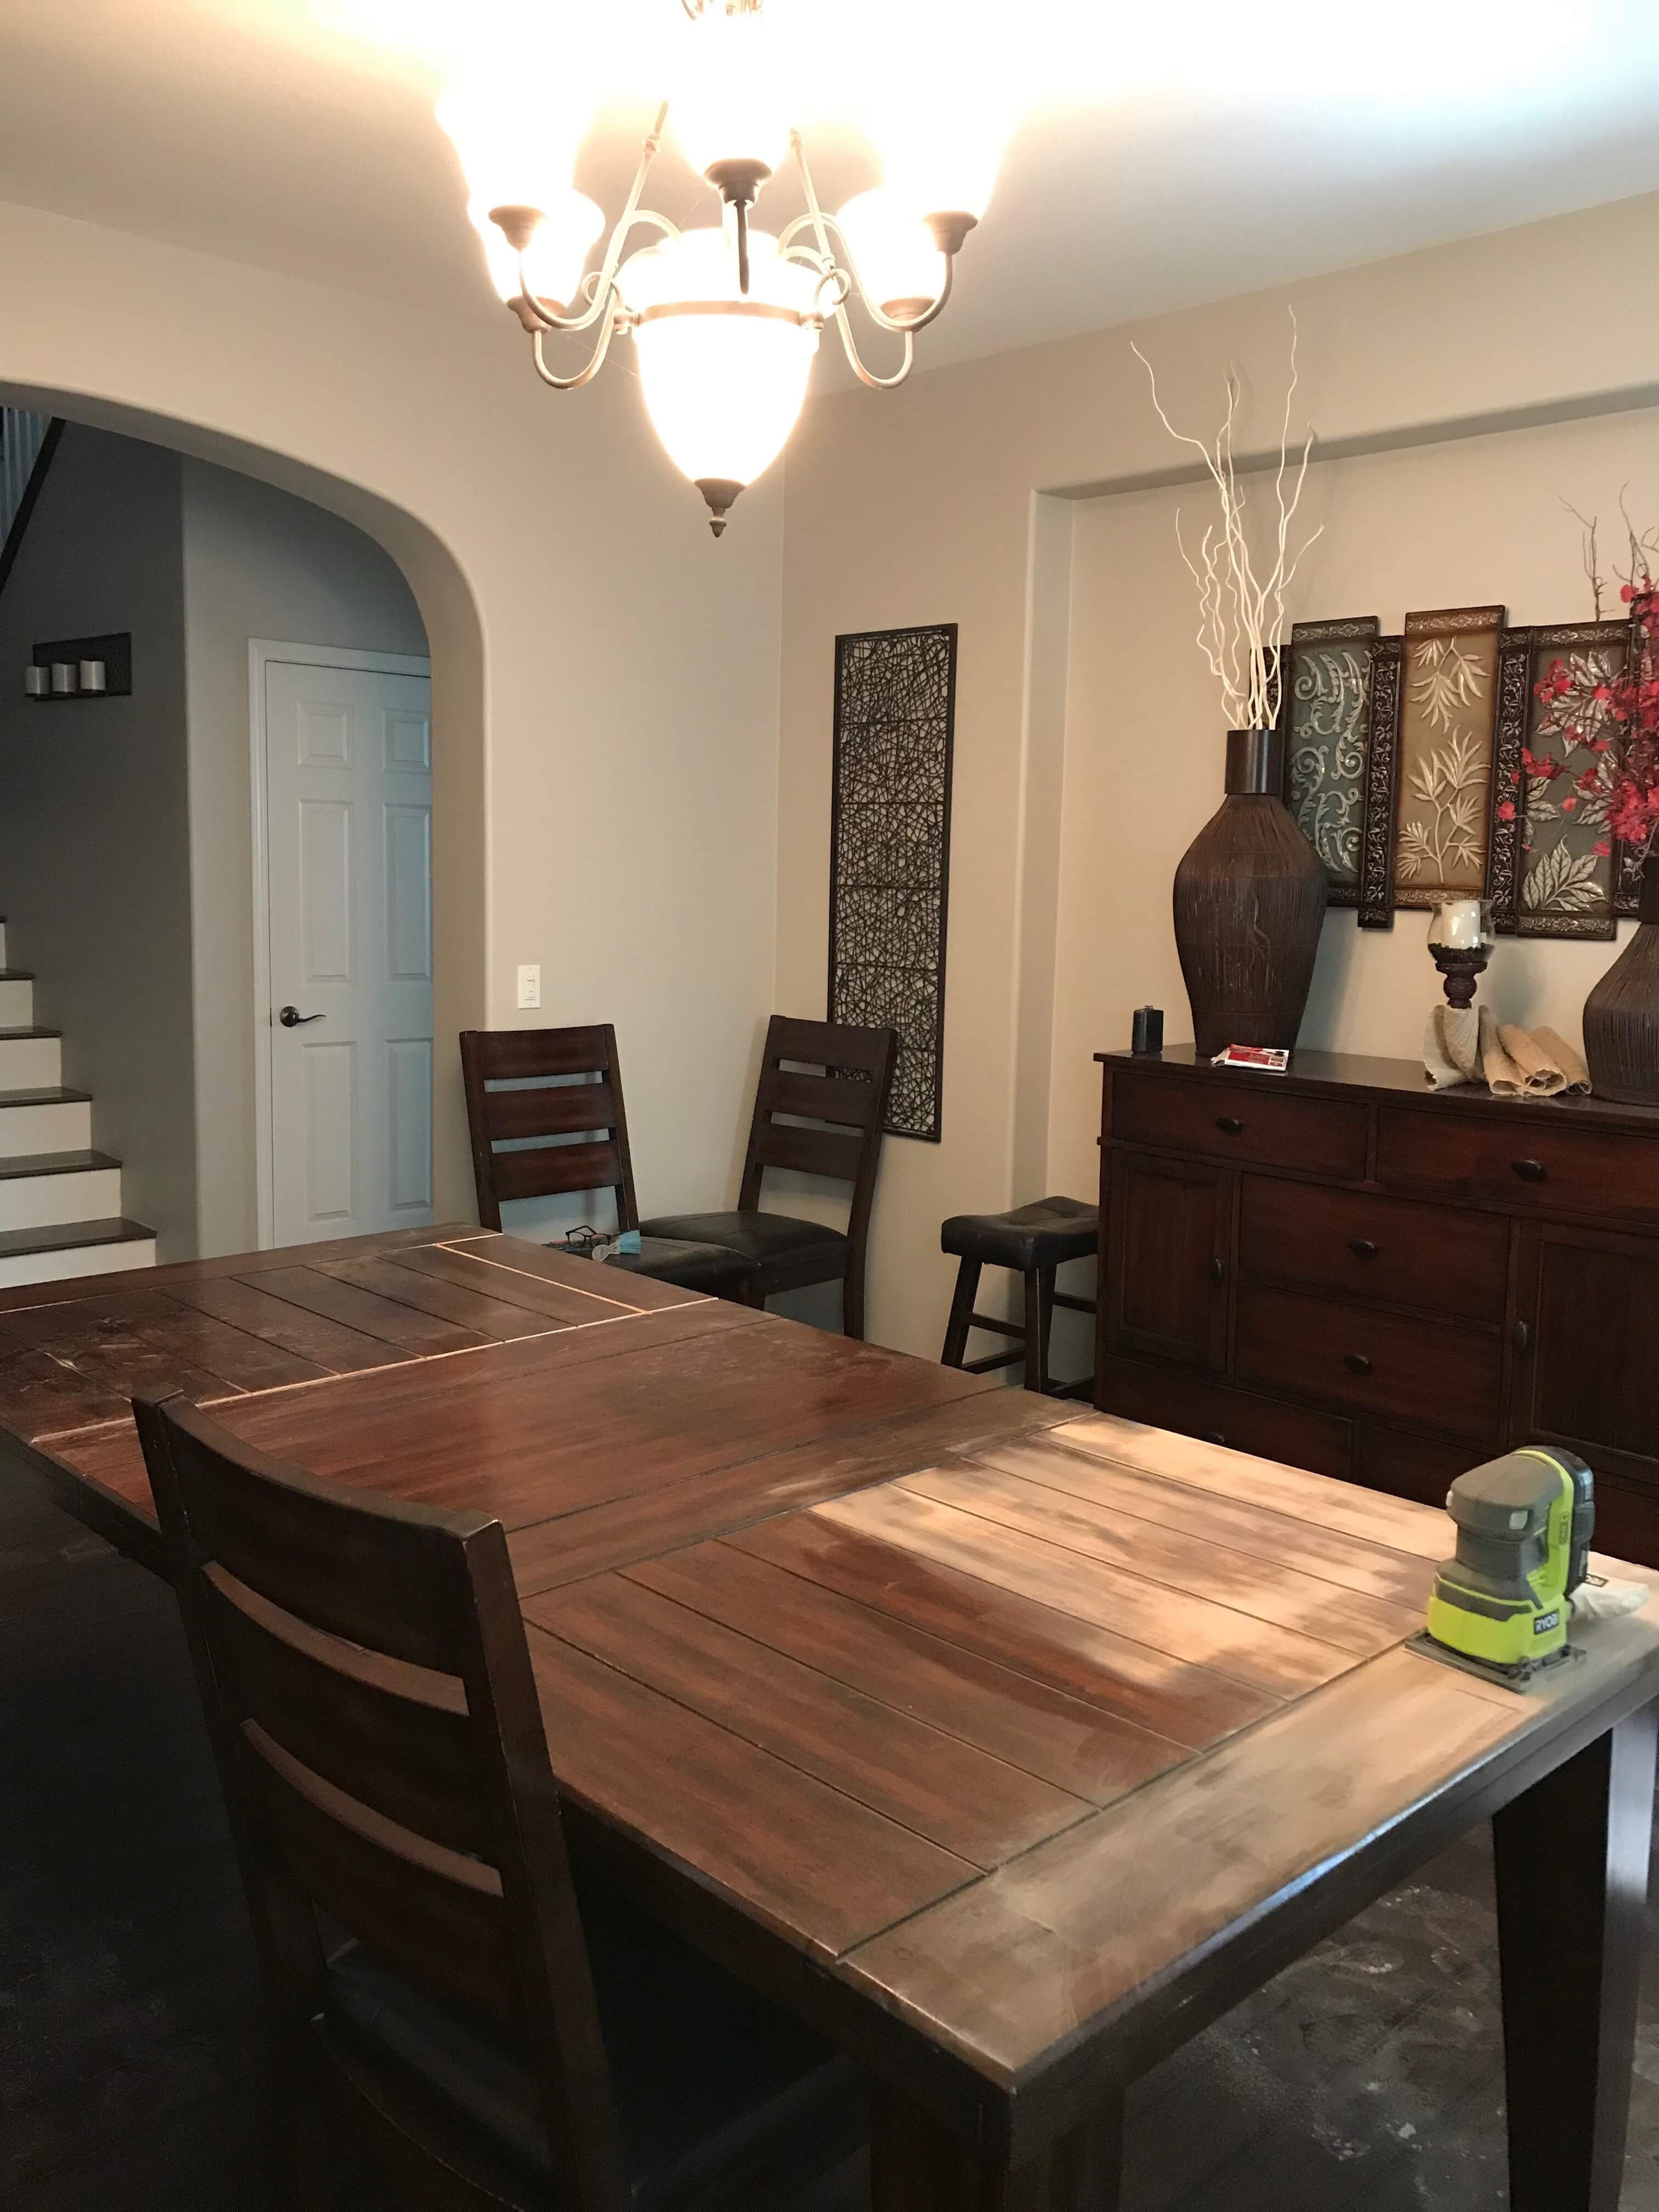
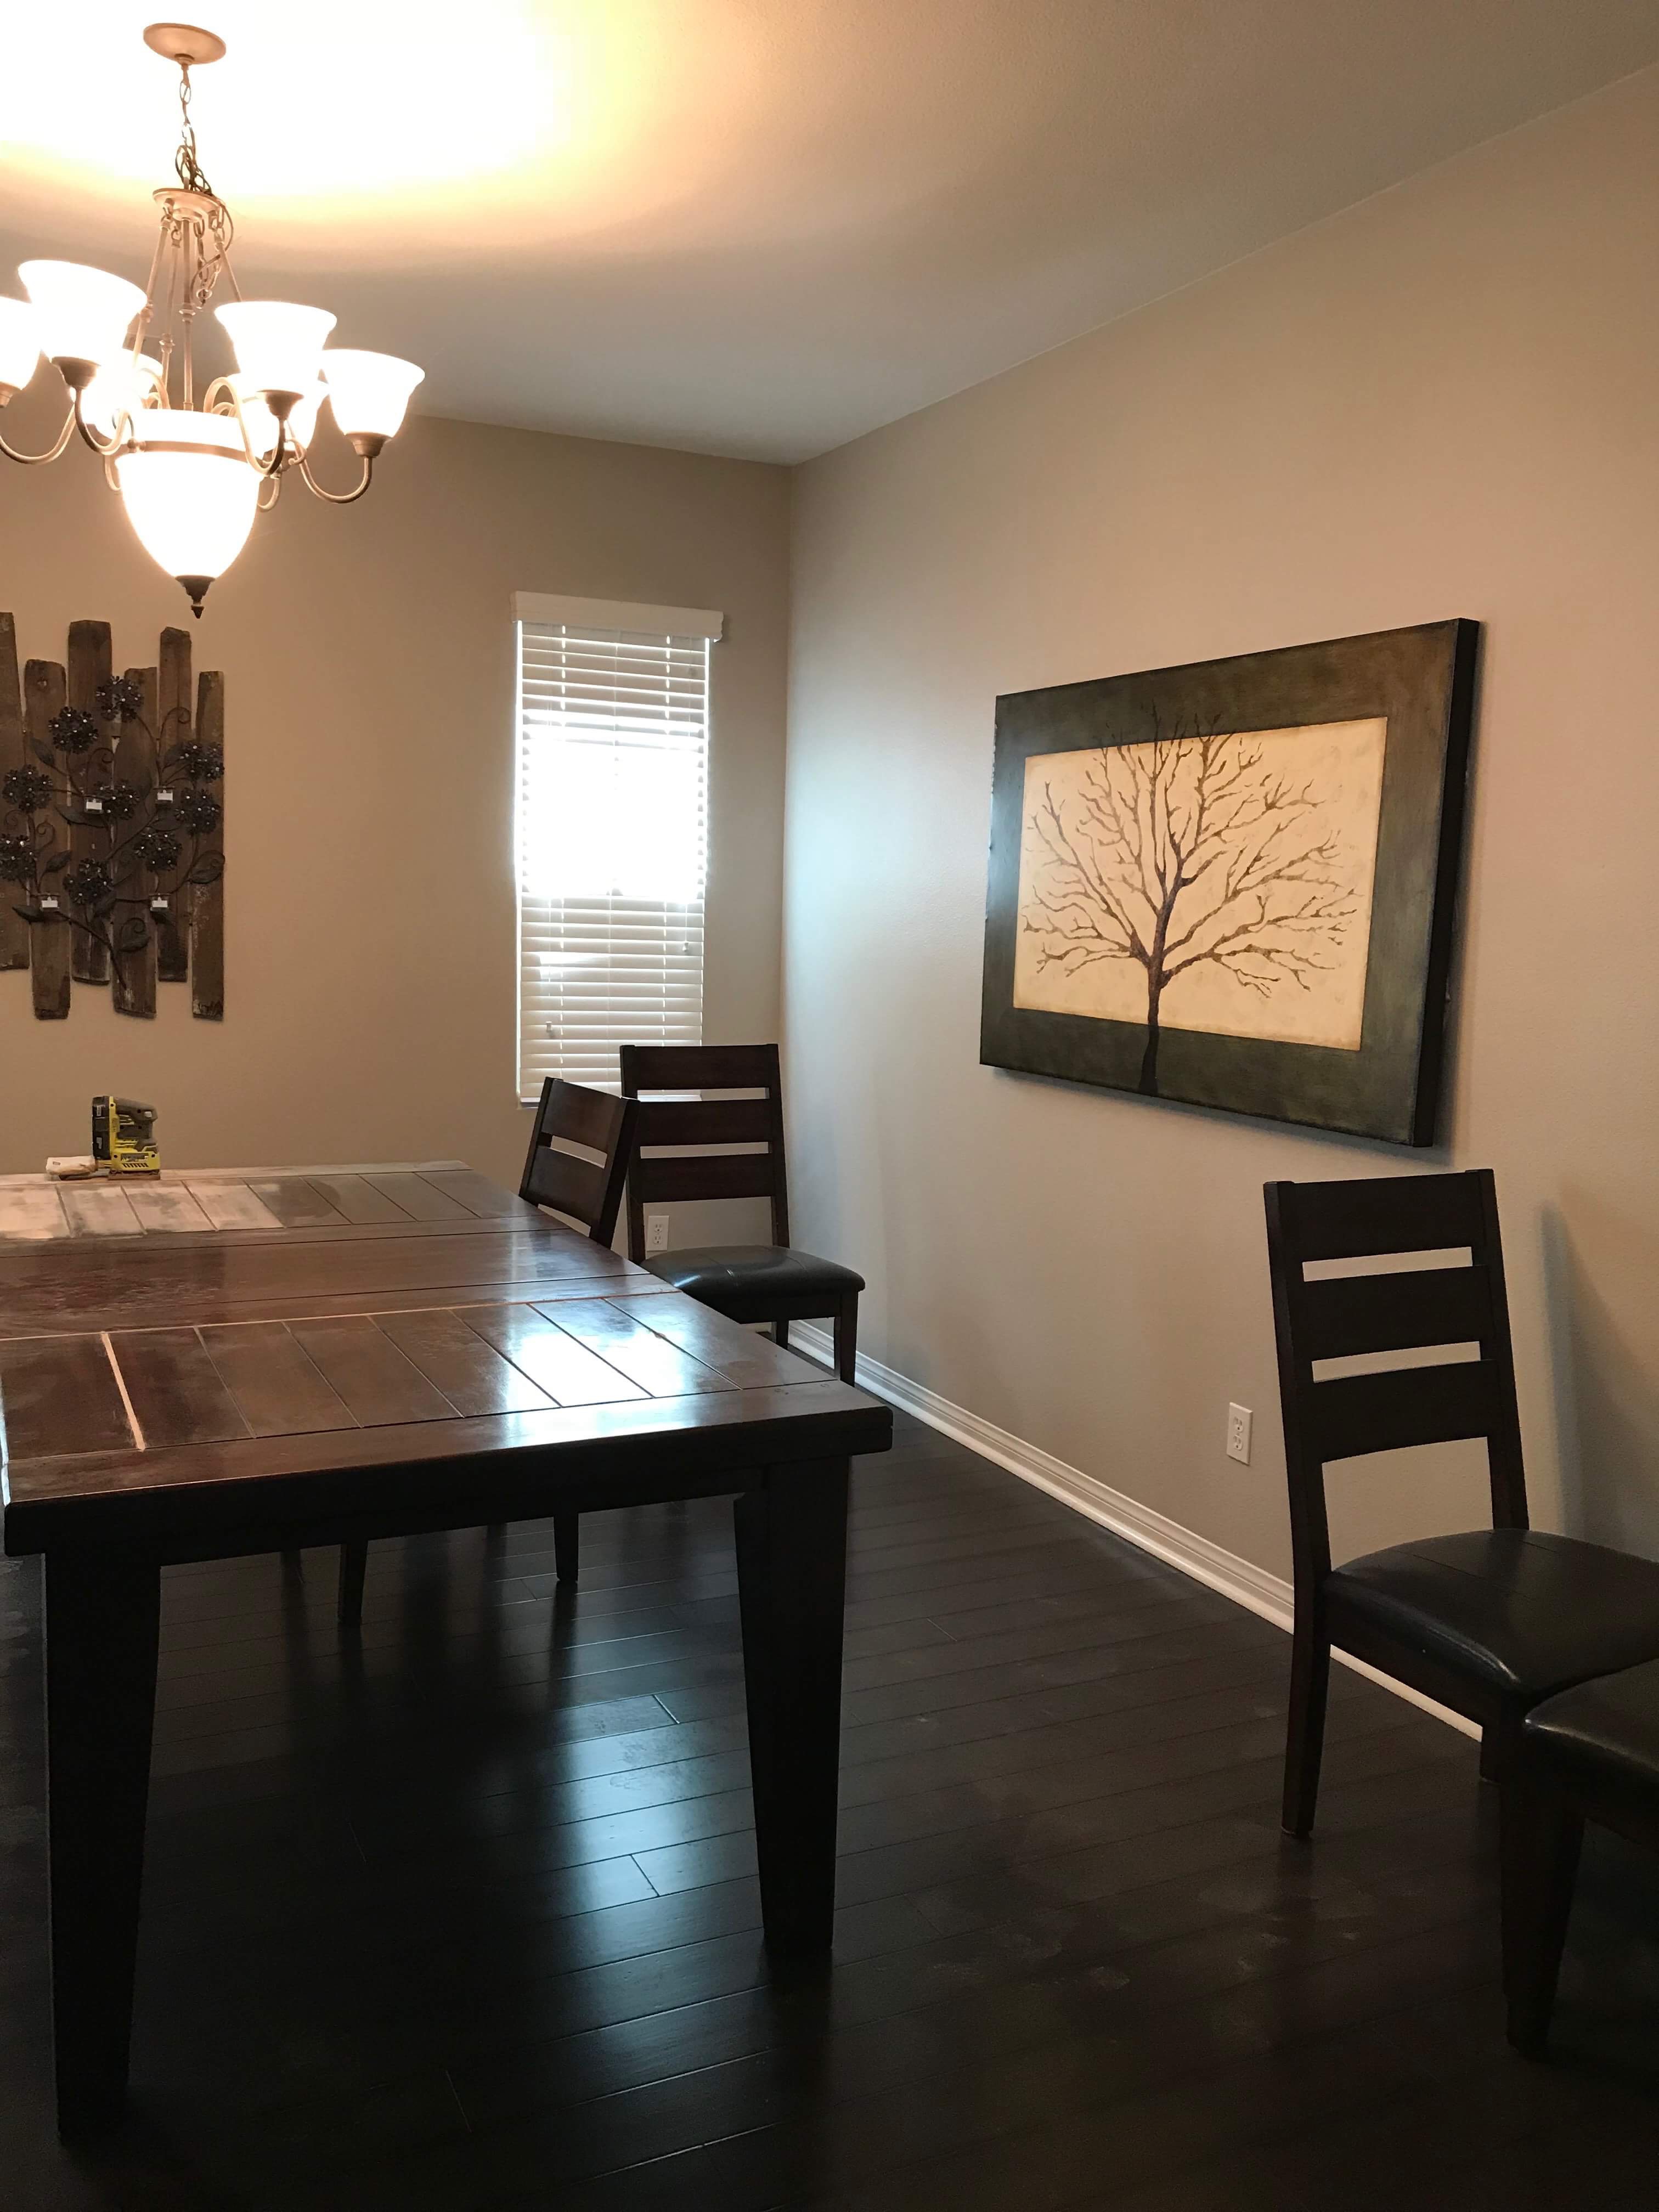
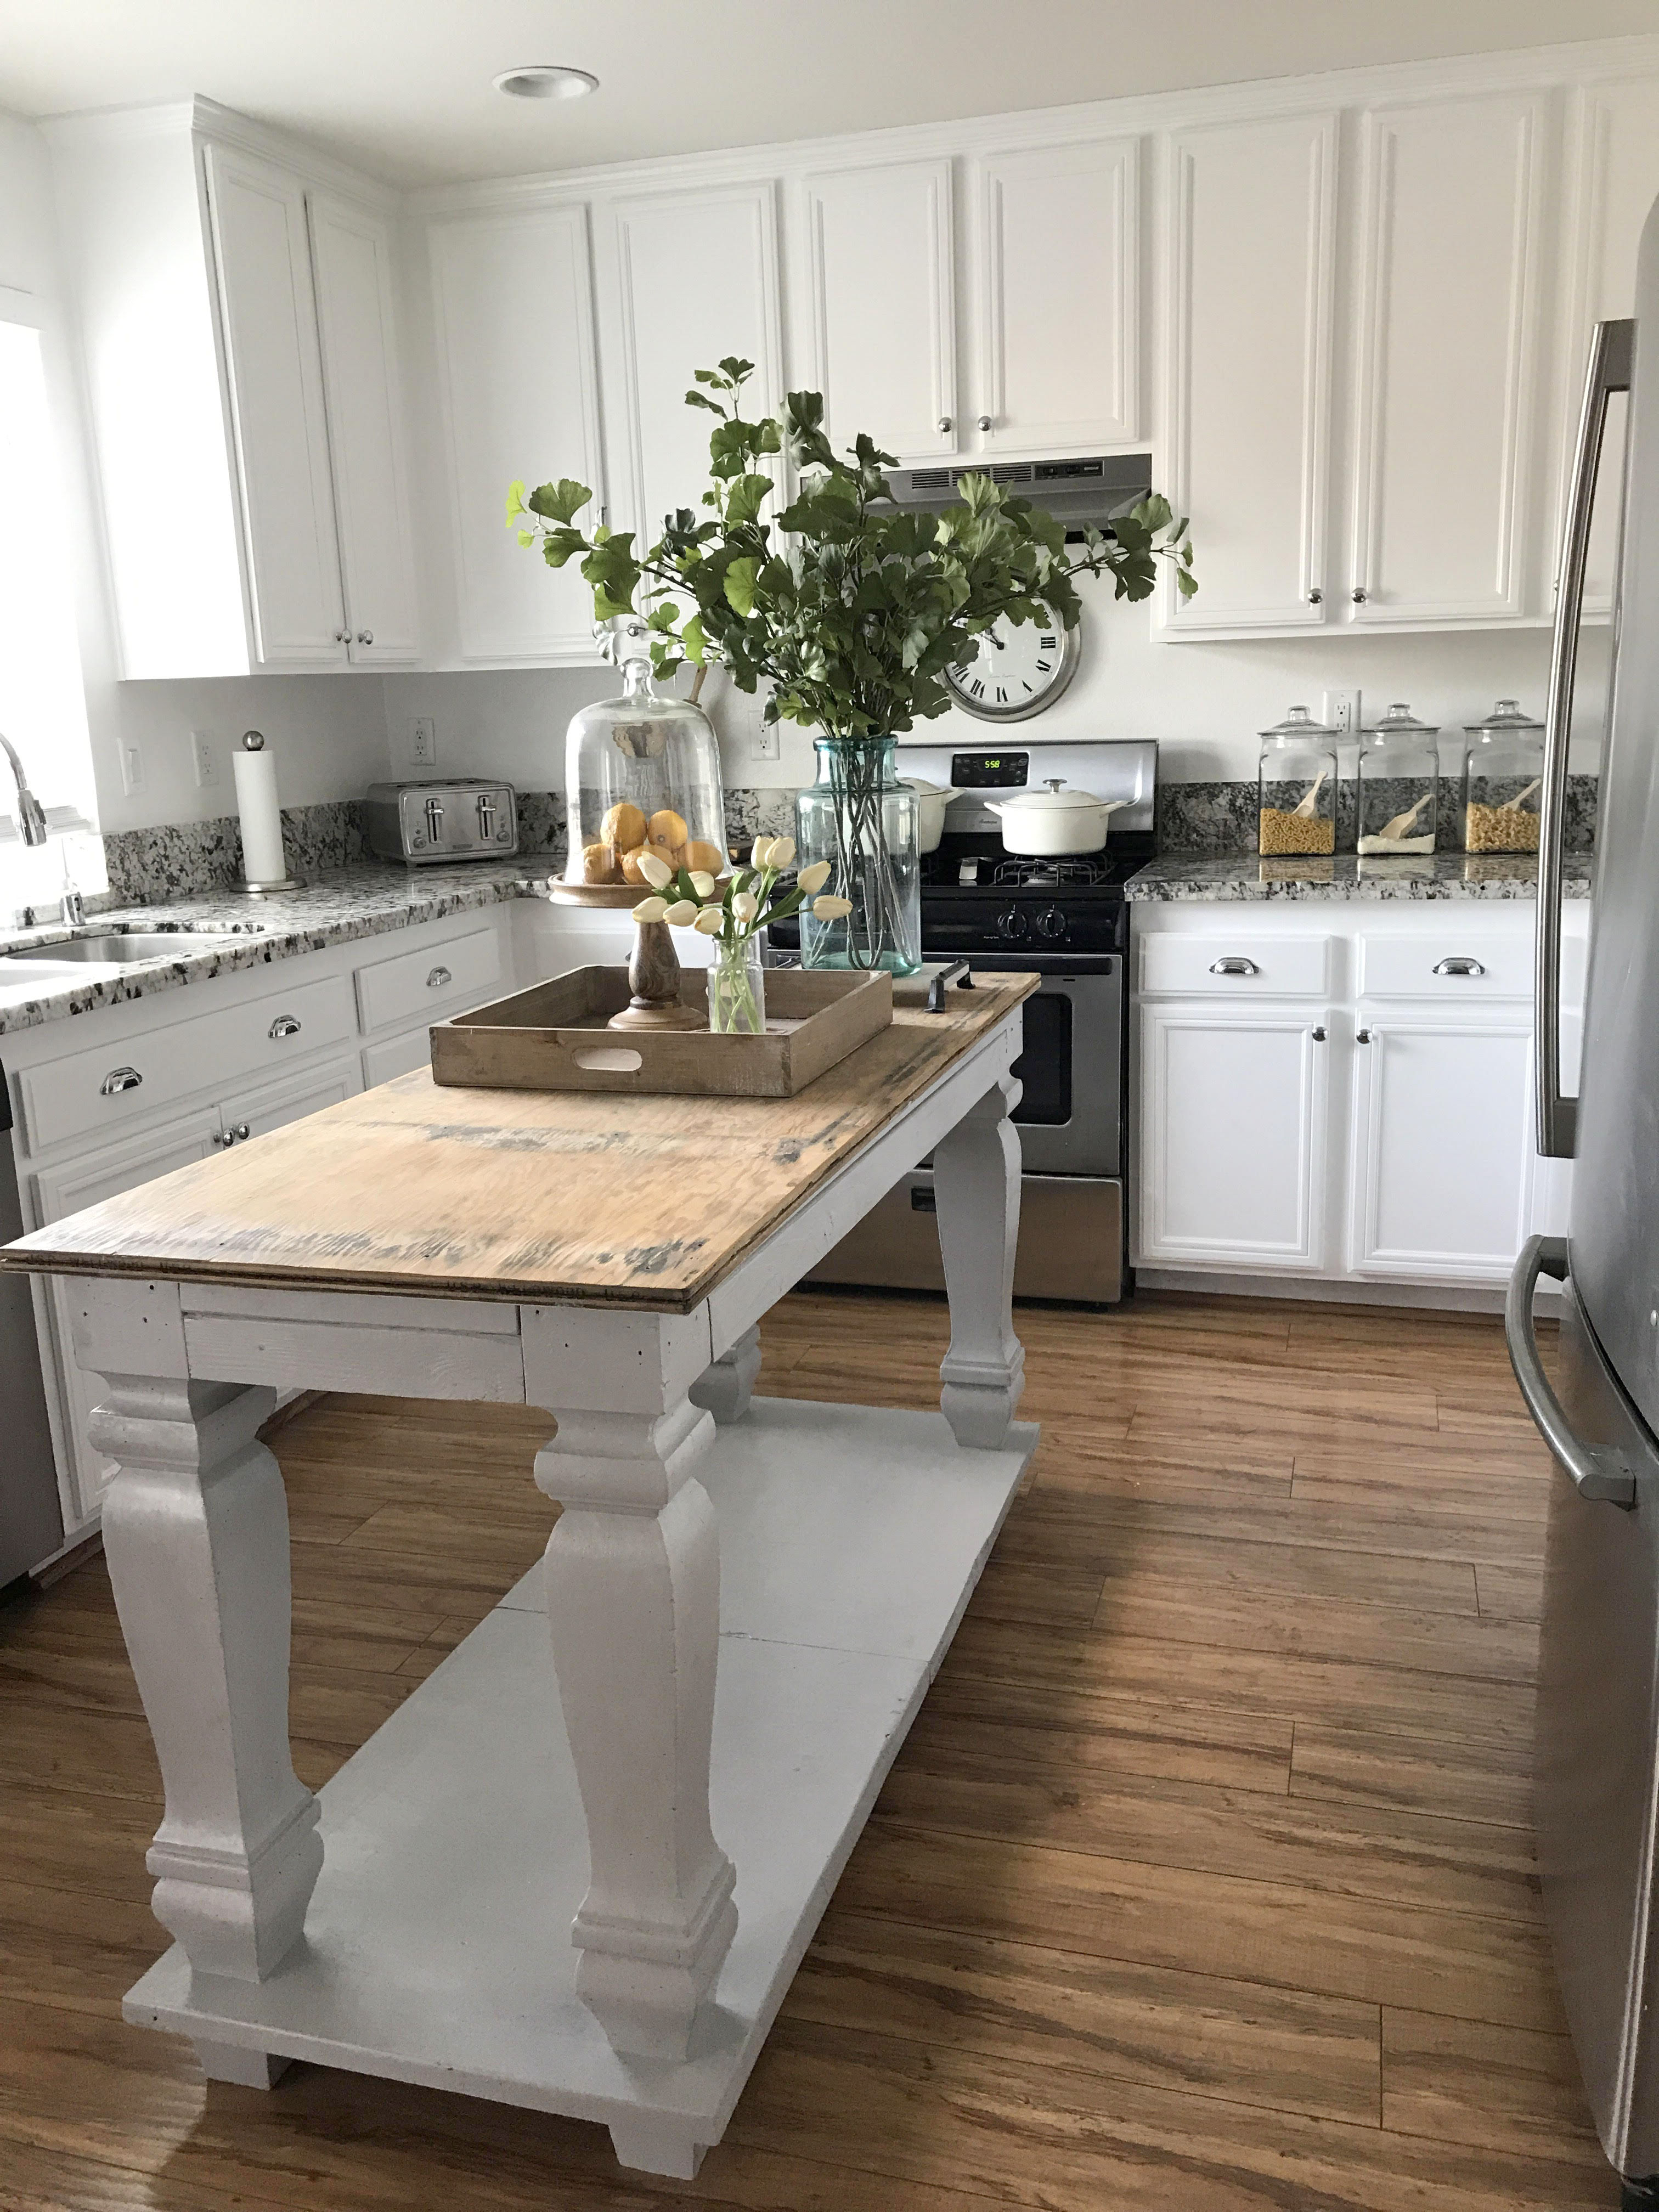
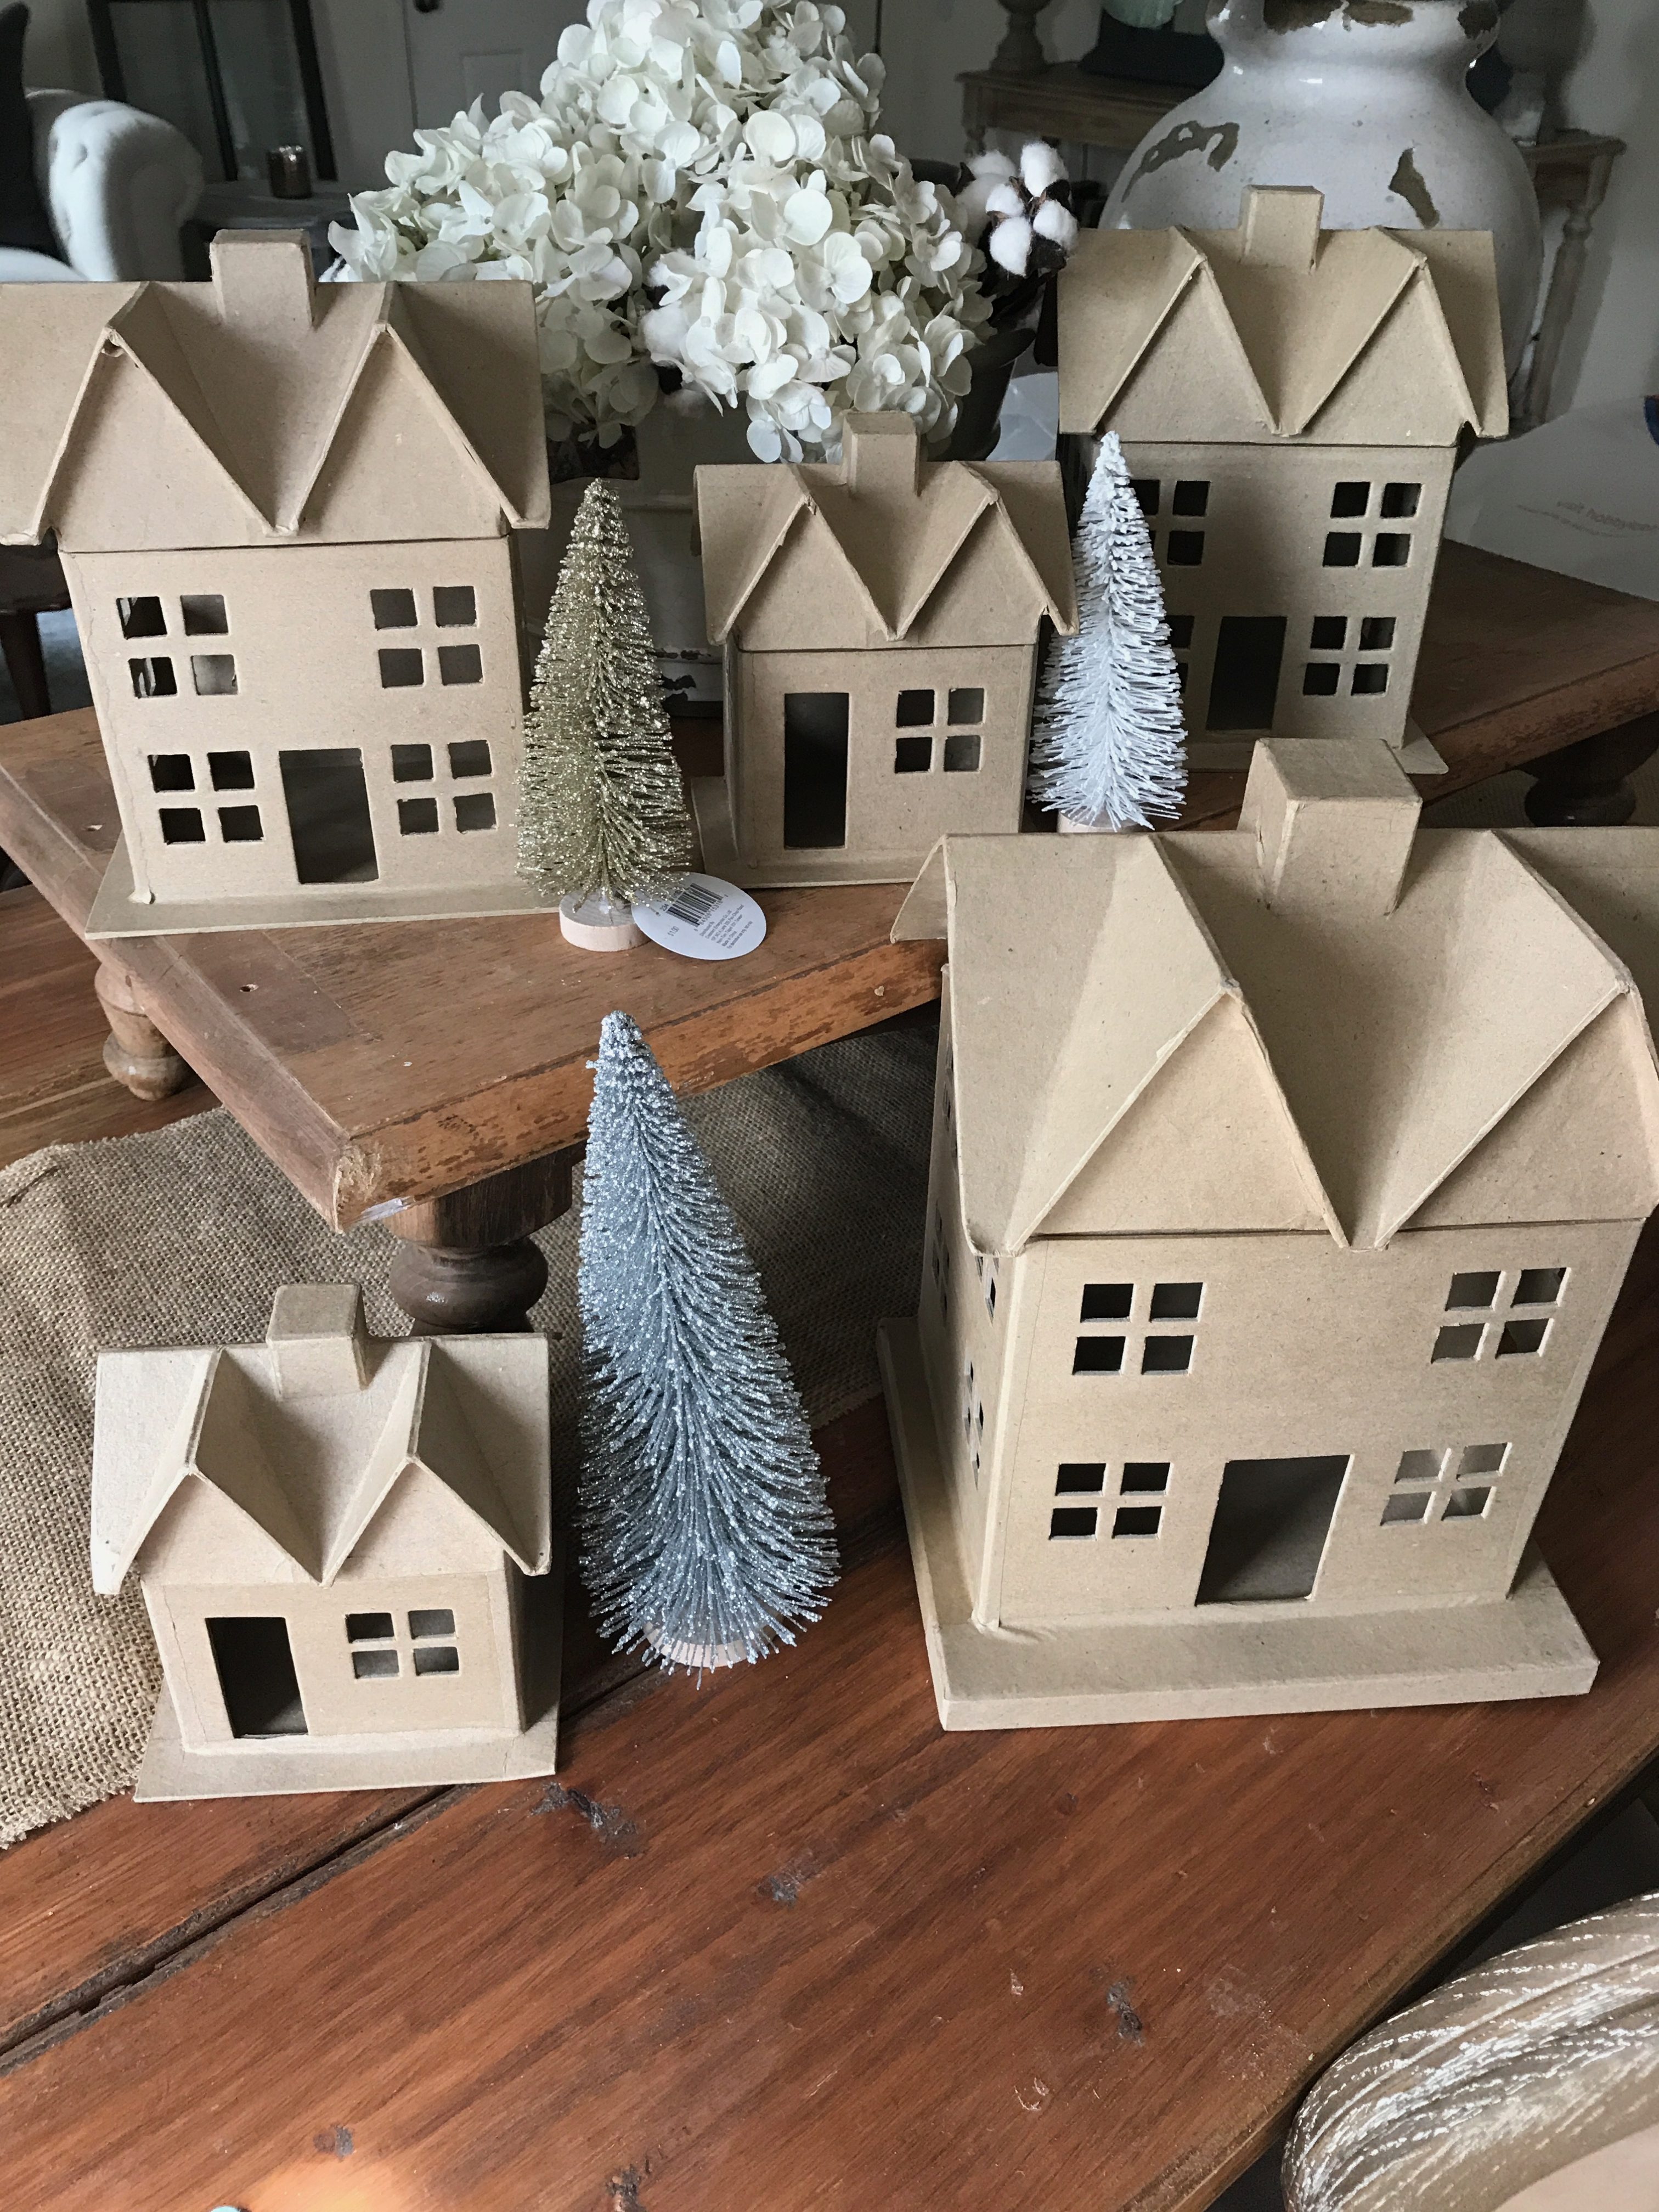
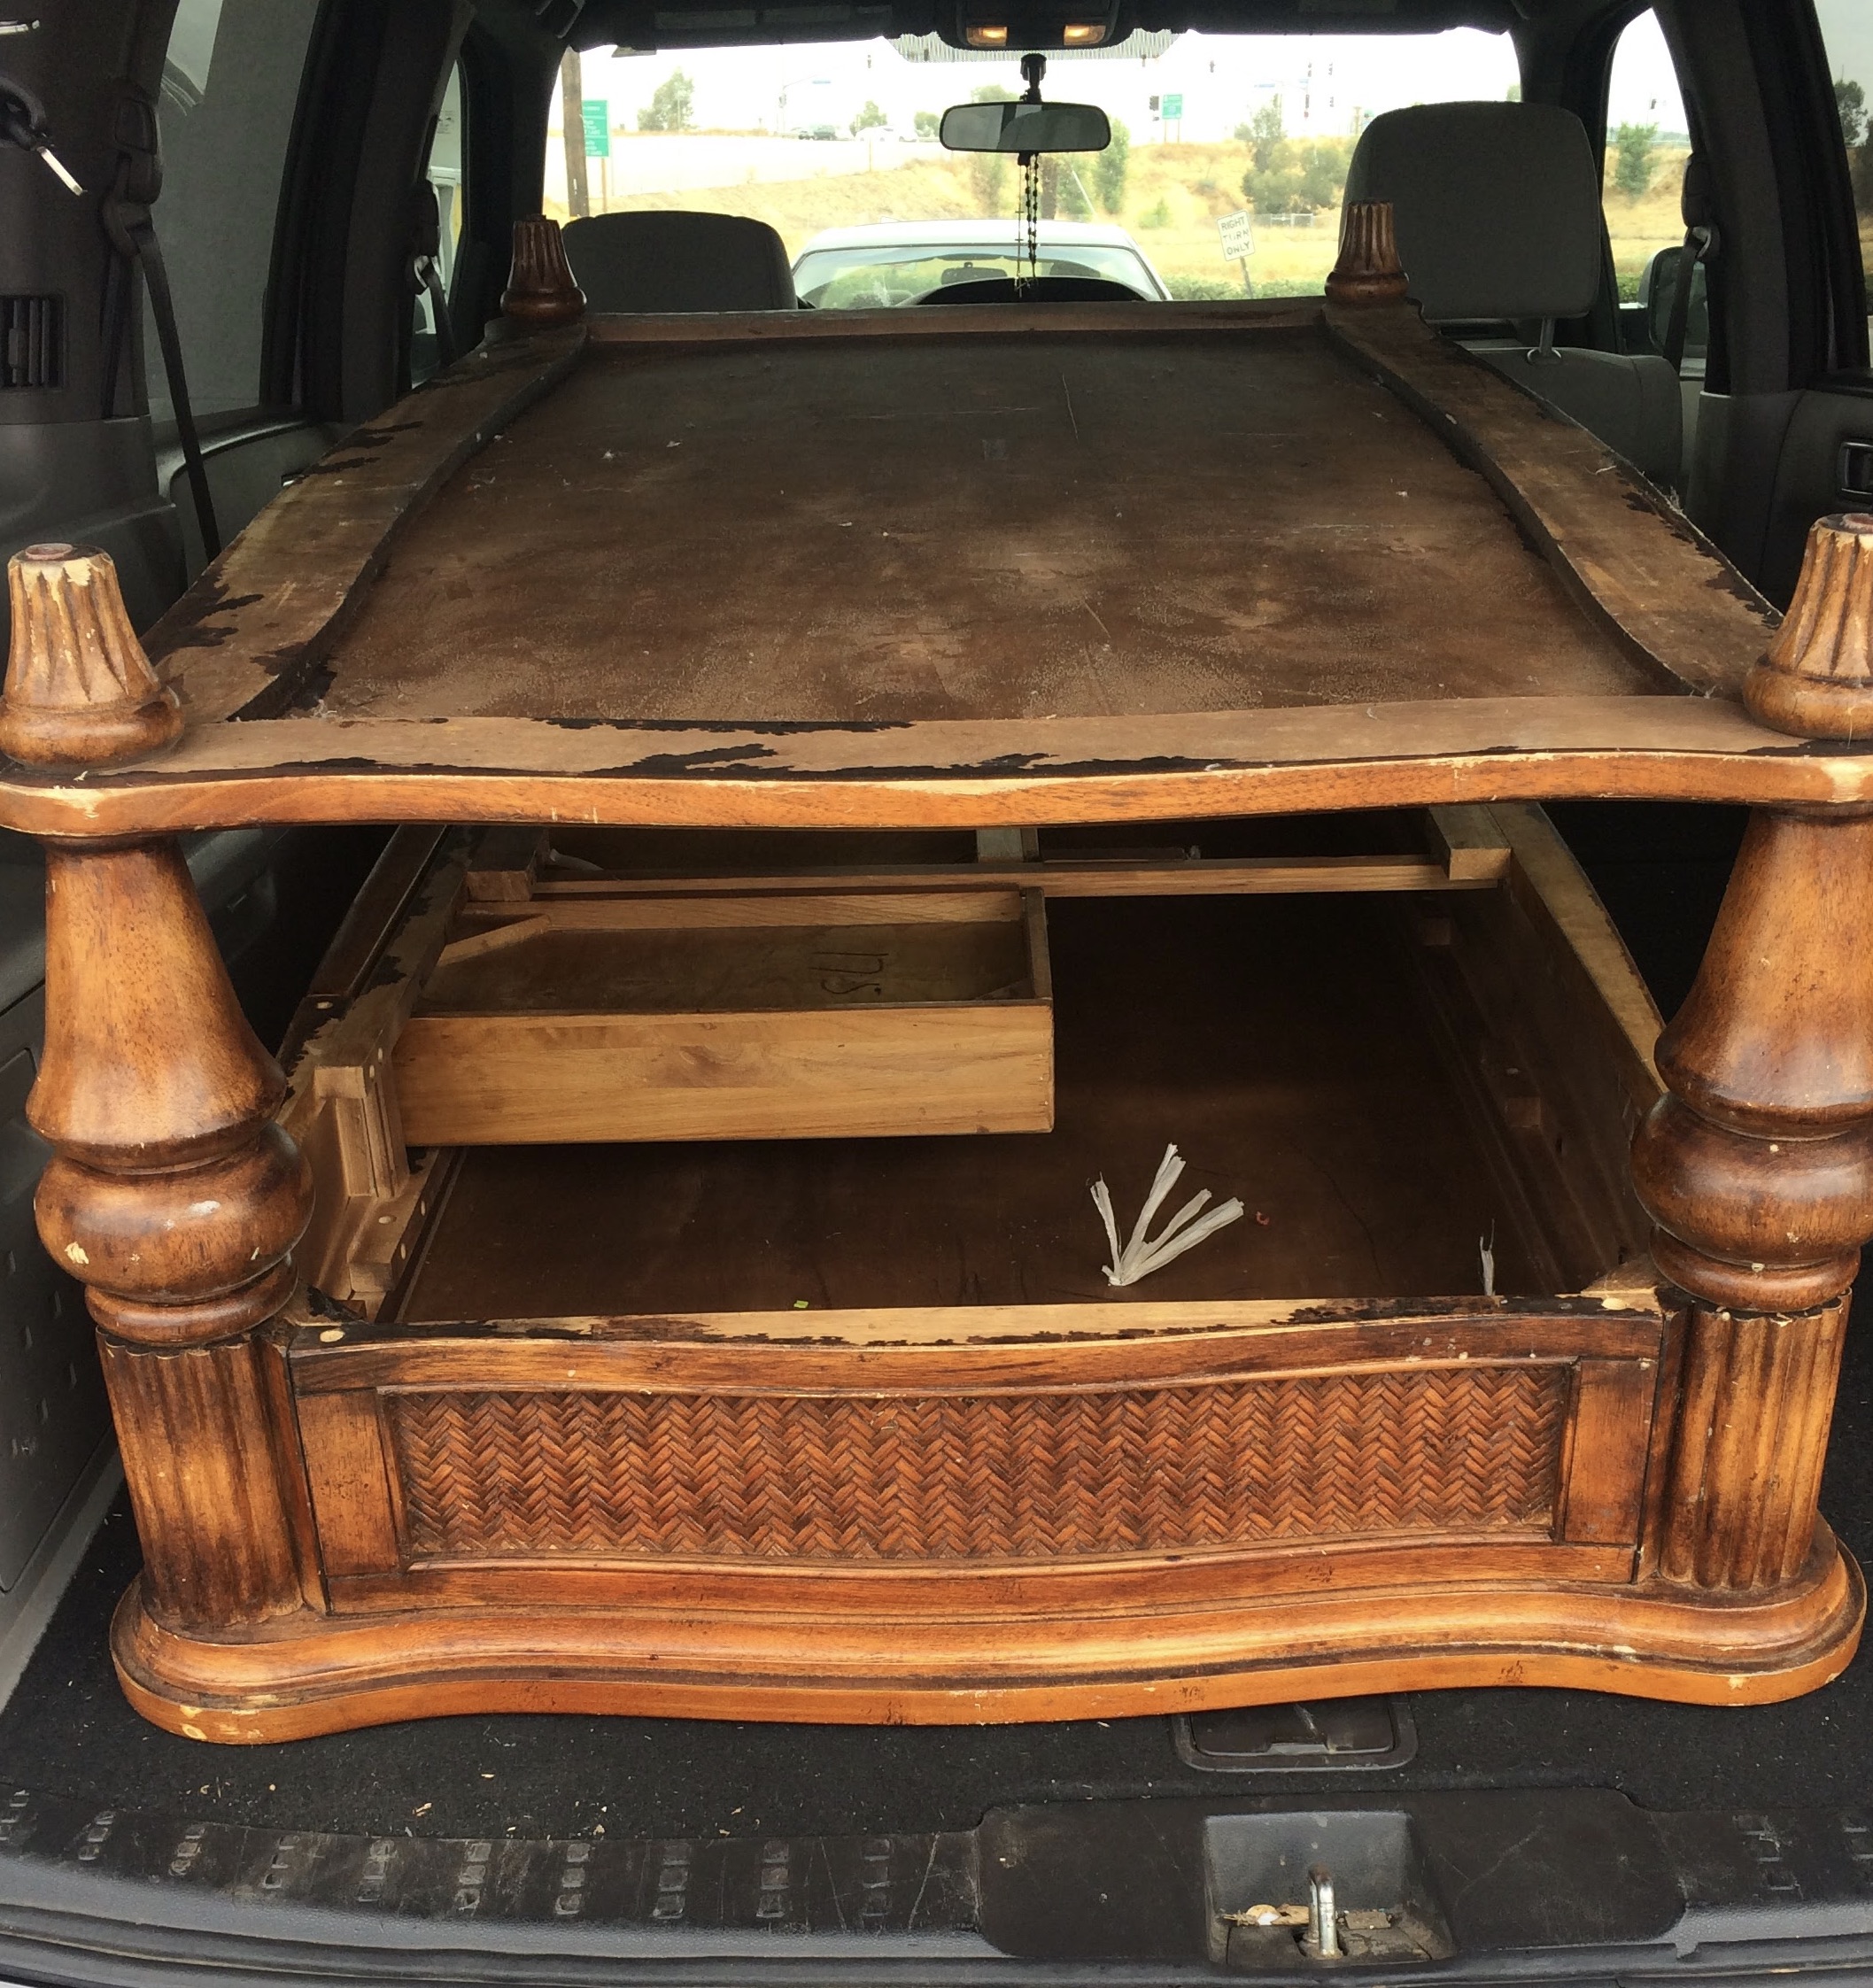
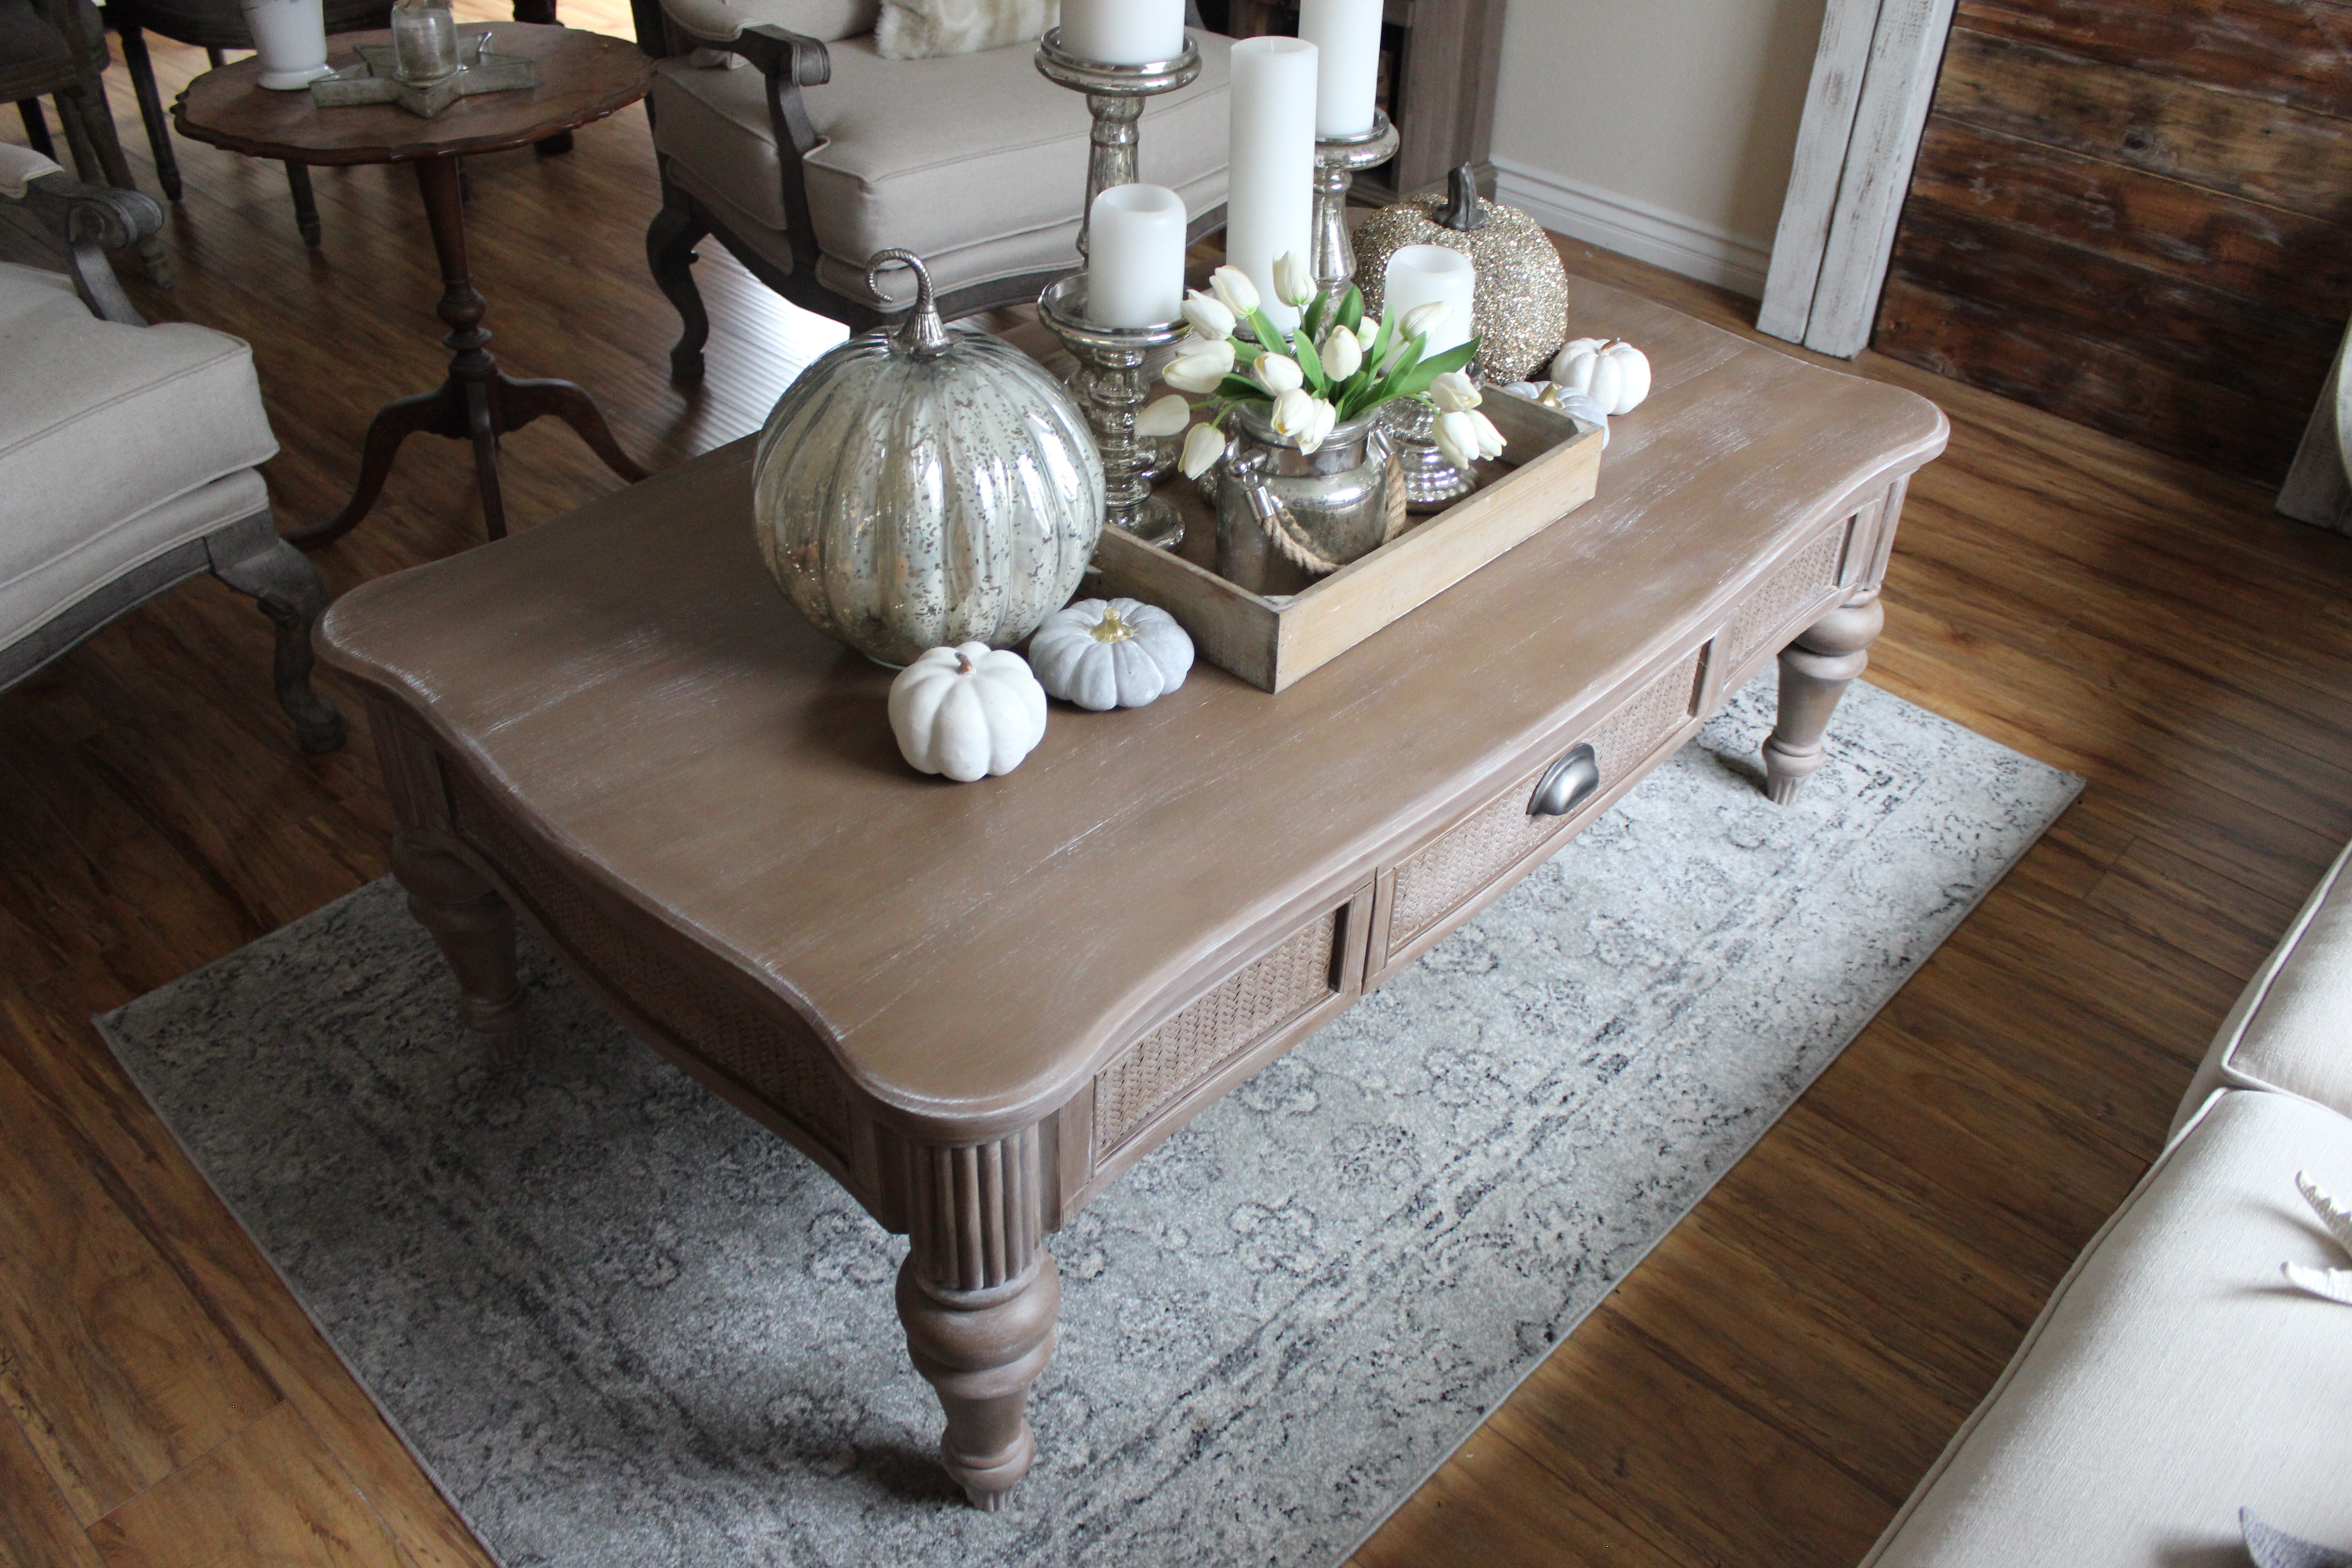
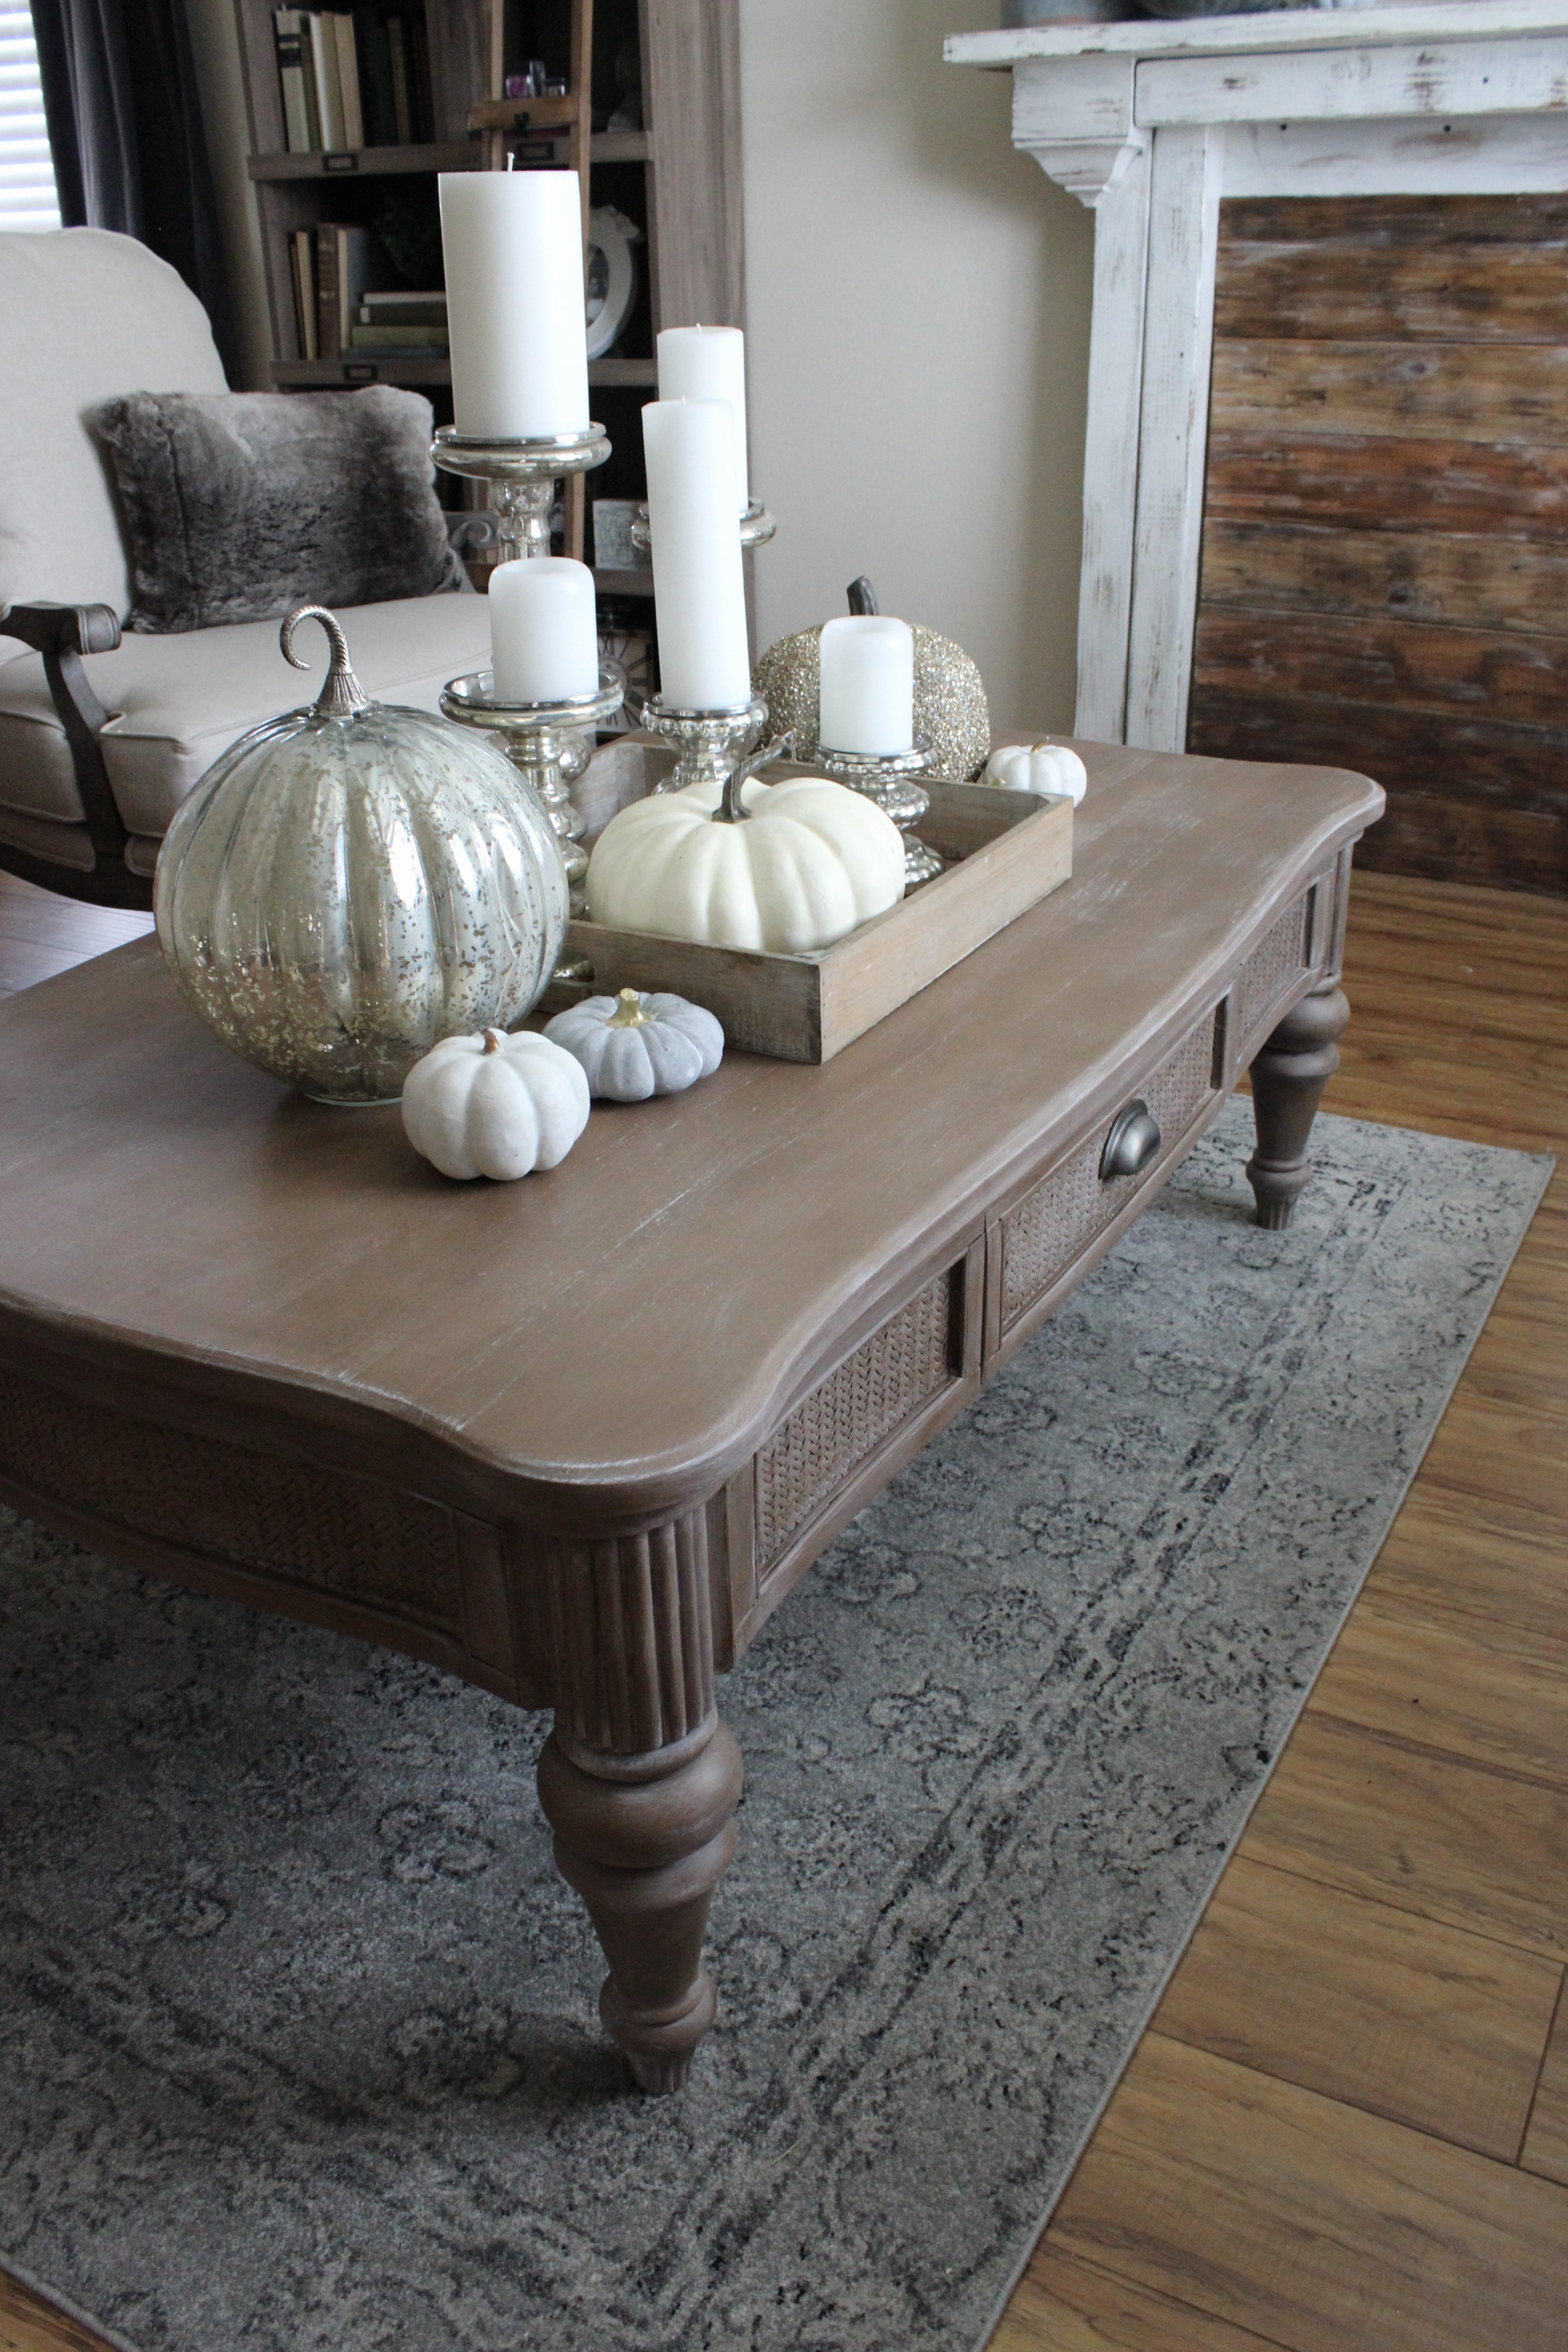
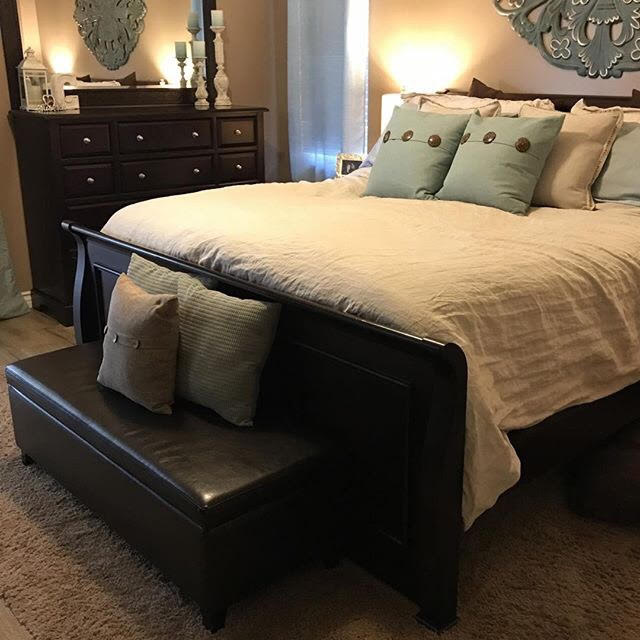
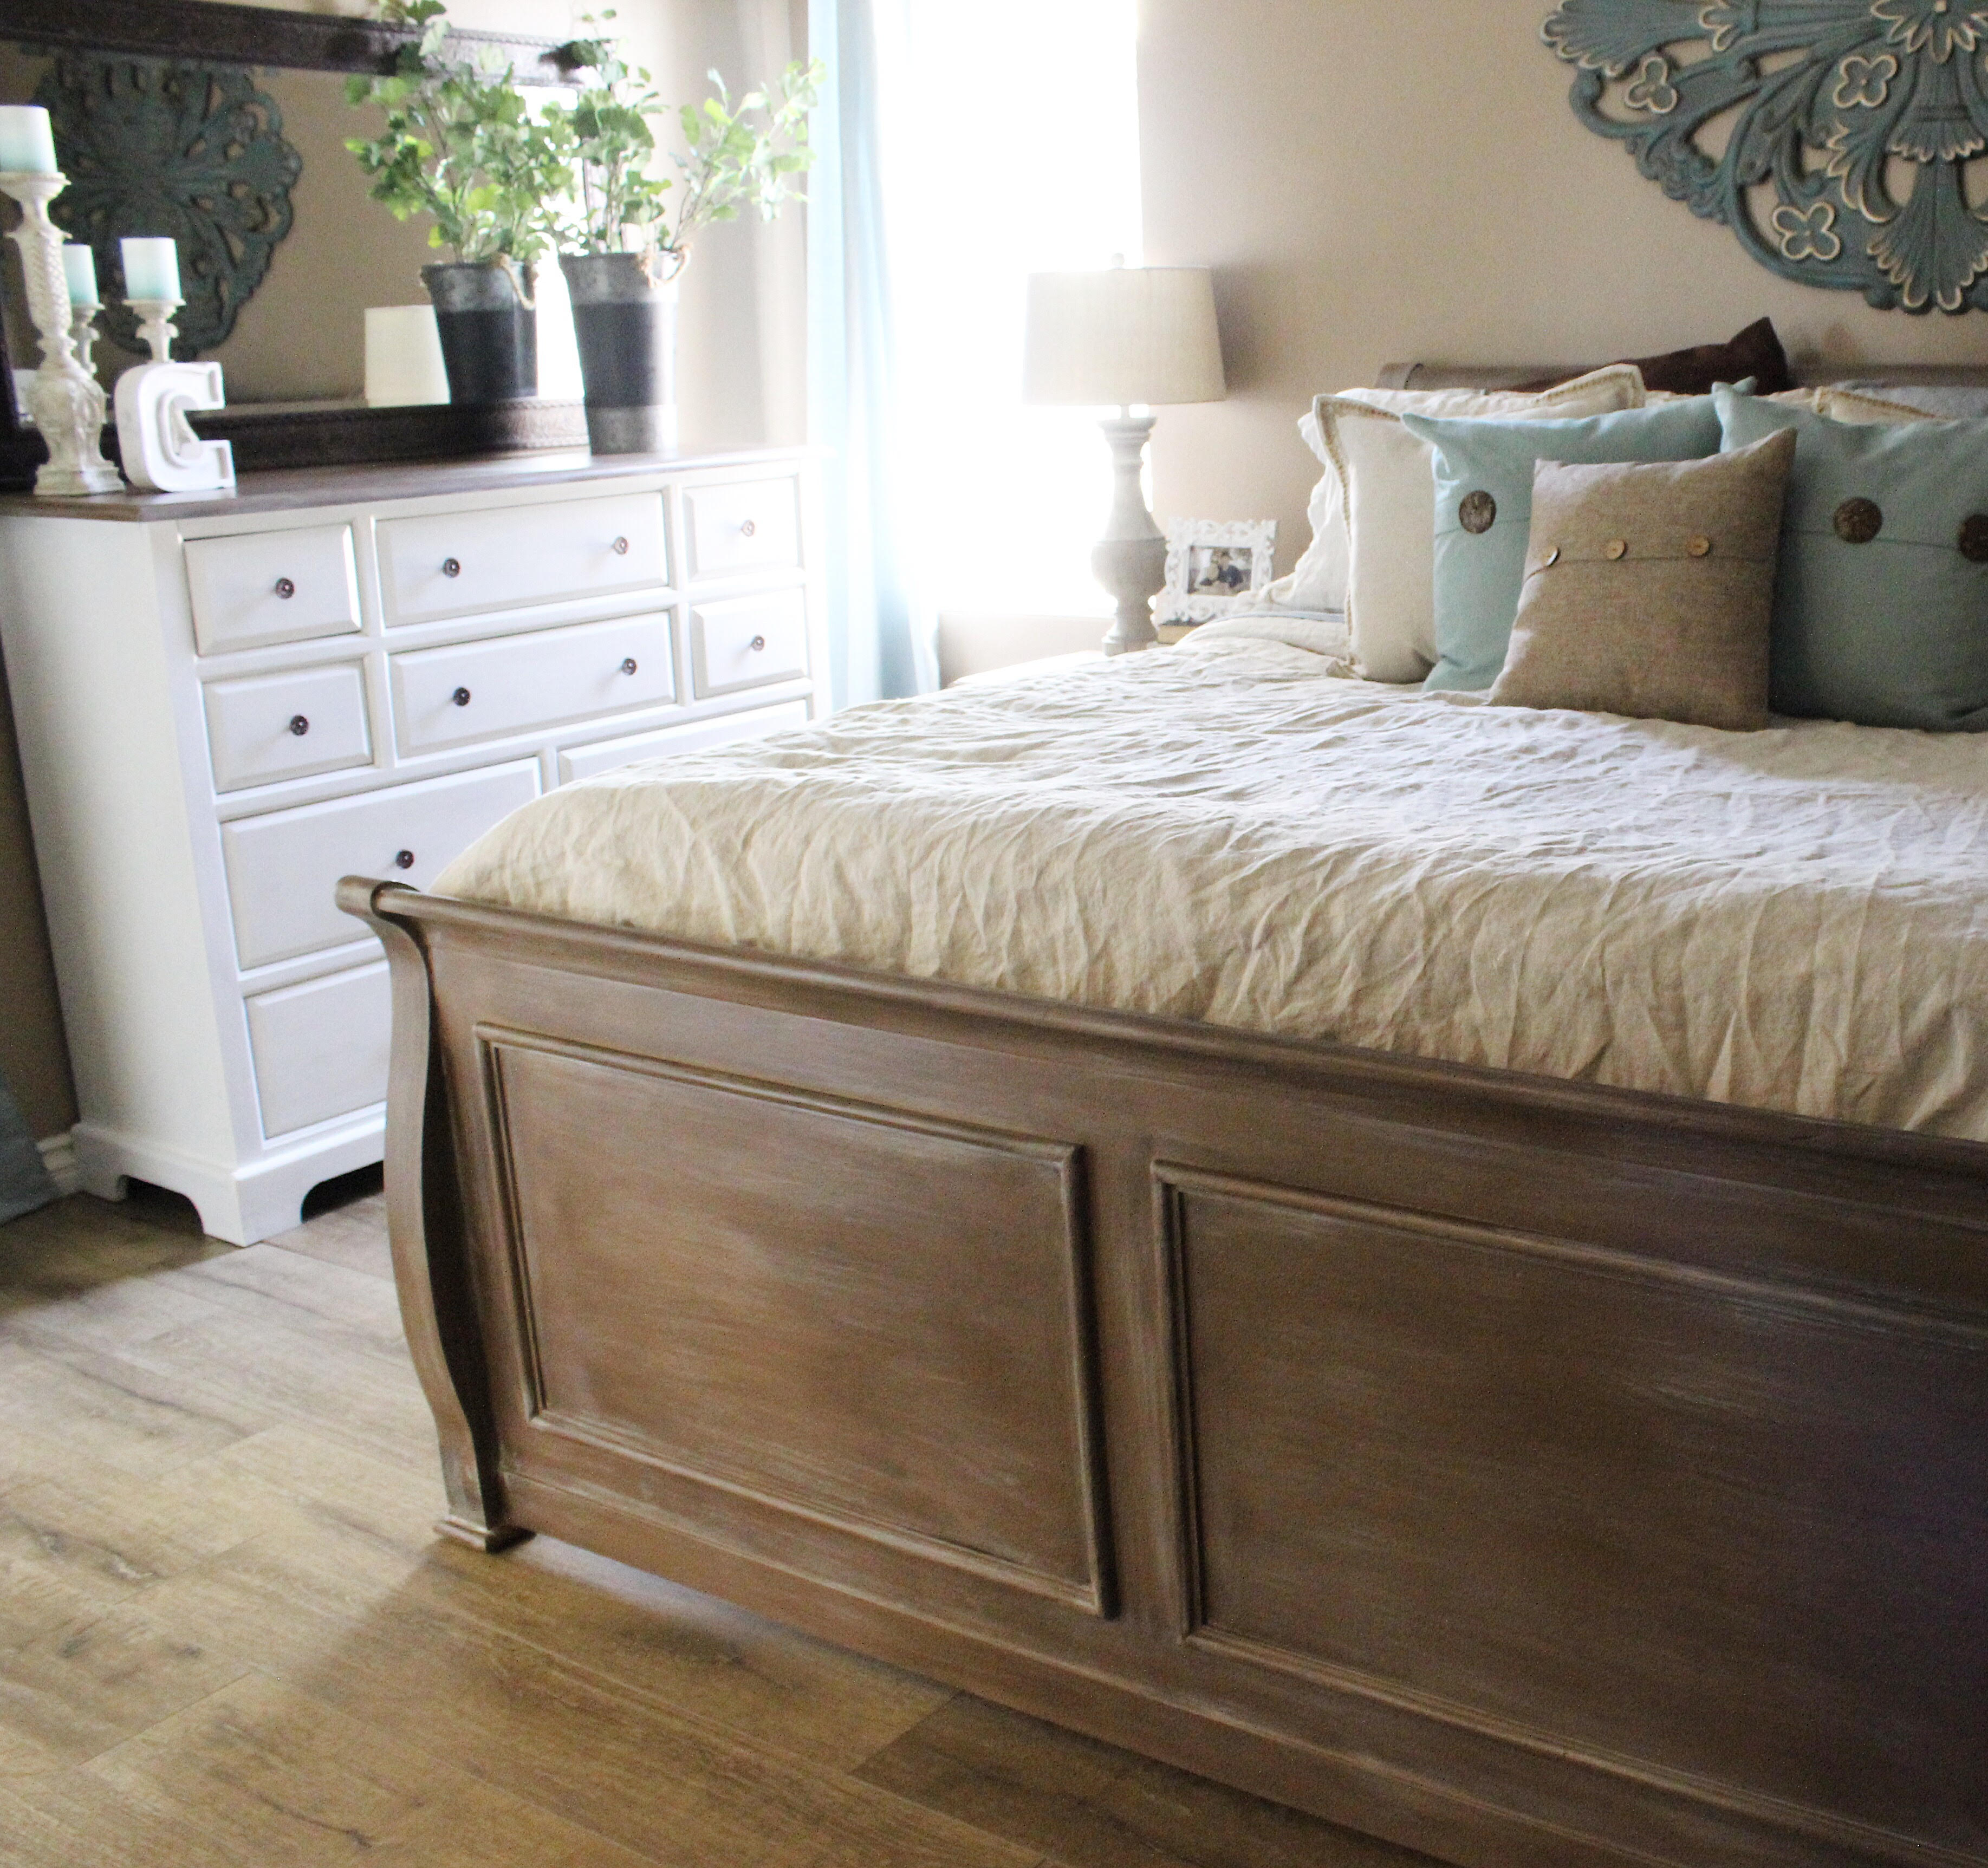
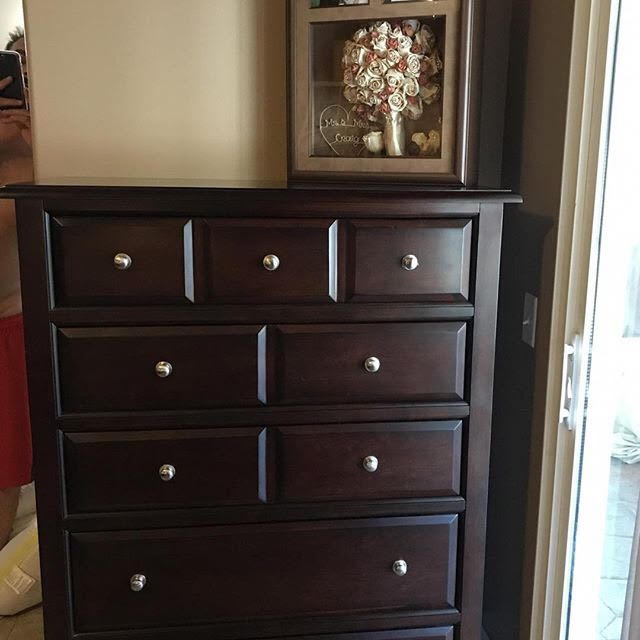
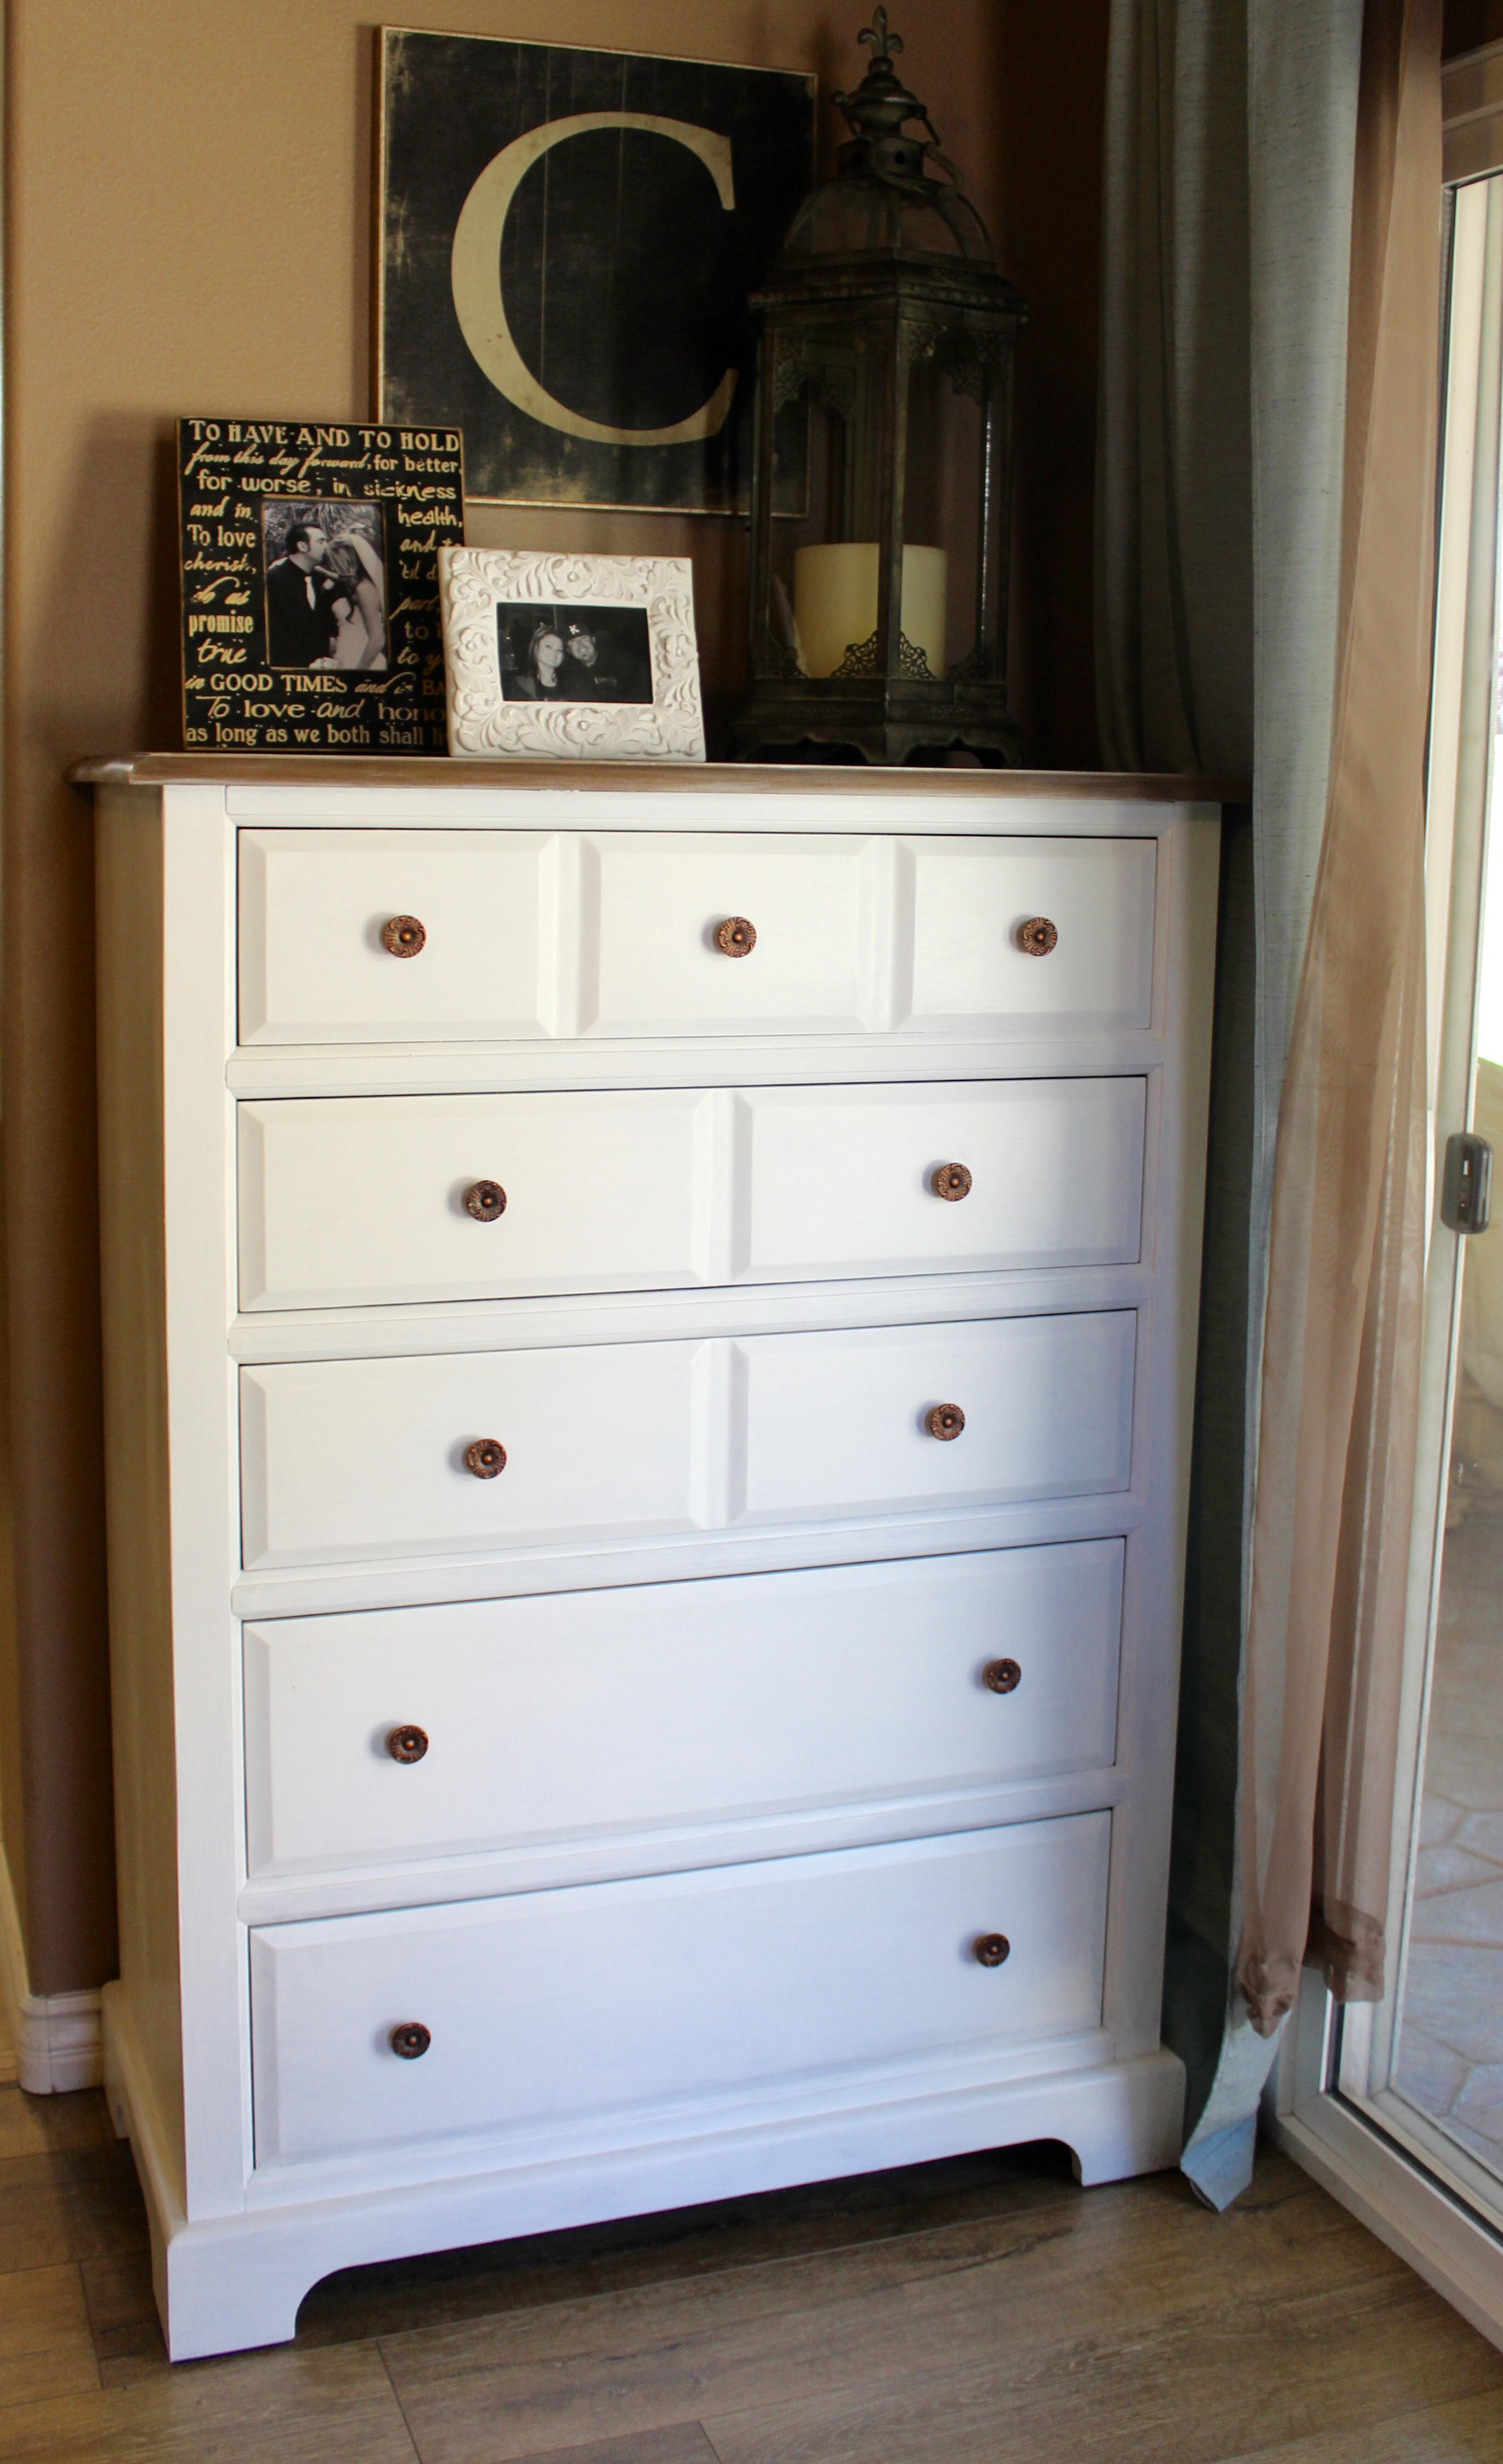
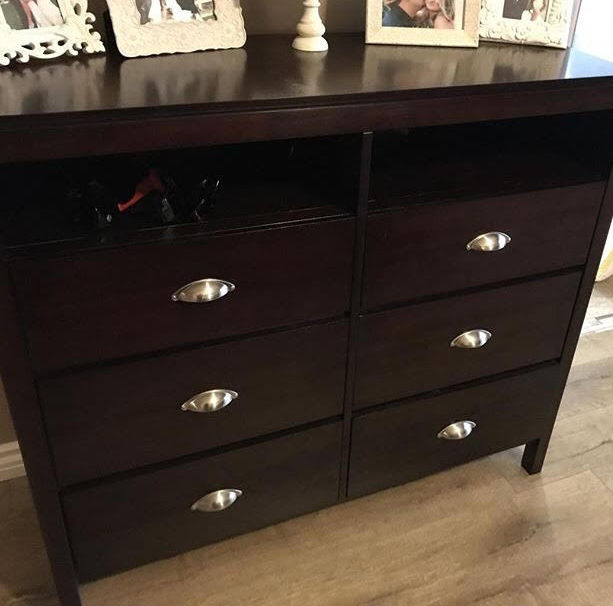
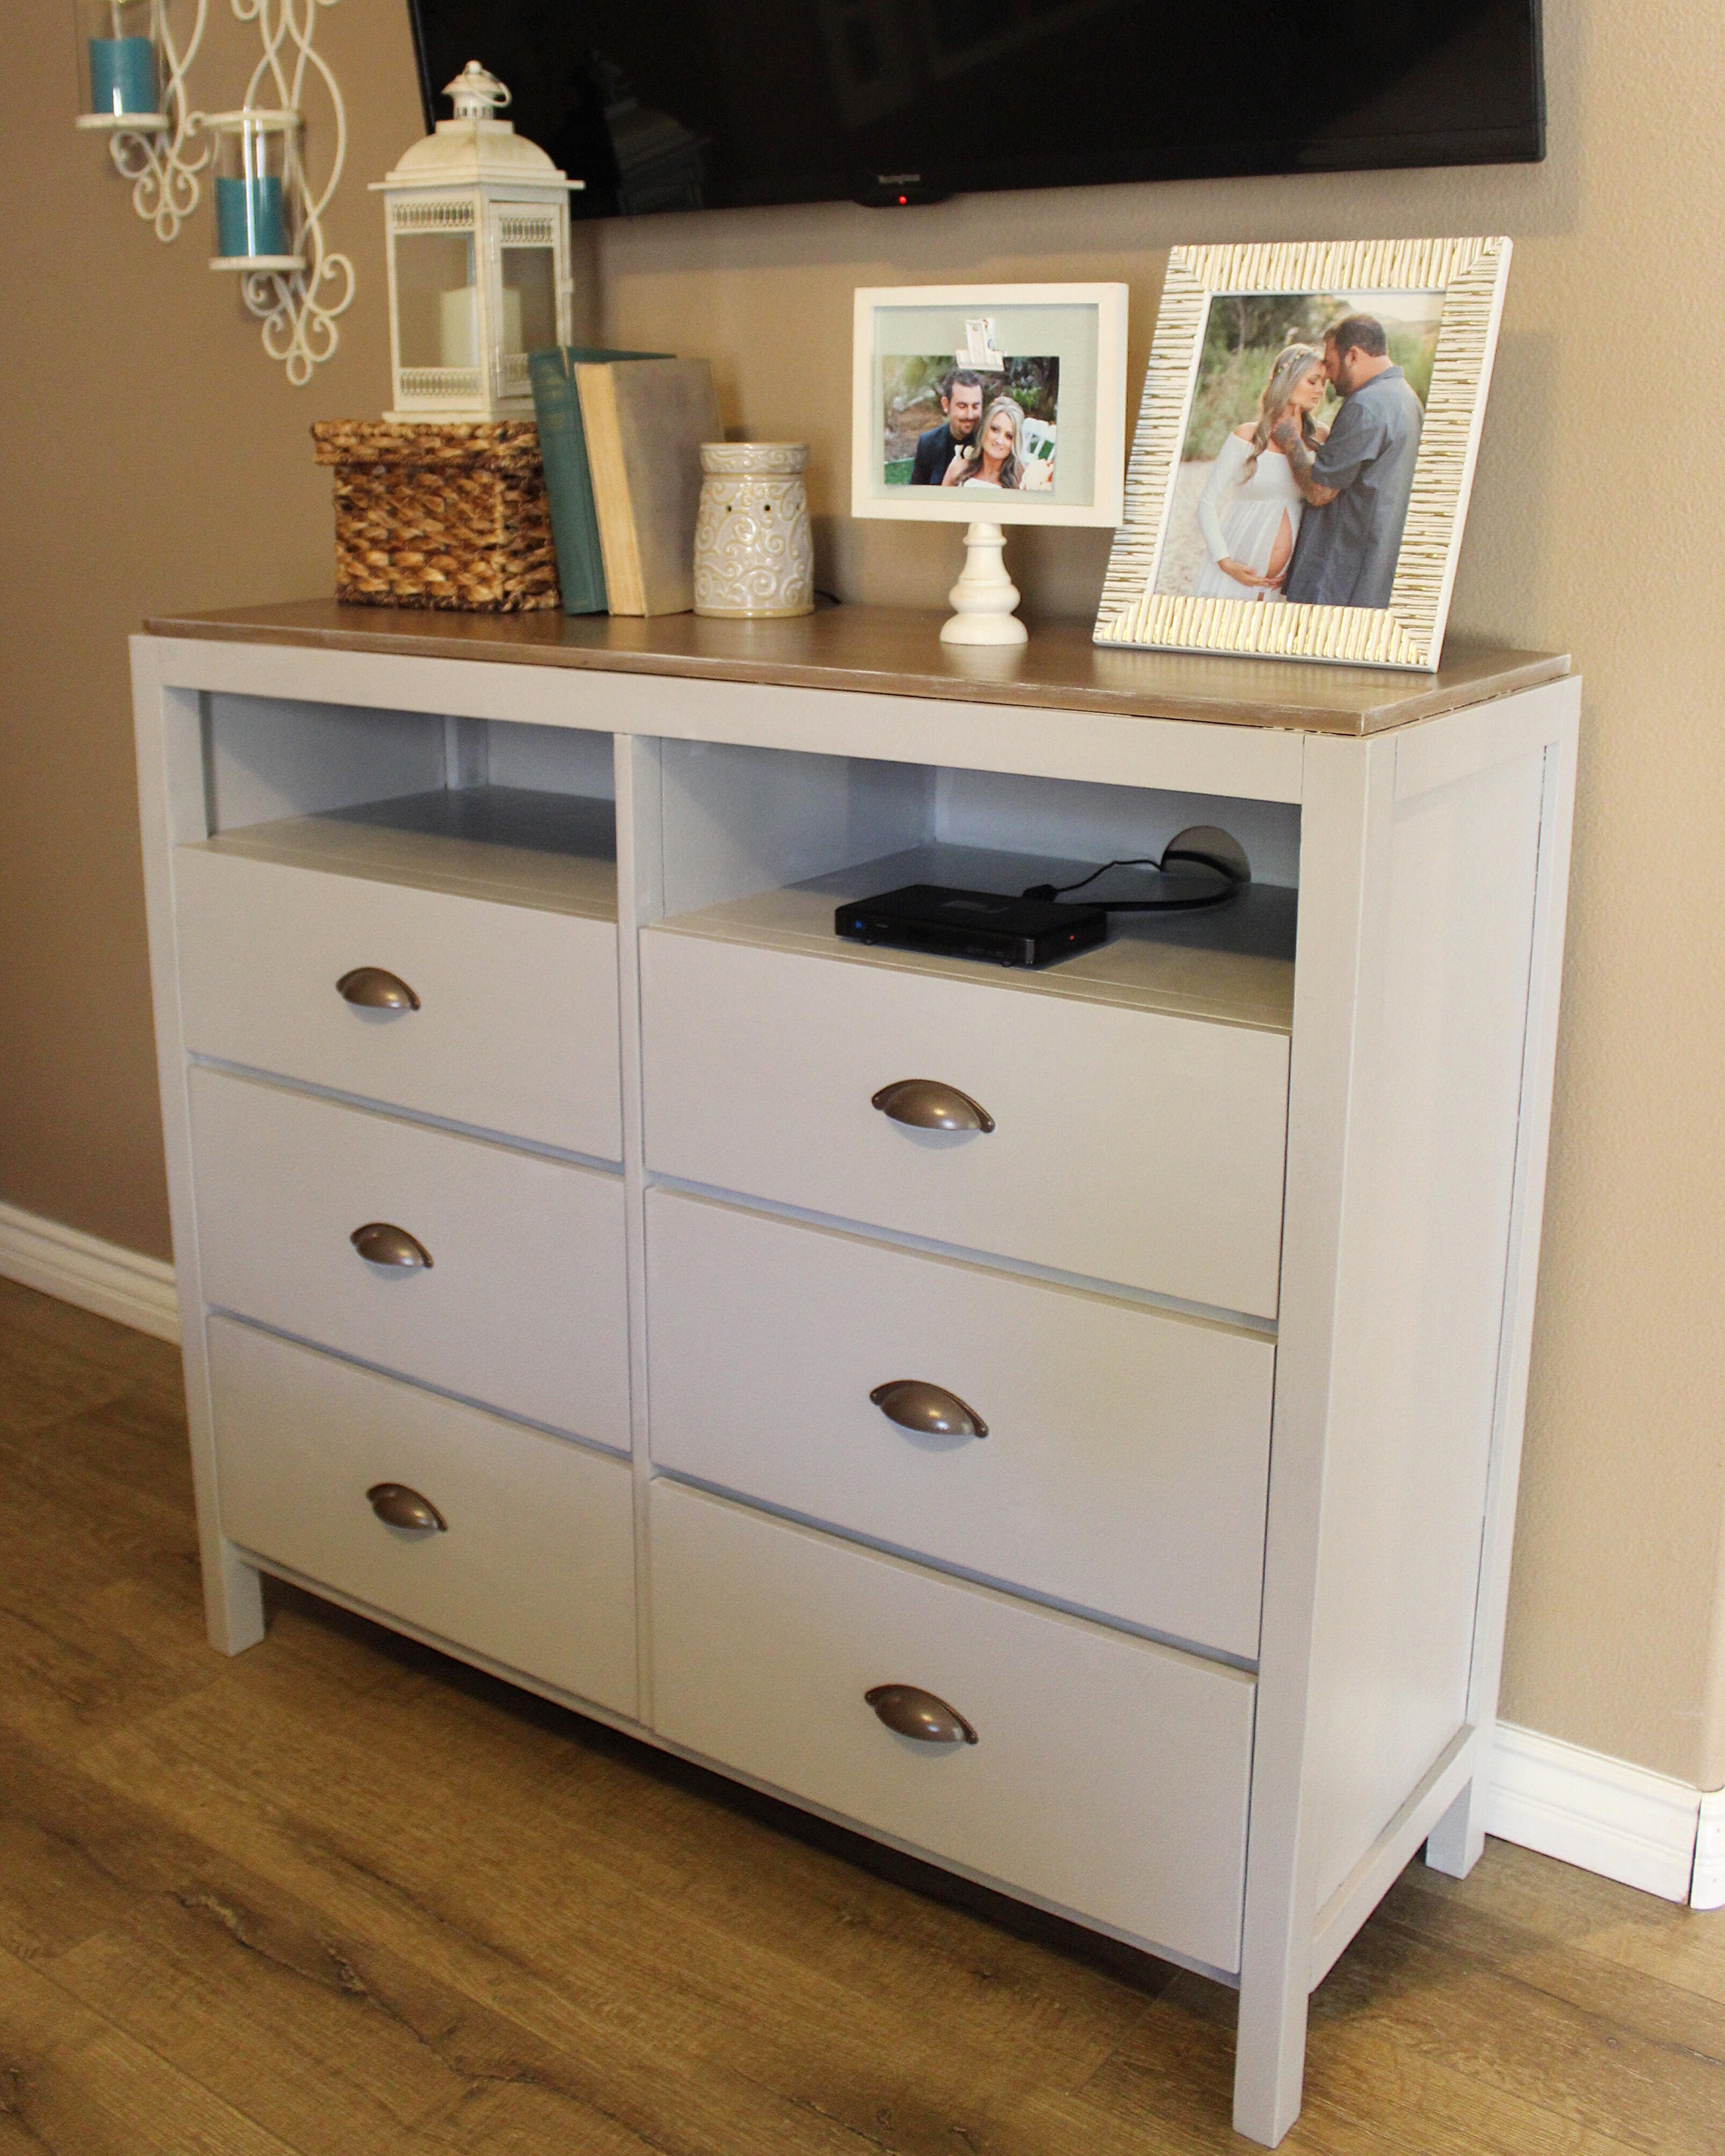
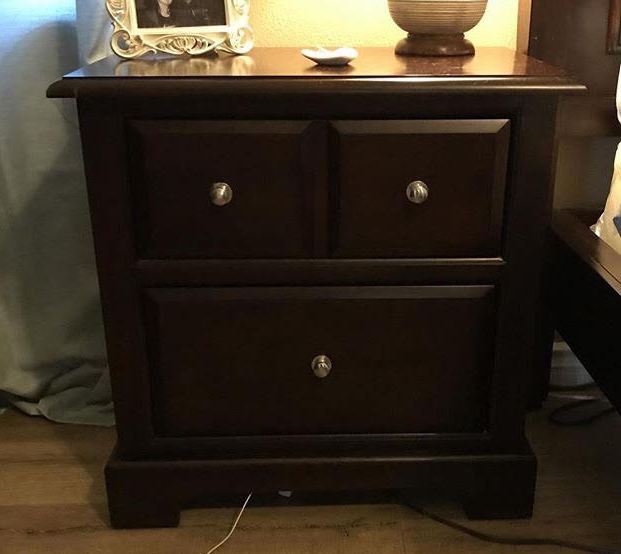
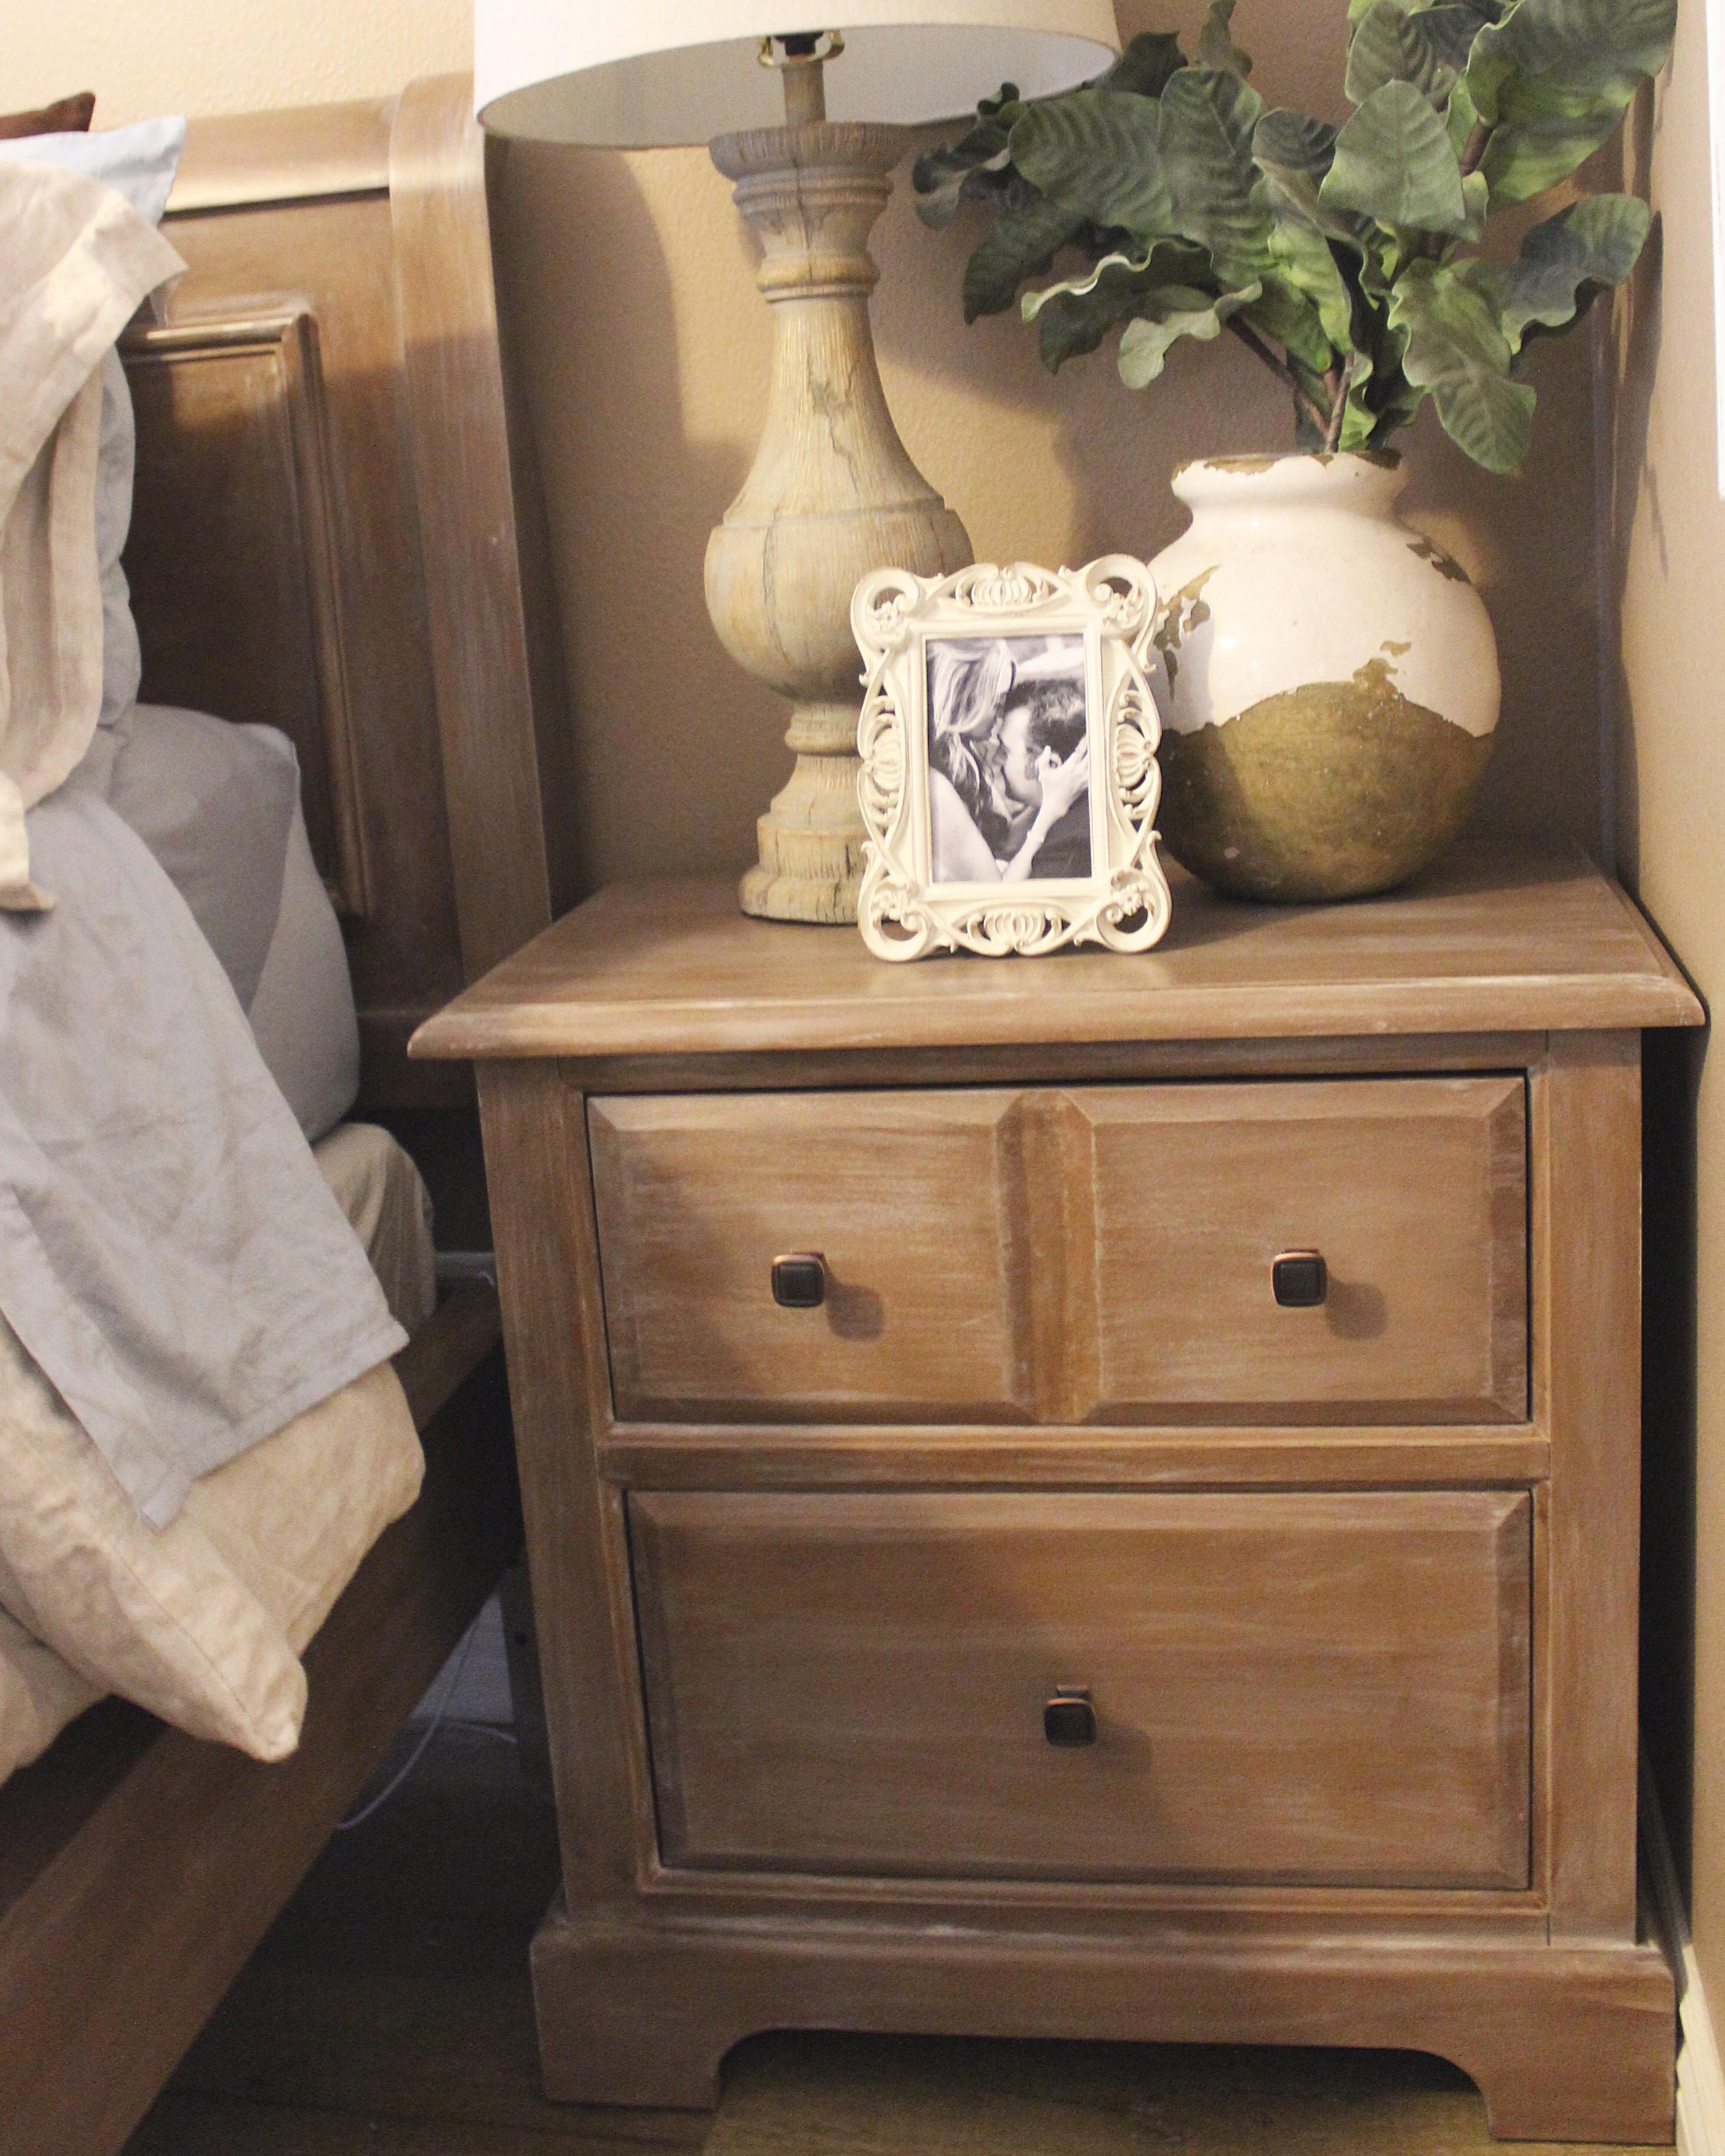
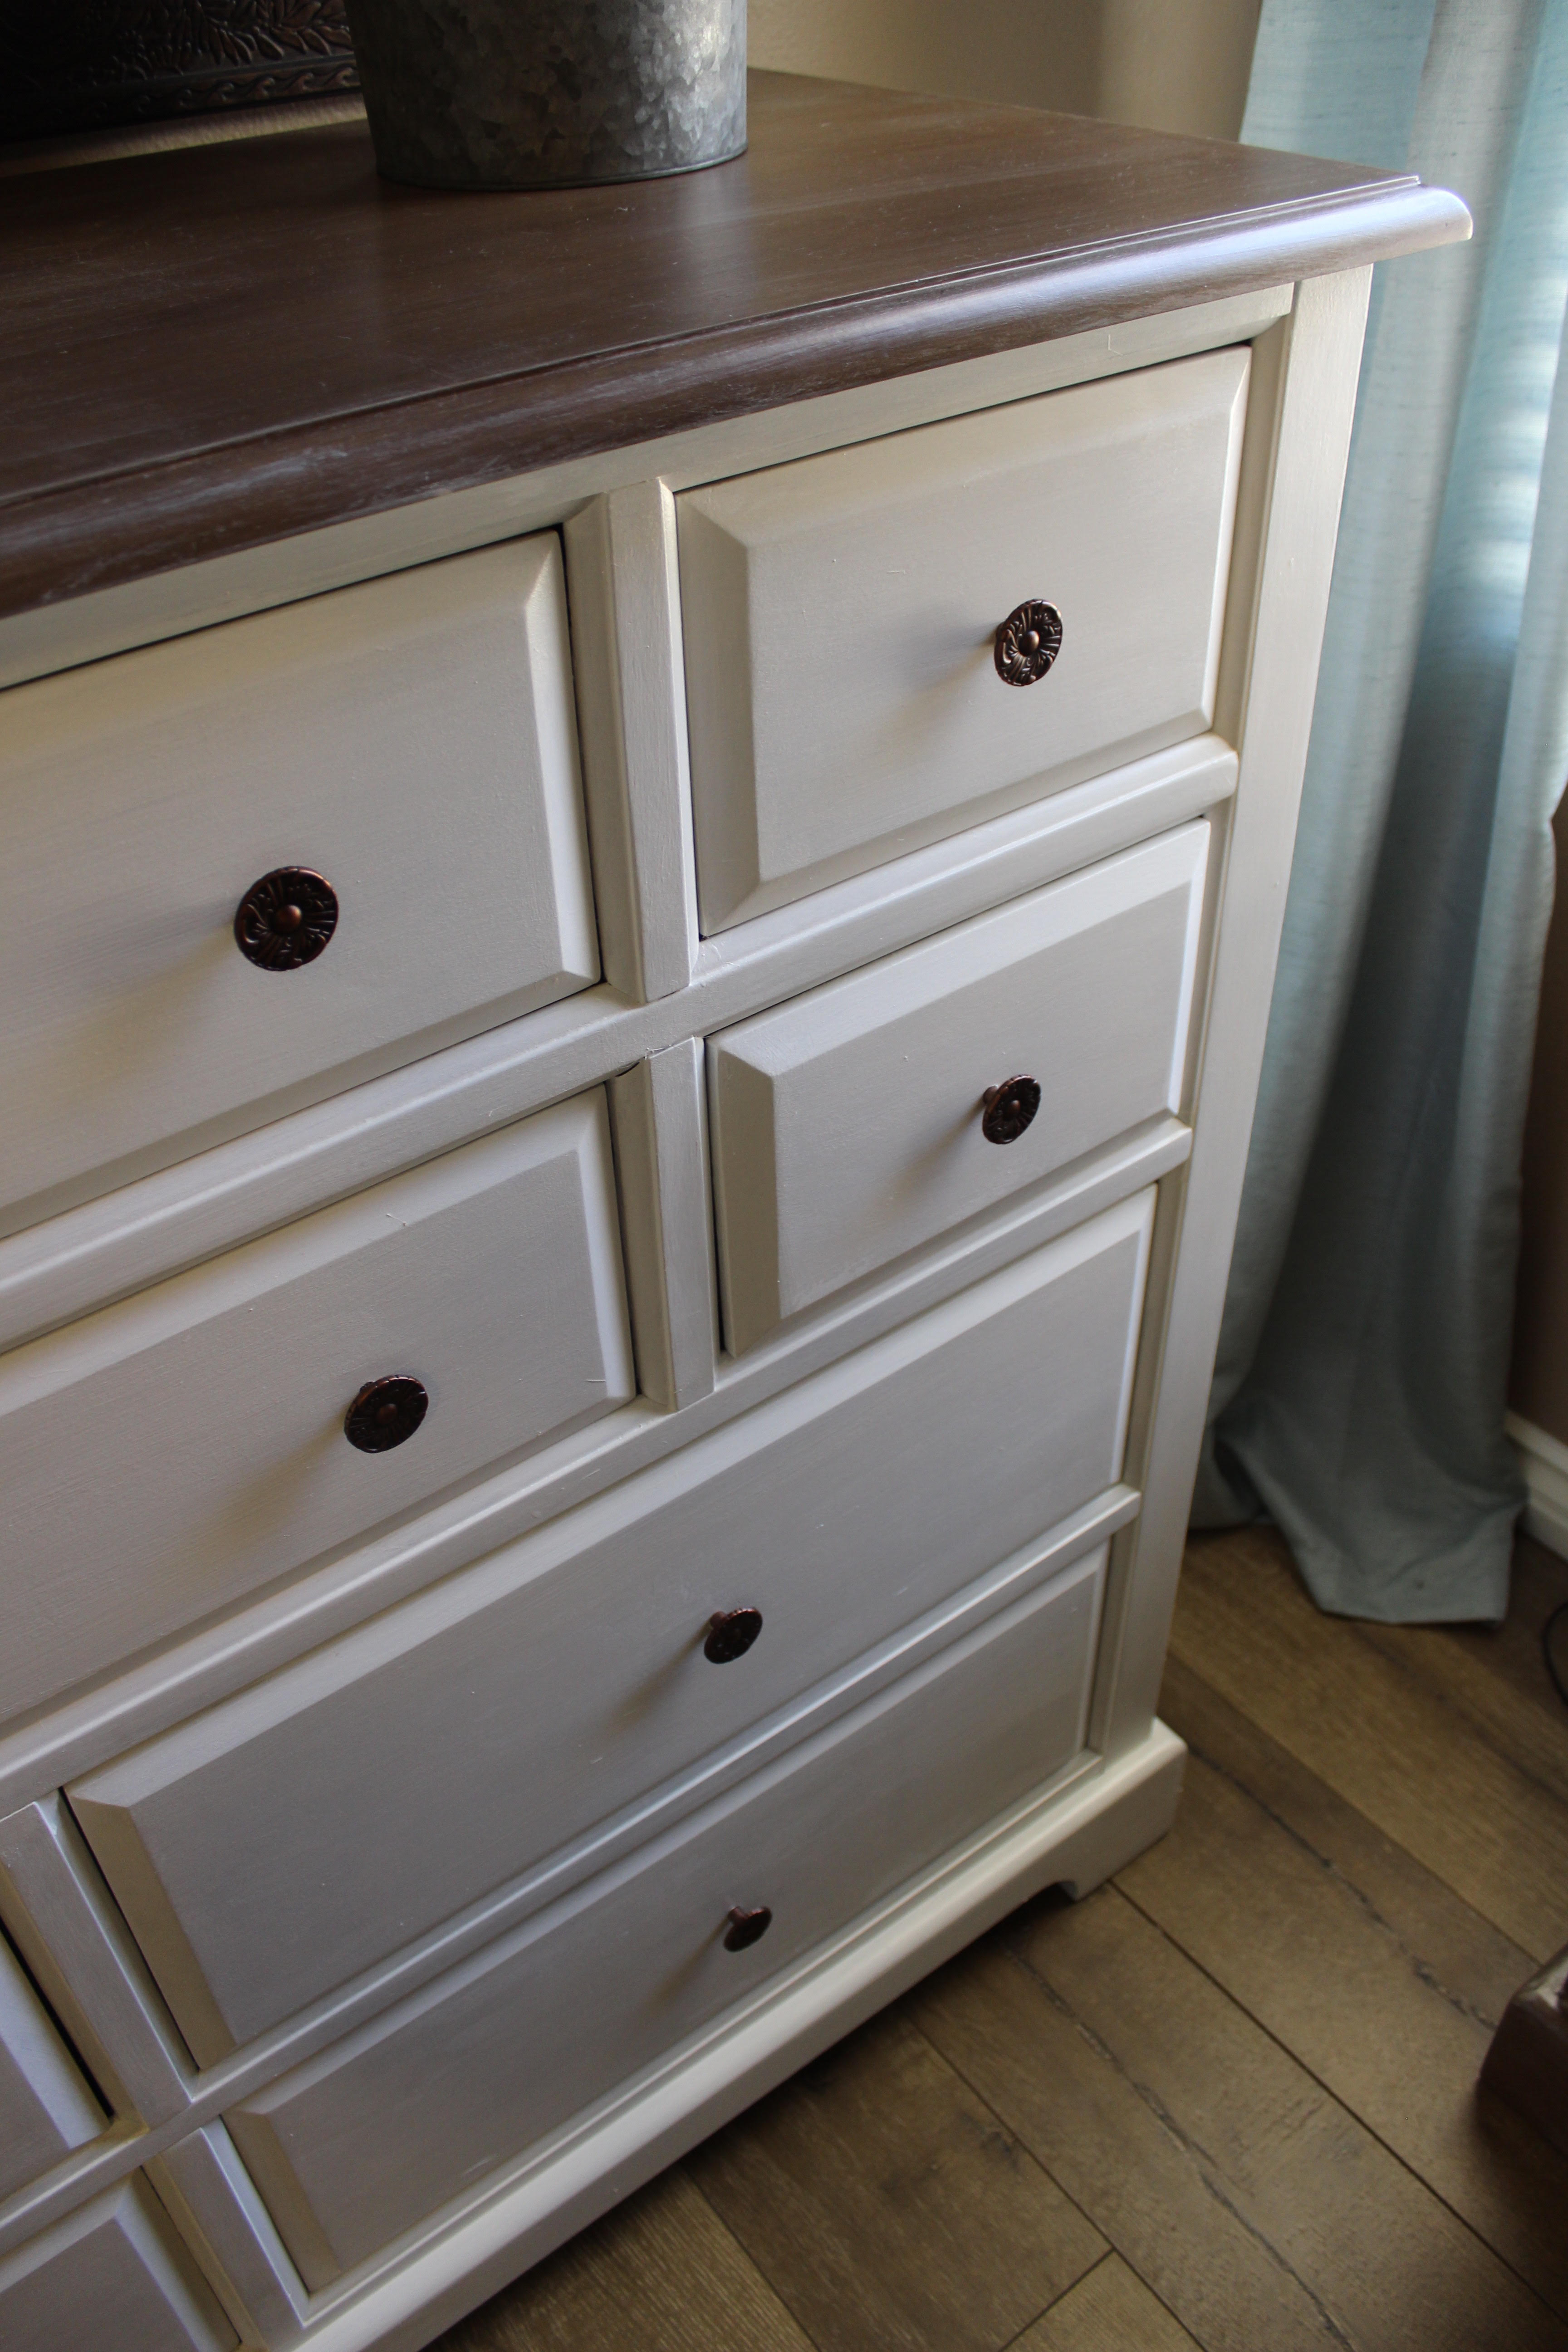
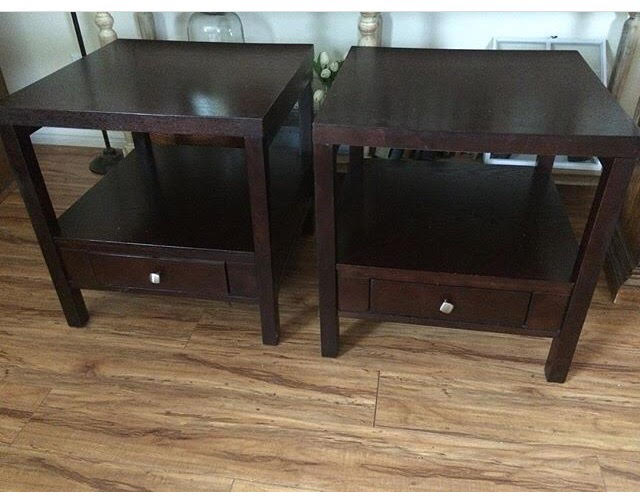
So what do we sell you may ask? Well, for us, there is a lot of extra home decor and even some furniture that we haven’t used in awhile. Either we have replaced it with something else, bought it and never used it (guilty) or it just doesn’t fit our style anymore.  What I like to do is go through room by room, clear out items that we no longer want or need and turn it into some cash. We do this by posting our things online through local resale sites like Facebook Marketplace and OfferUp. These two sites is where we have had the most success in selling.

I try to only take time to photograph and list items that I feel will sell fast and remember good pricing is key!
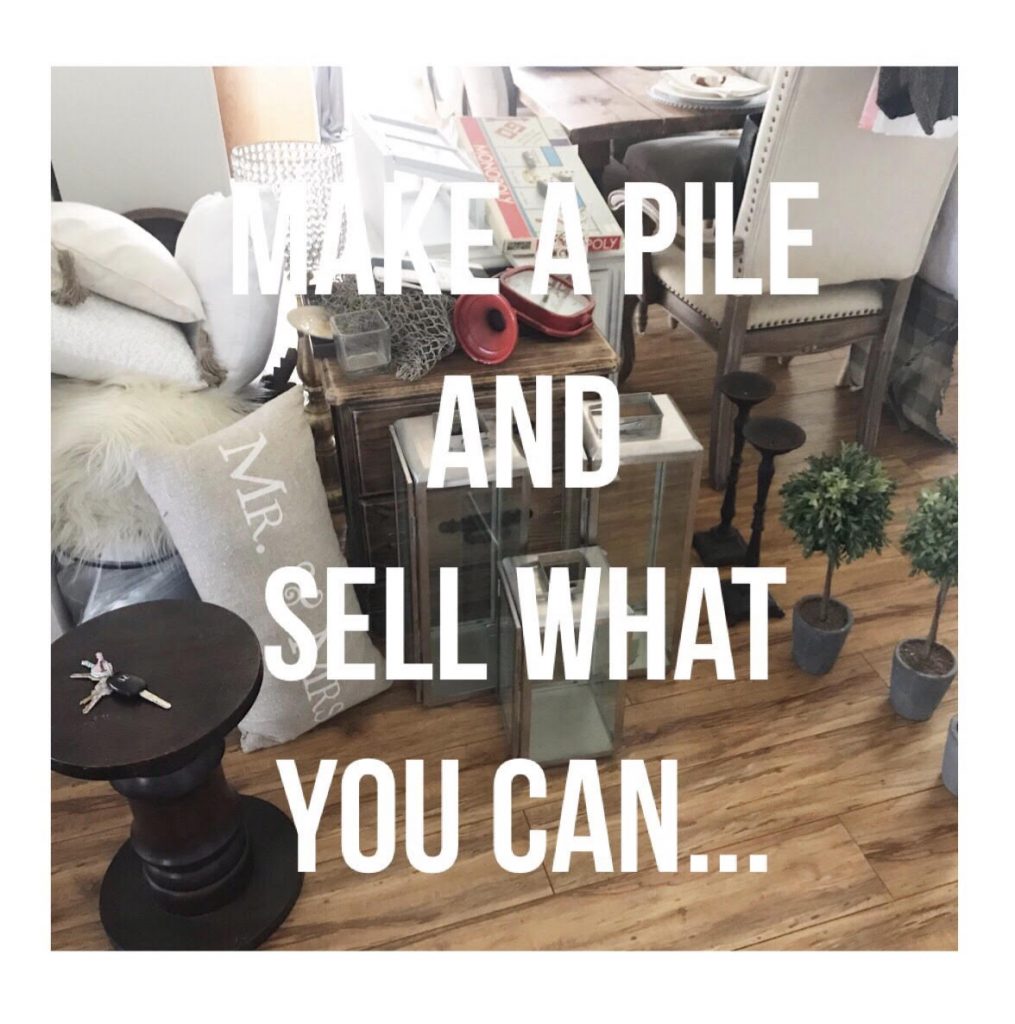
While going through our items, I also like to make donate and toss piles, might as well de-clutter while you’re at it!

  3. Remember to be intentional with your purchases. Do you LOVE it?

After going though the house, taking the time and energy to photograph, list and sell, arranging pickups or meetups… you will soon realize it’s a lot of work to sell your stuff! Even having a garage sale is another option but that’s also a lot of work and time!So when it’s time to spend (or save) your earnings, I personally want to make sure it goes toward something we really need for the house or an item I have been eyeing, but hadn’t allowed myself to purchase; I want to make it worth it!

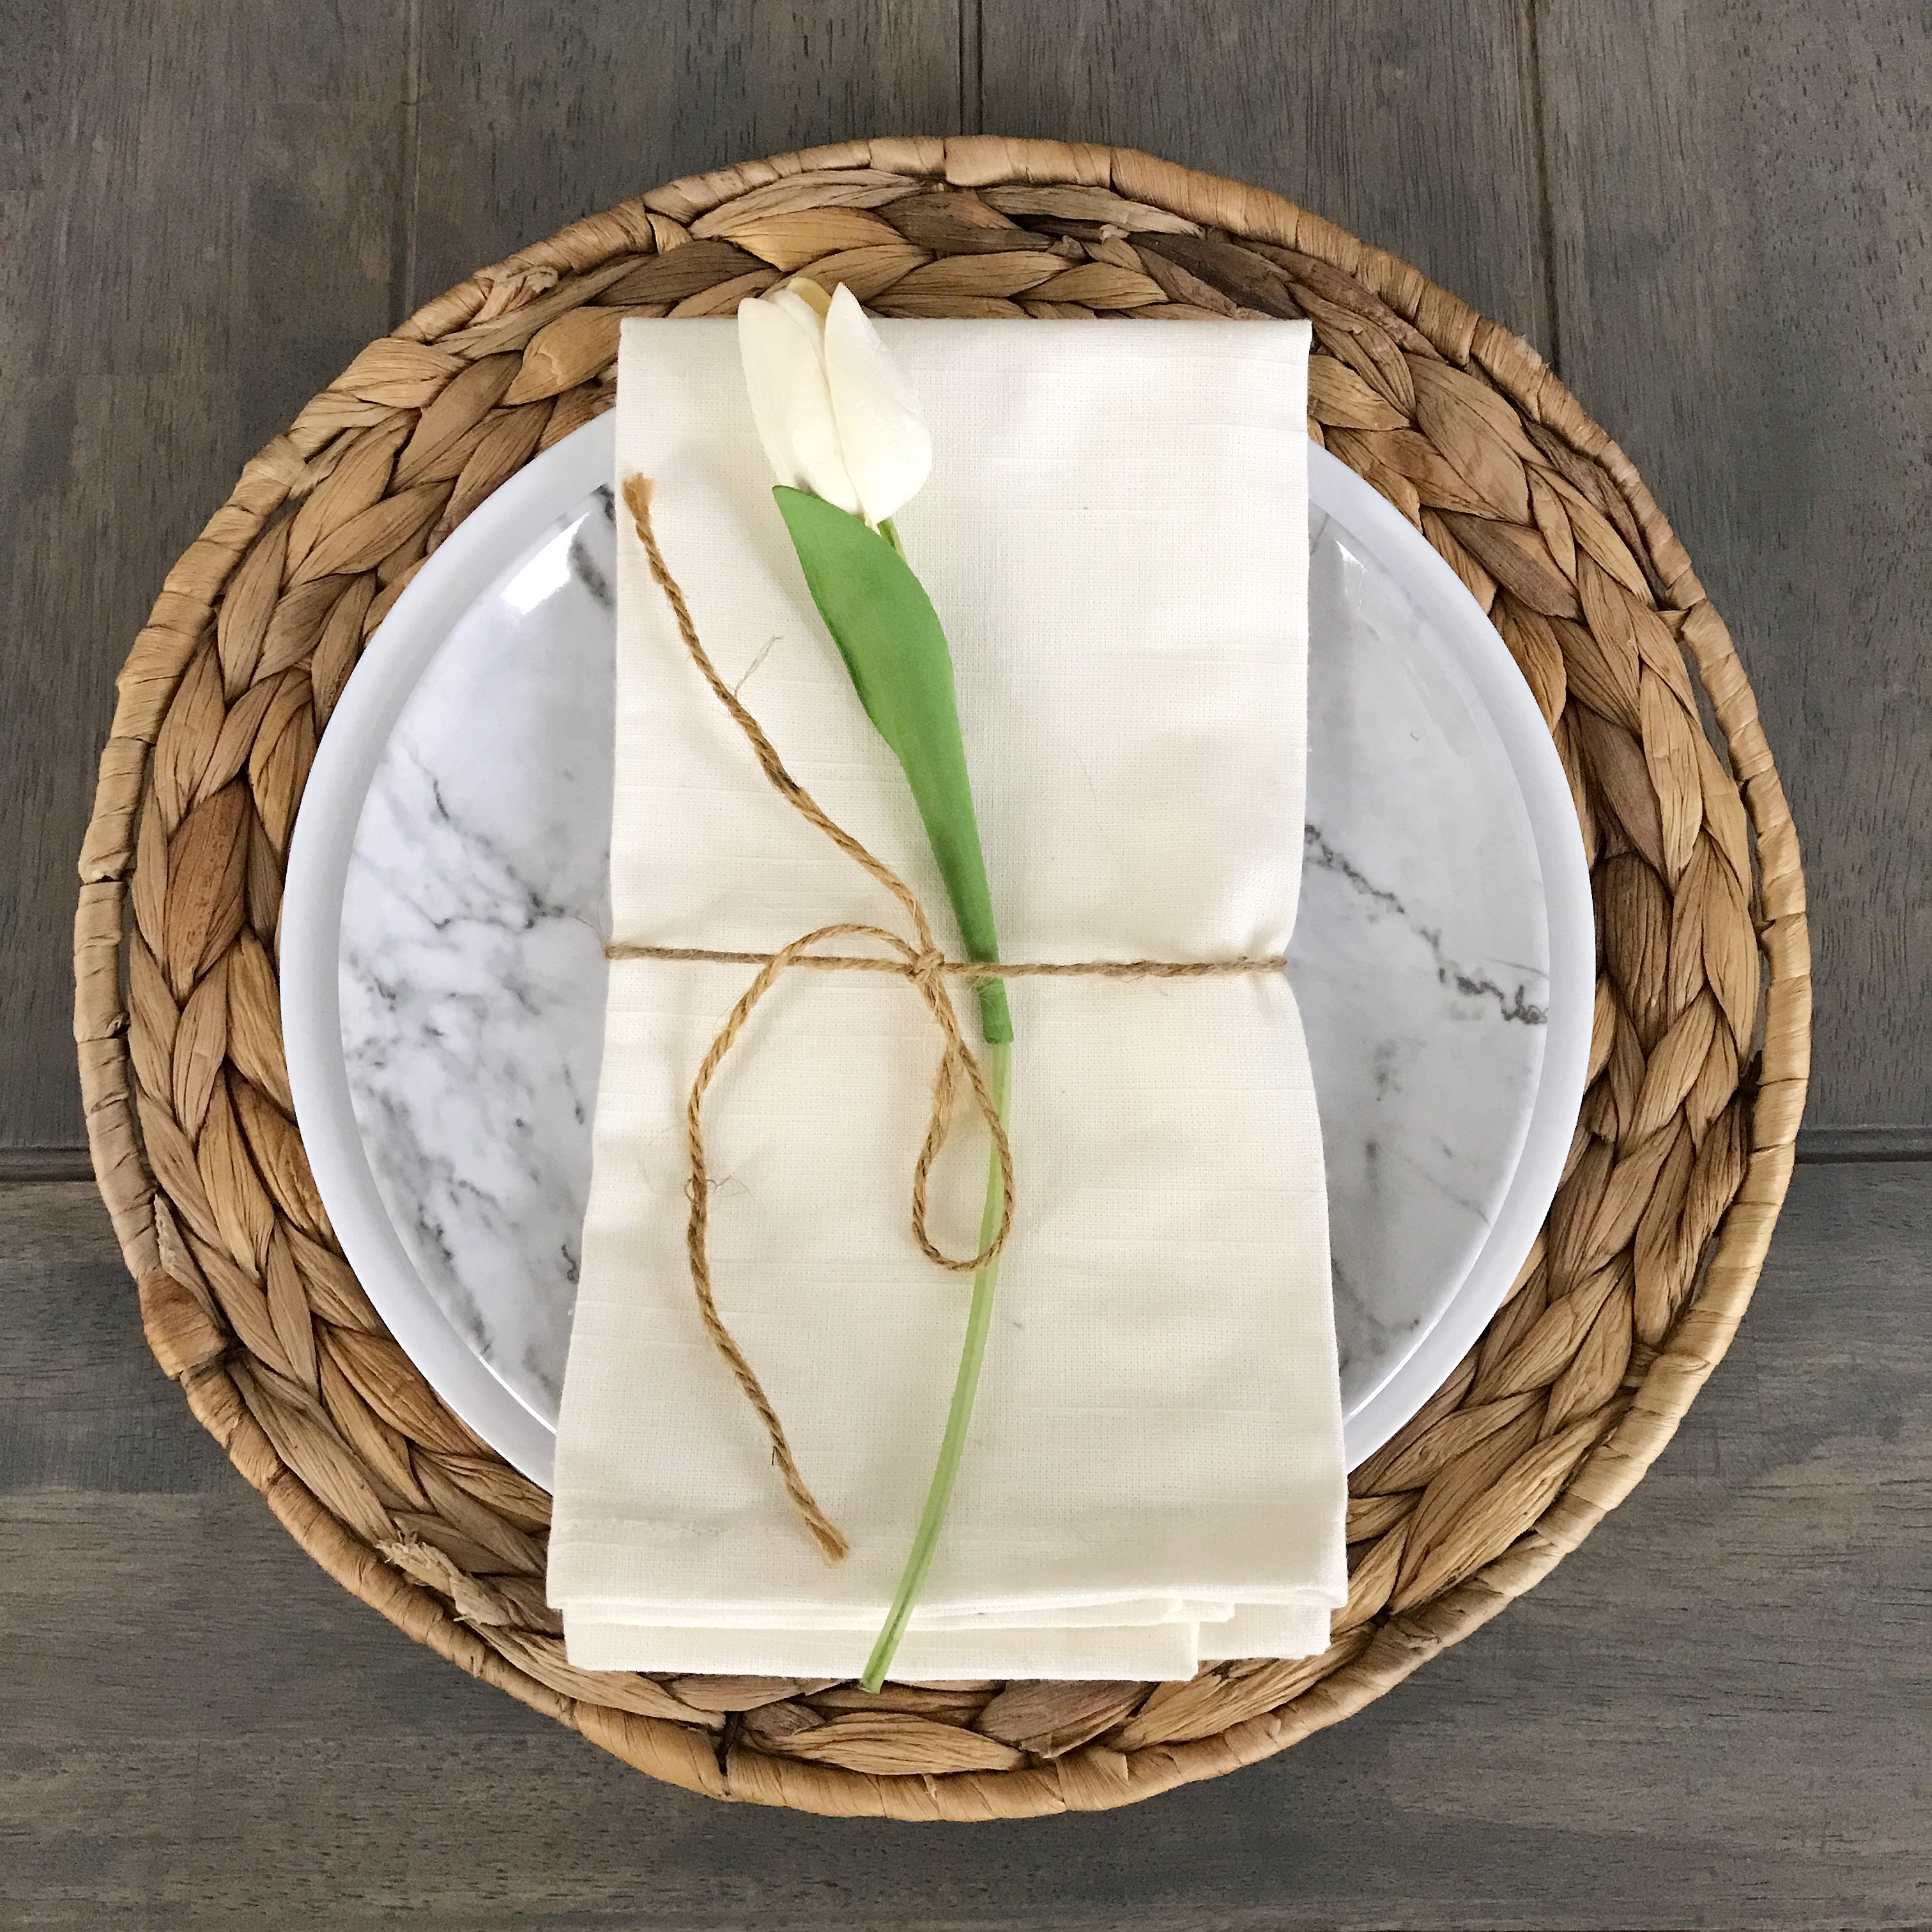
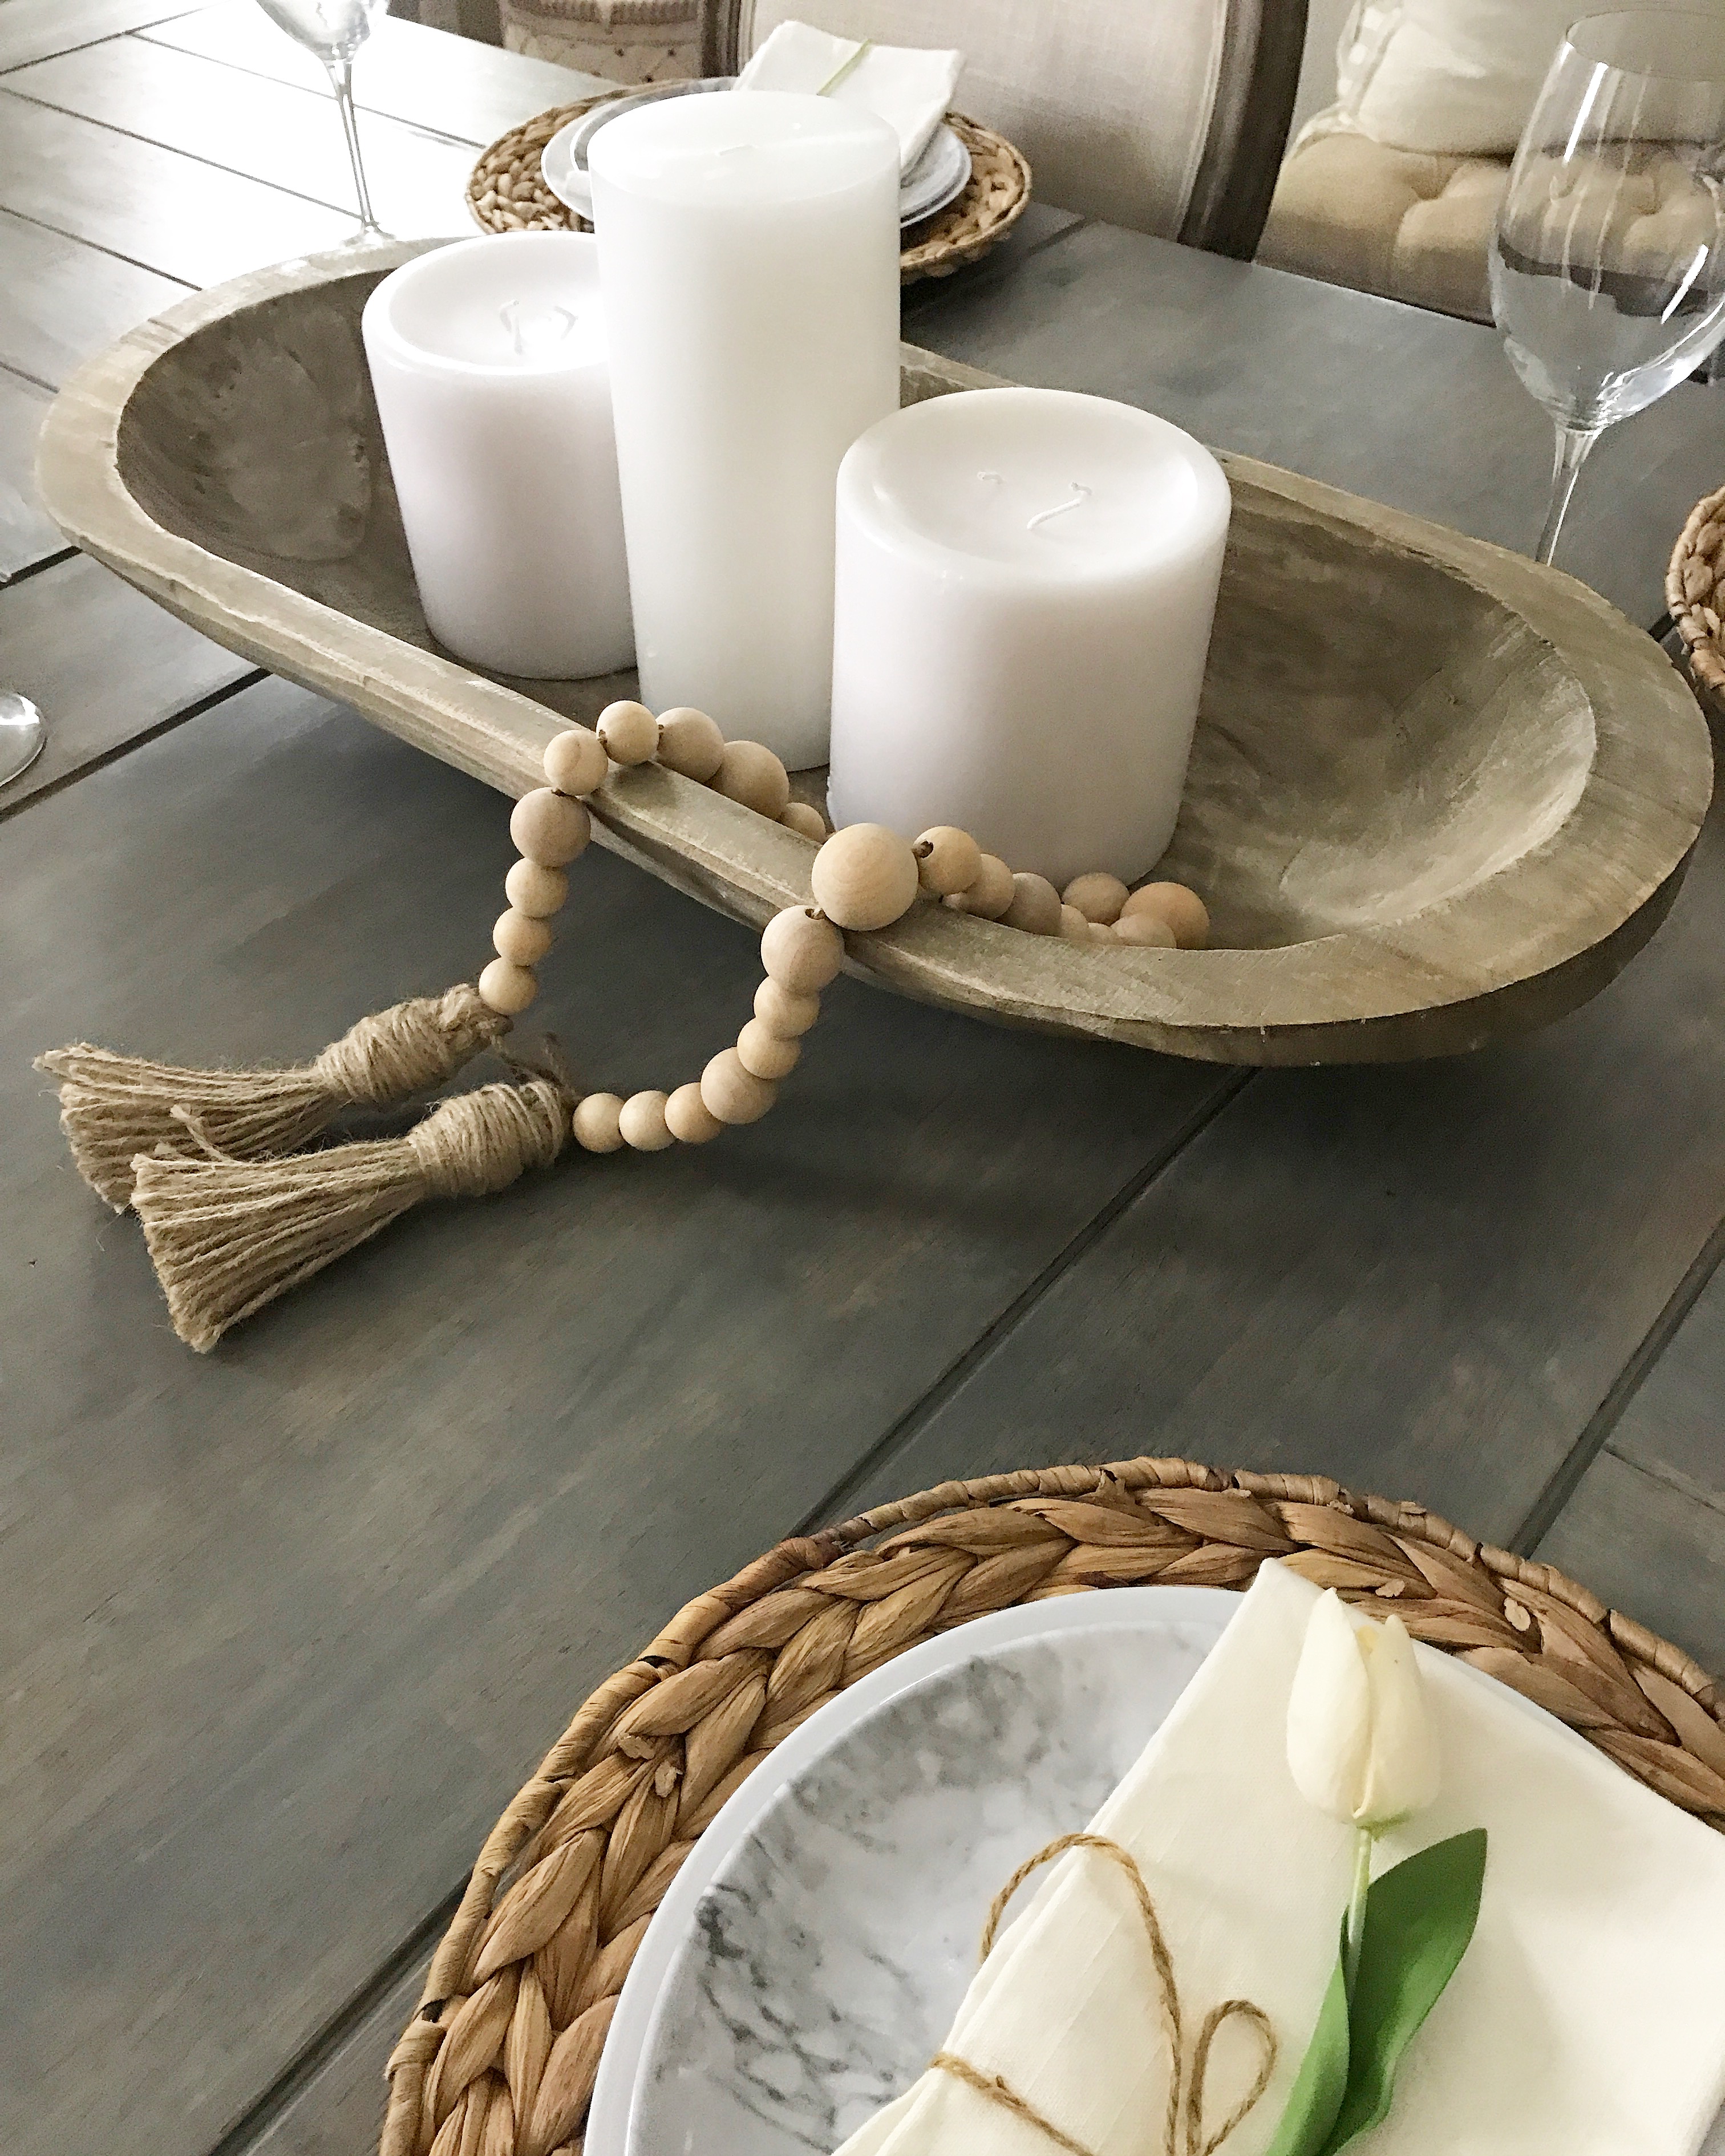
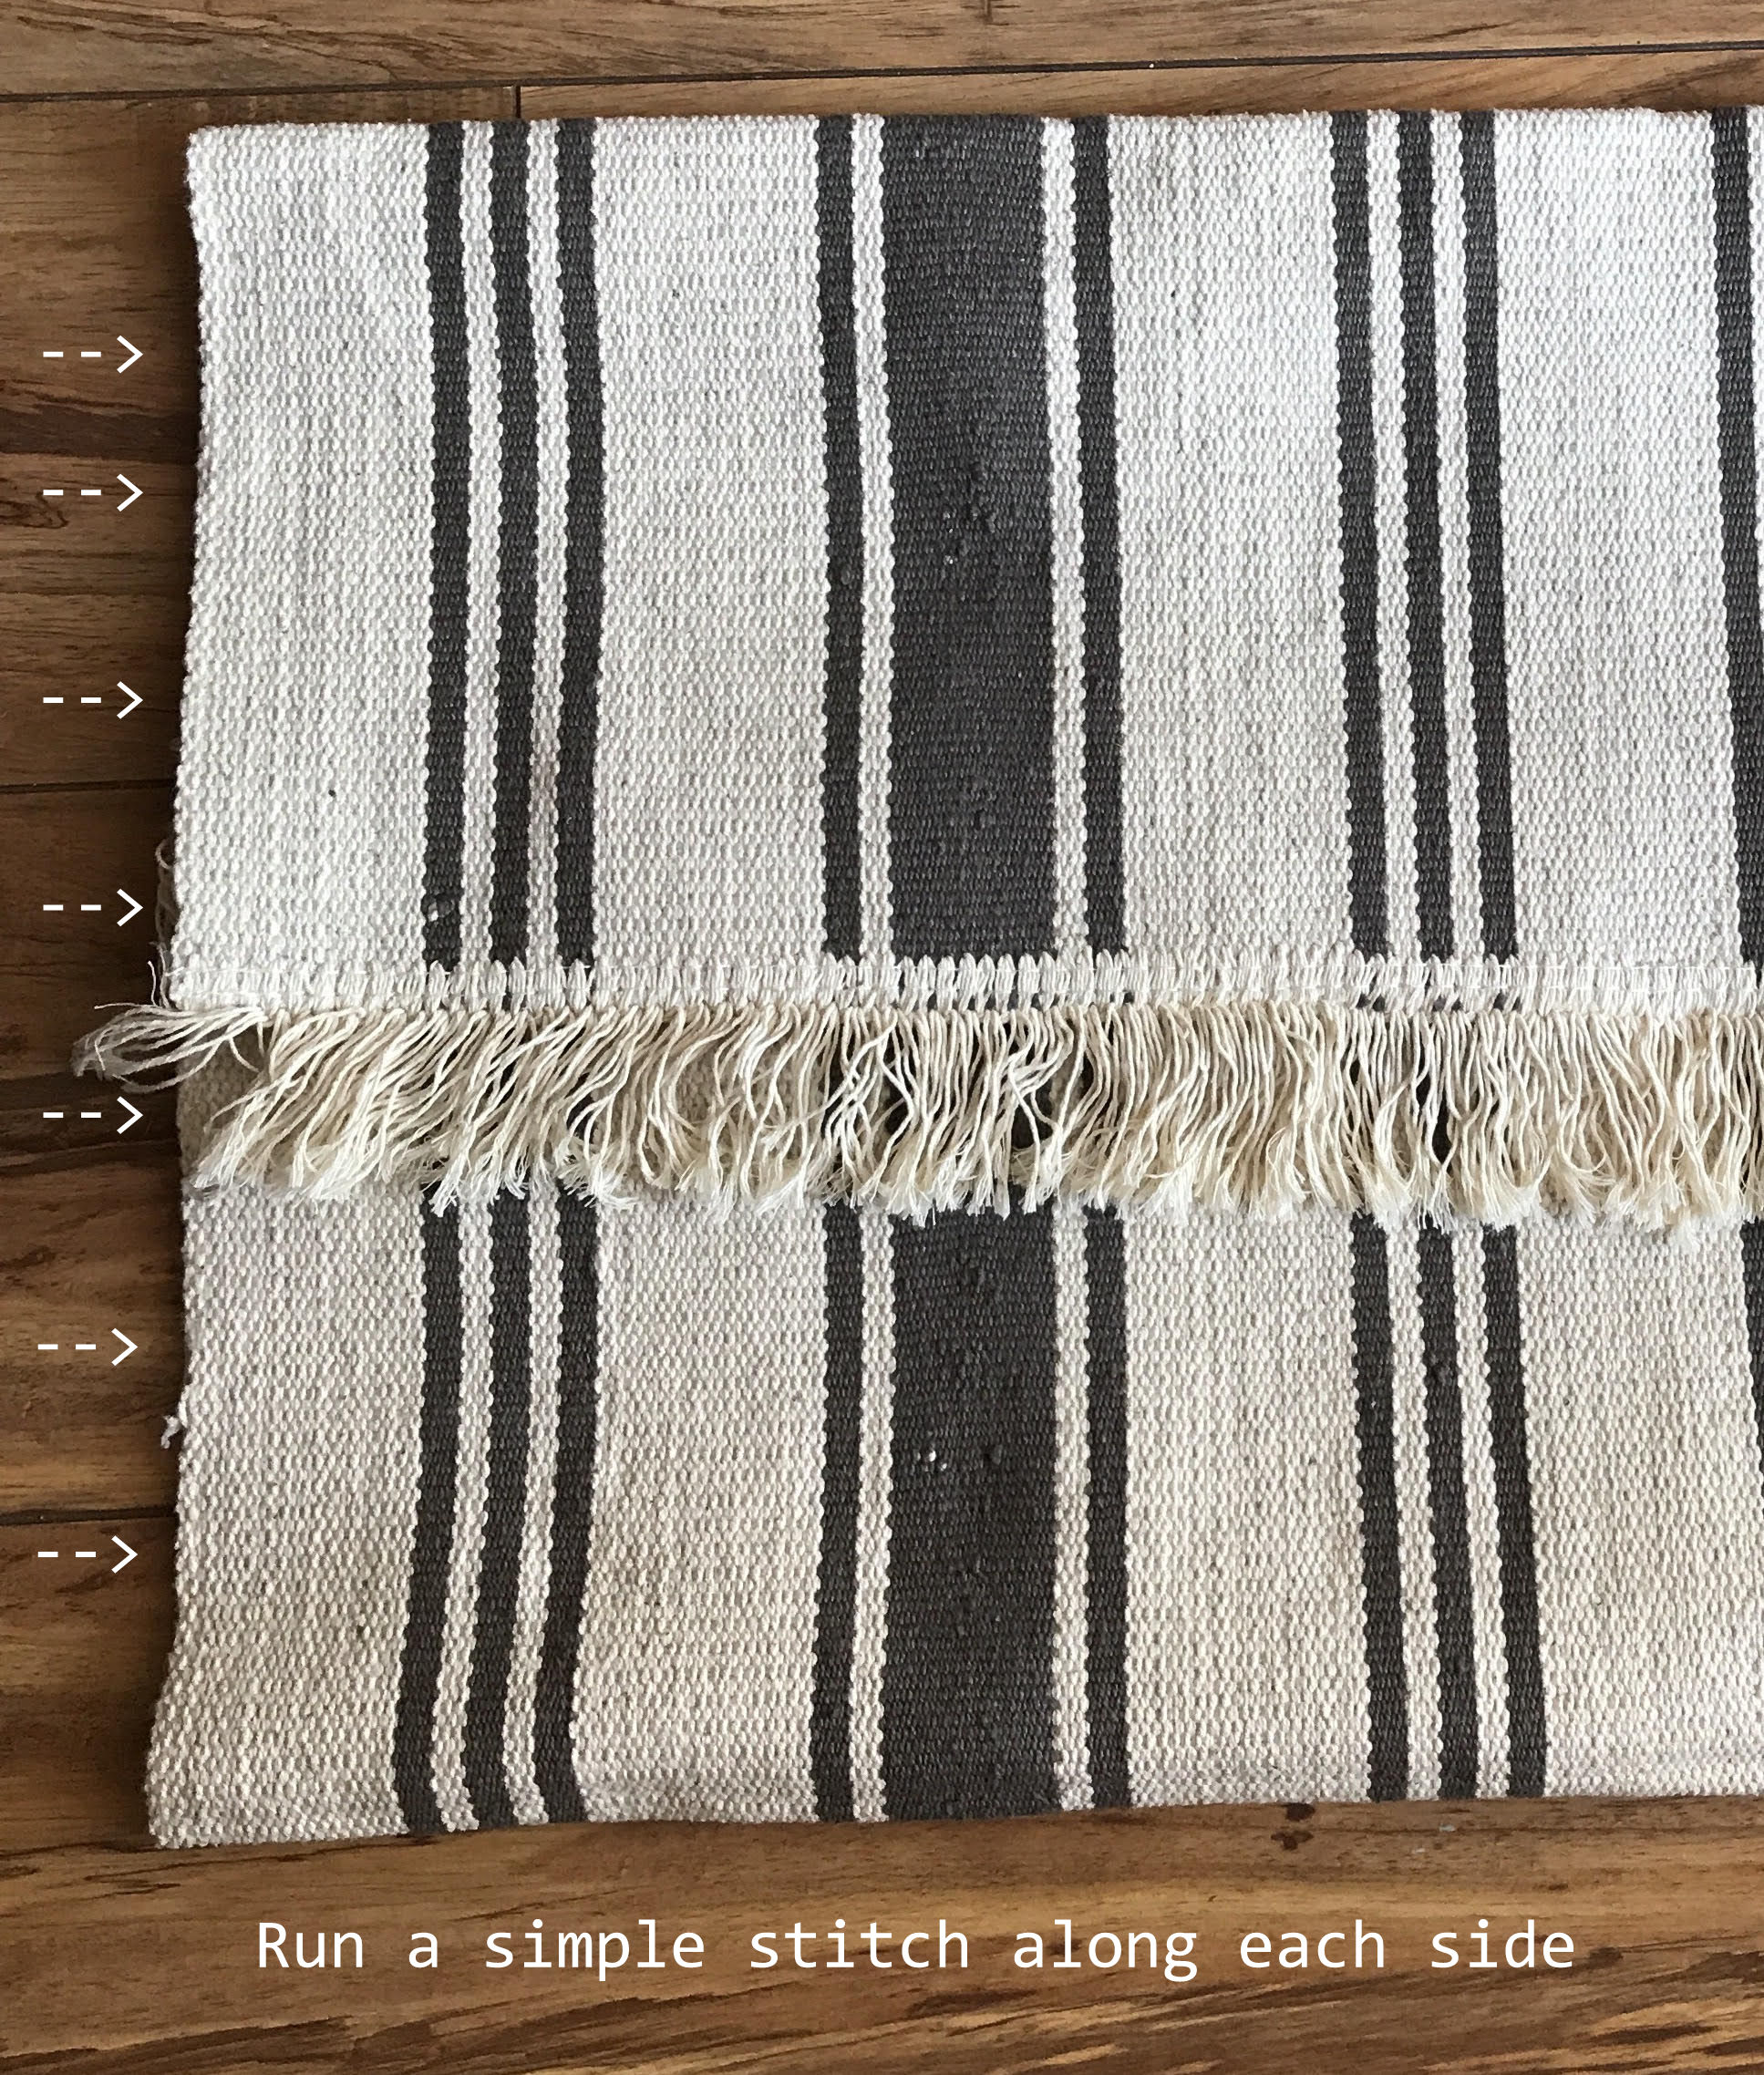
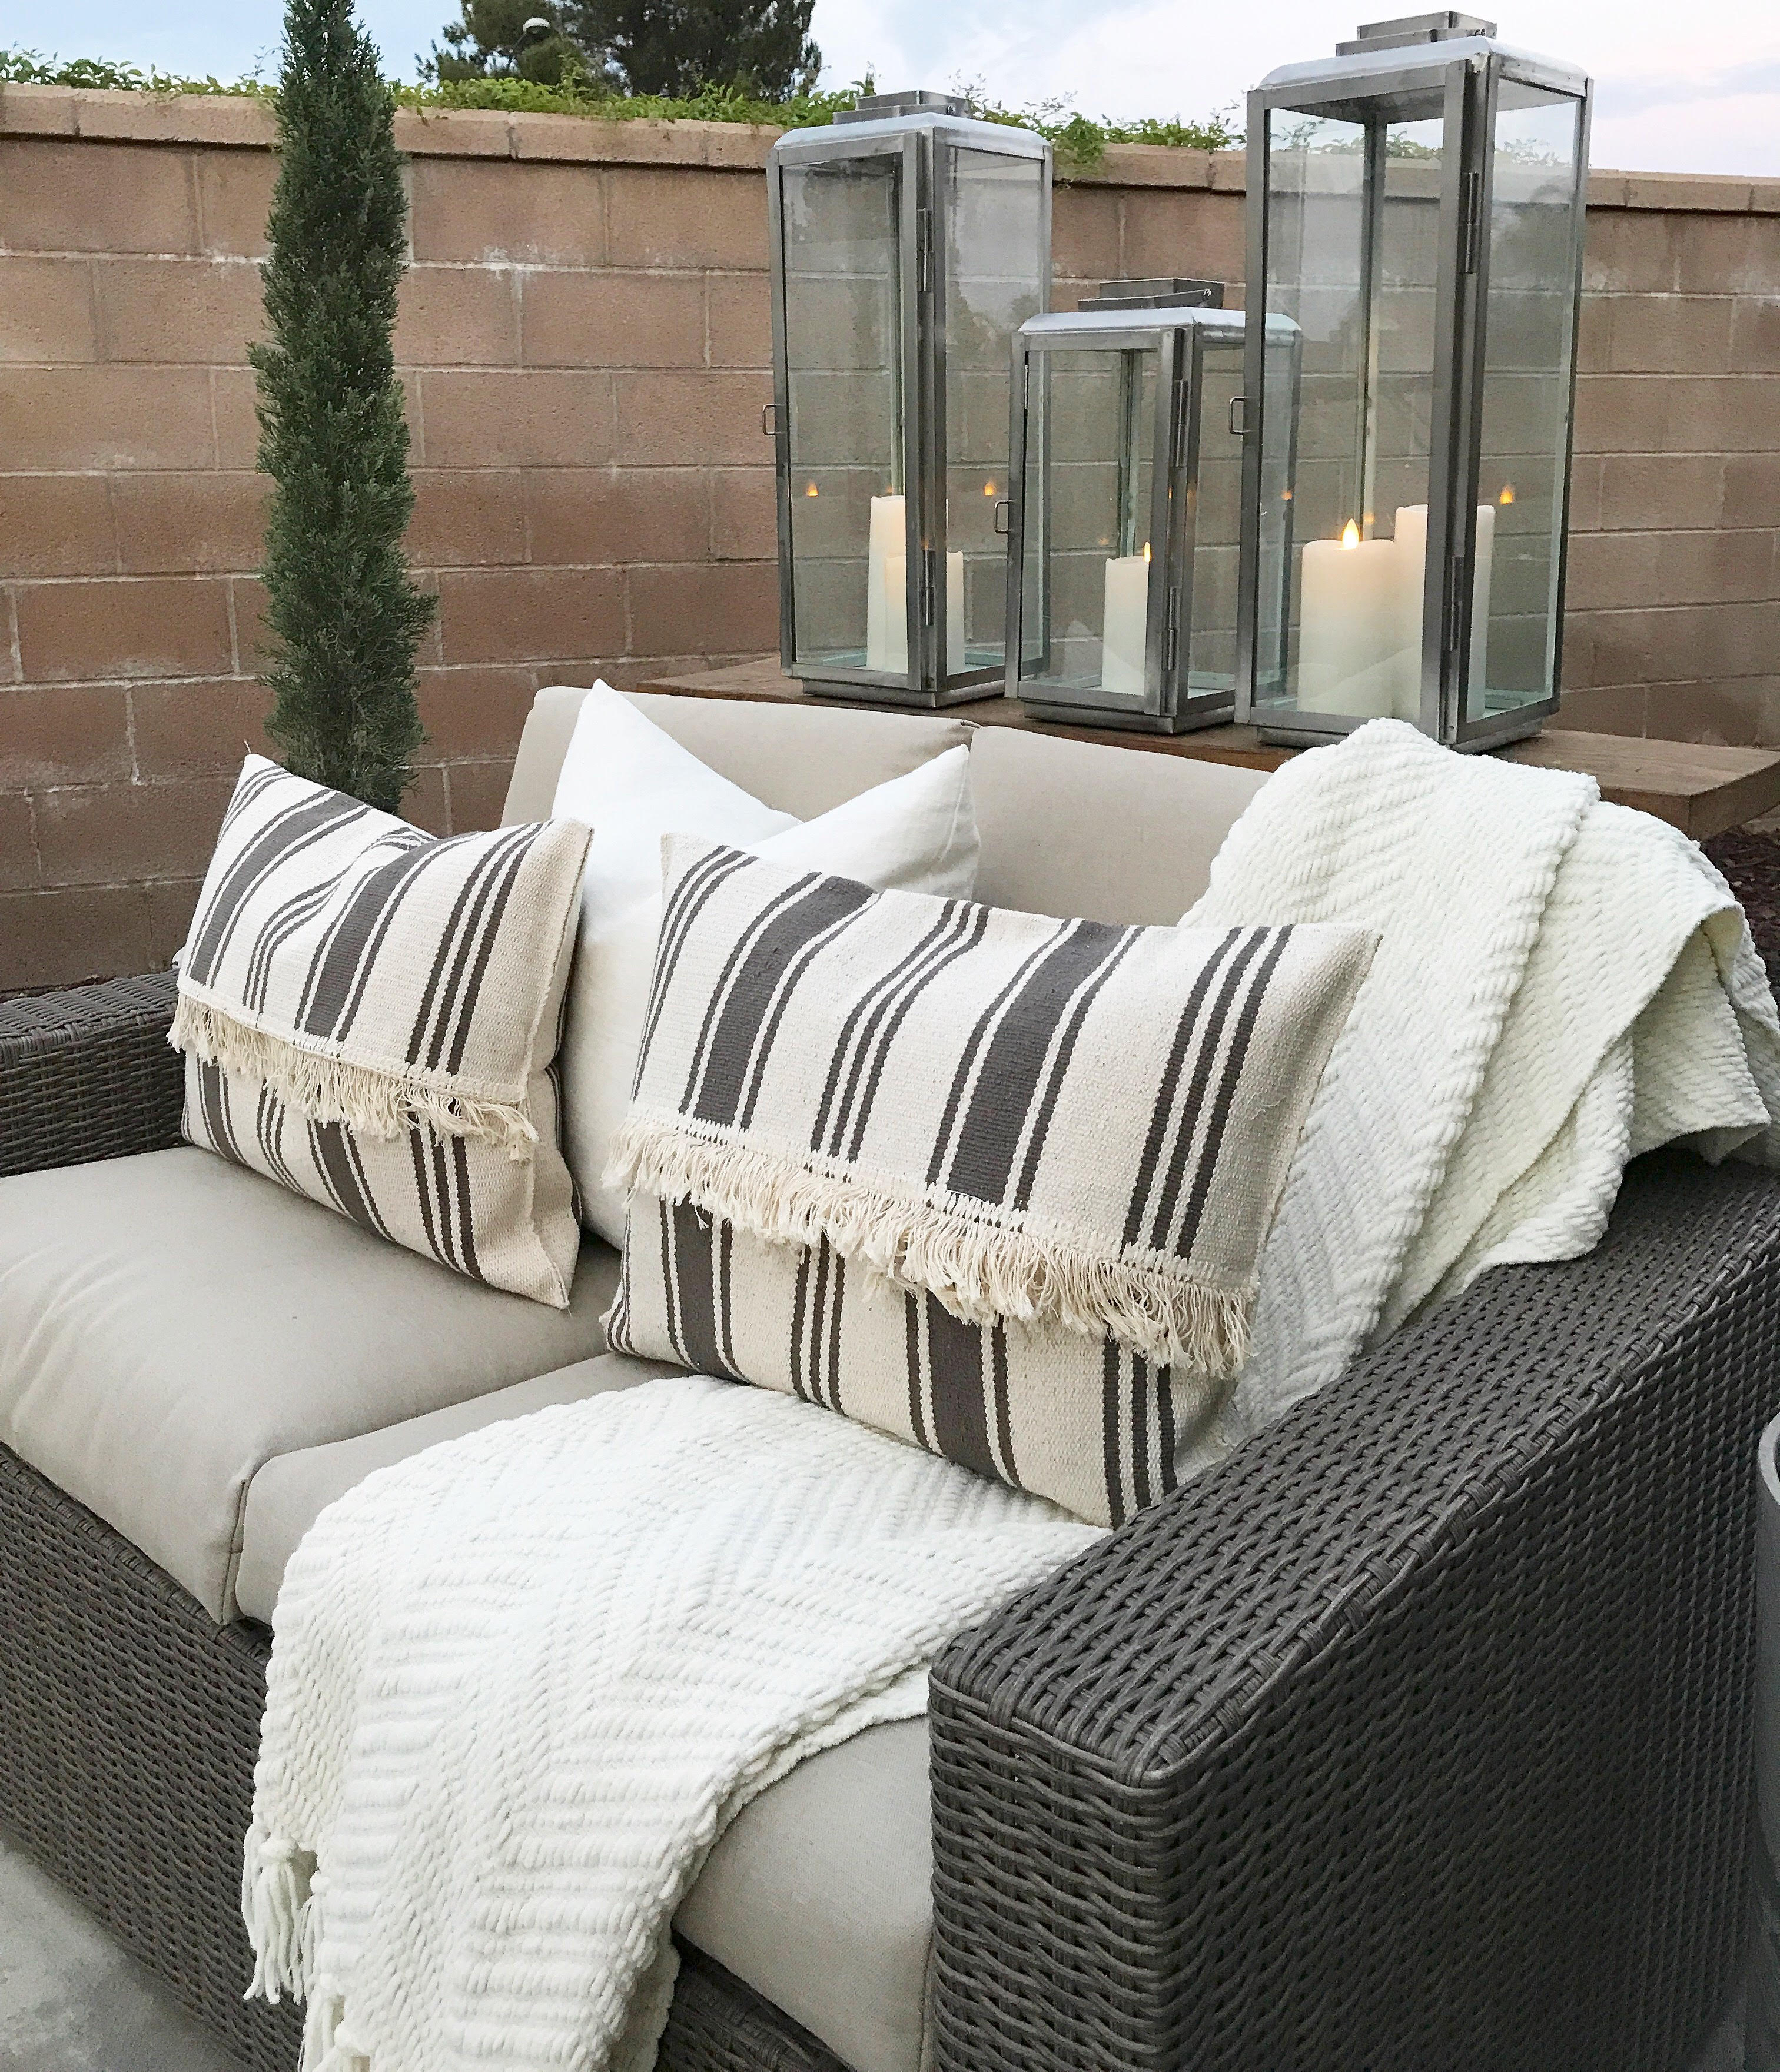
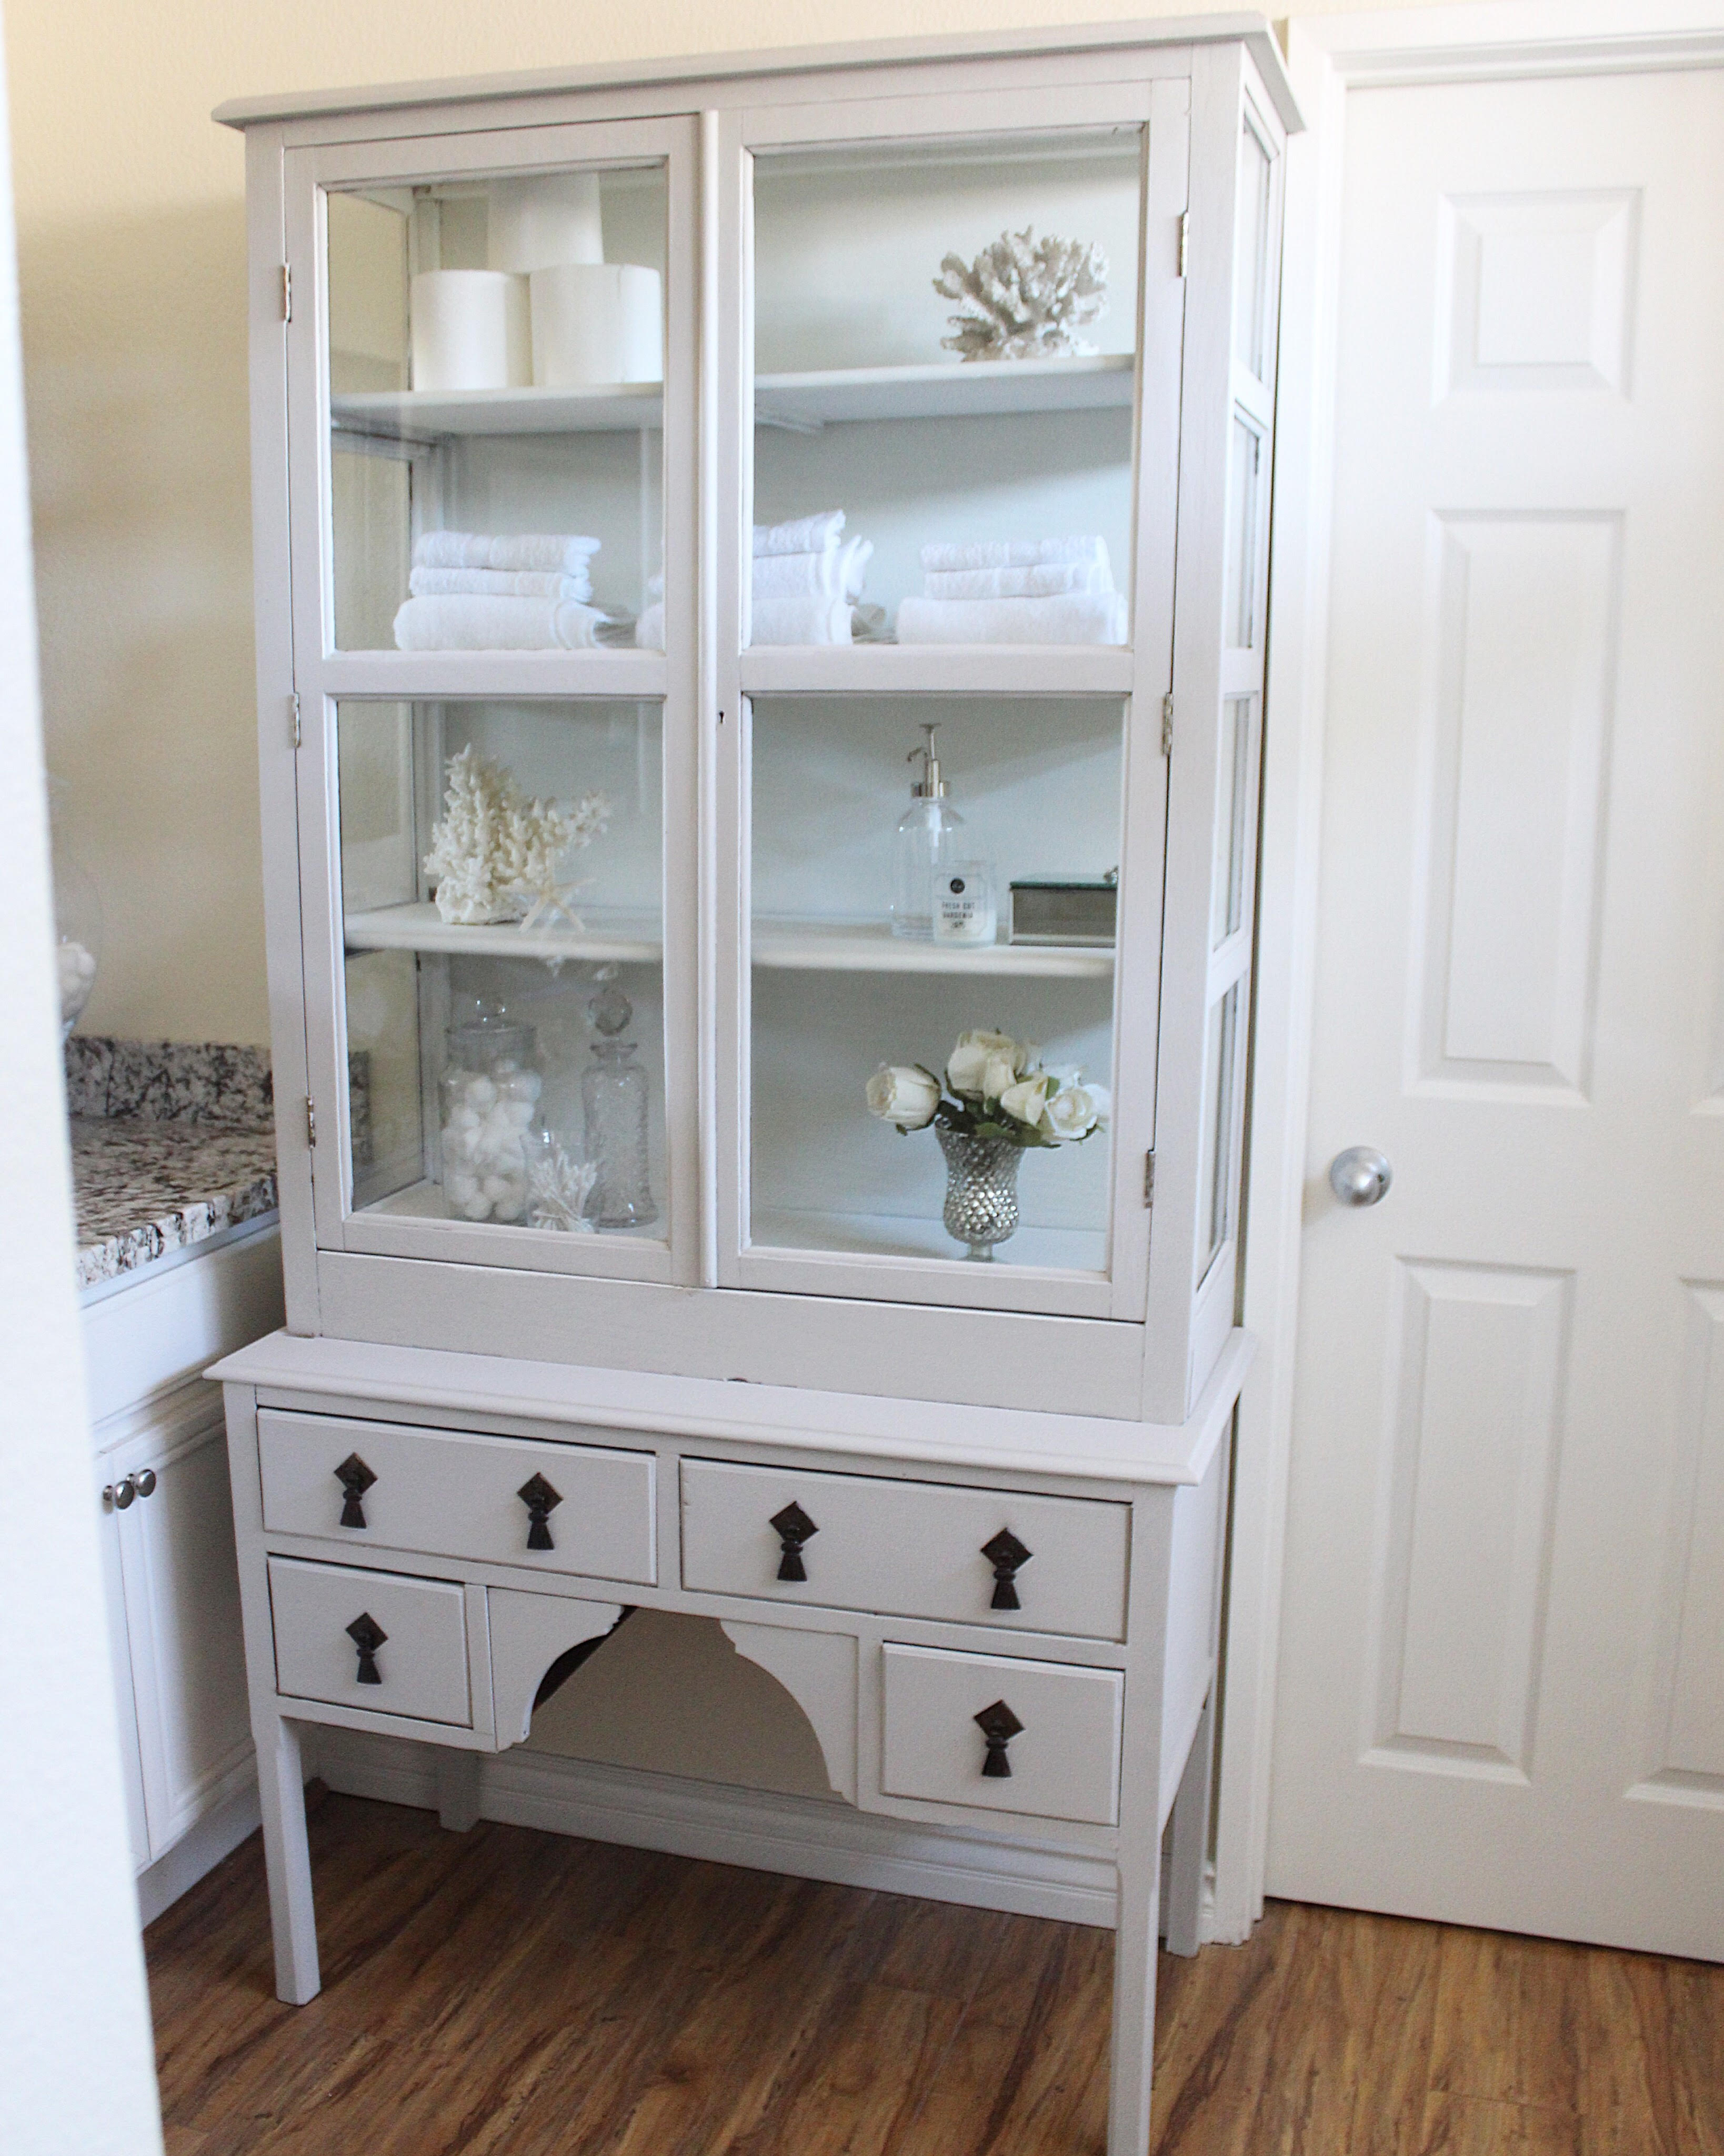
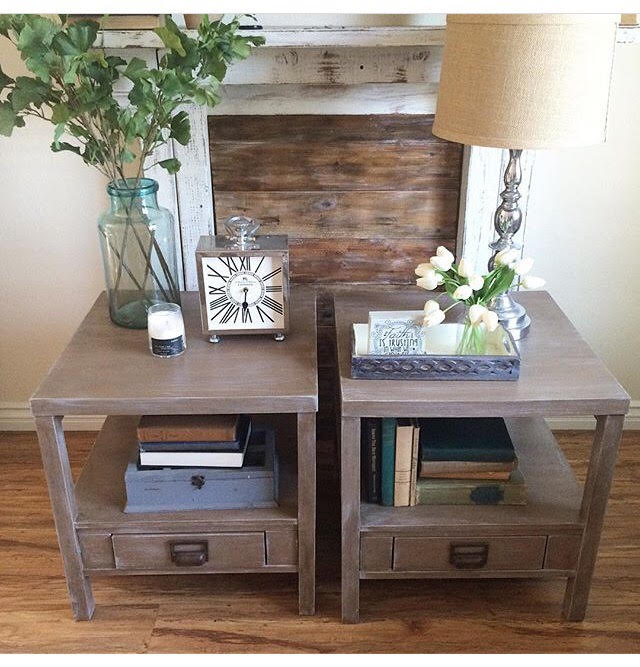
For example, after clearing out and selling lots of home decor, clothing, furniture etc, Izzy and I took a trip to Home Goods with intentions of looking for a new set of towels. We were able to find a set that we really loved and even bought enough to keep a second set in the guest room. This was something that we really wanted and needed, since our current towels were getting pretty worn out and we didn’t have enough if a few were in the dirty laundry. (We would have to supplement with beach towels when we had guests).

Now, we could of gone out and bought a set of towels anytime.  But, I wanted our next set to be a quality product that would last and we really loved using. For certain things, I would rather be patient and save up to get something that I really love with a higher price tag vs spending money on a cheaper product that will have to be replaced quickly. 

These baskets were also purchased with a gift card and earnings from selling our clutter . They were marked down 50% at Home Goods

UPDATE: Have I been able to stick with it?

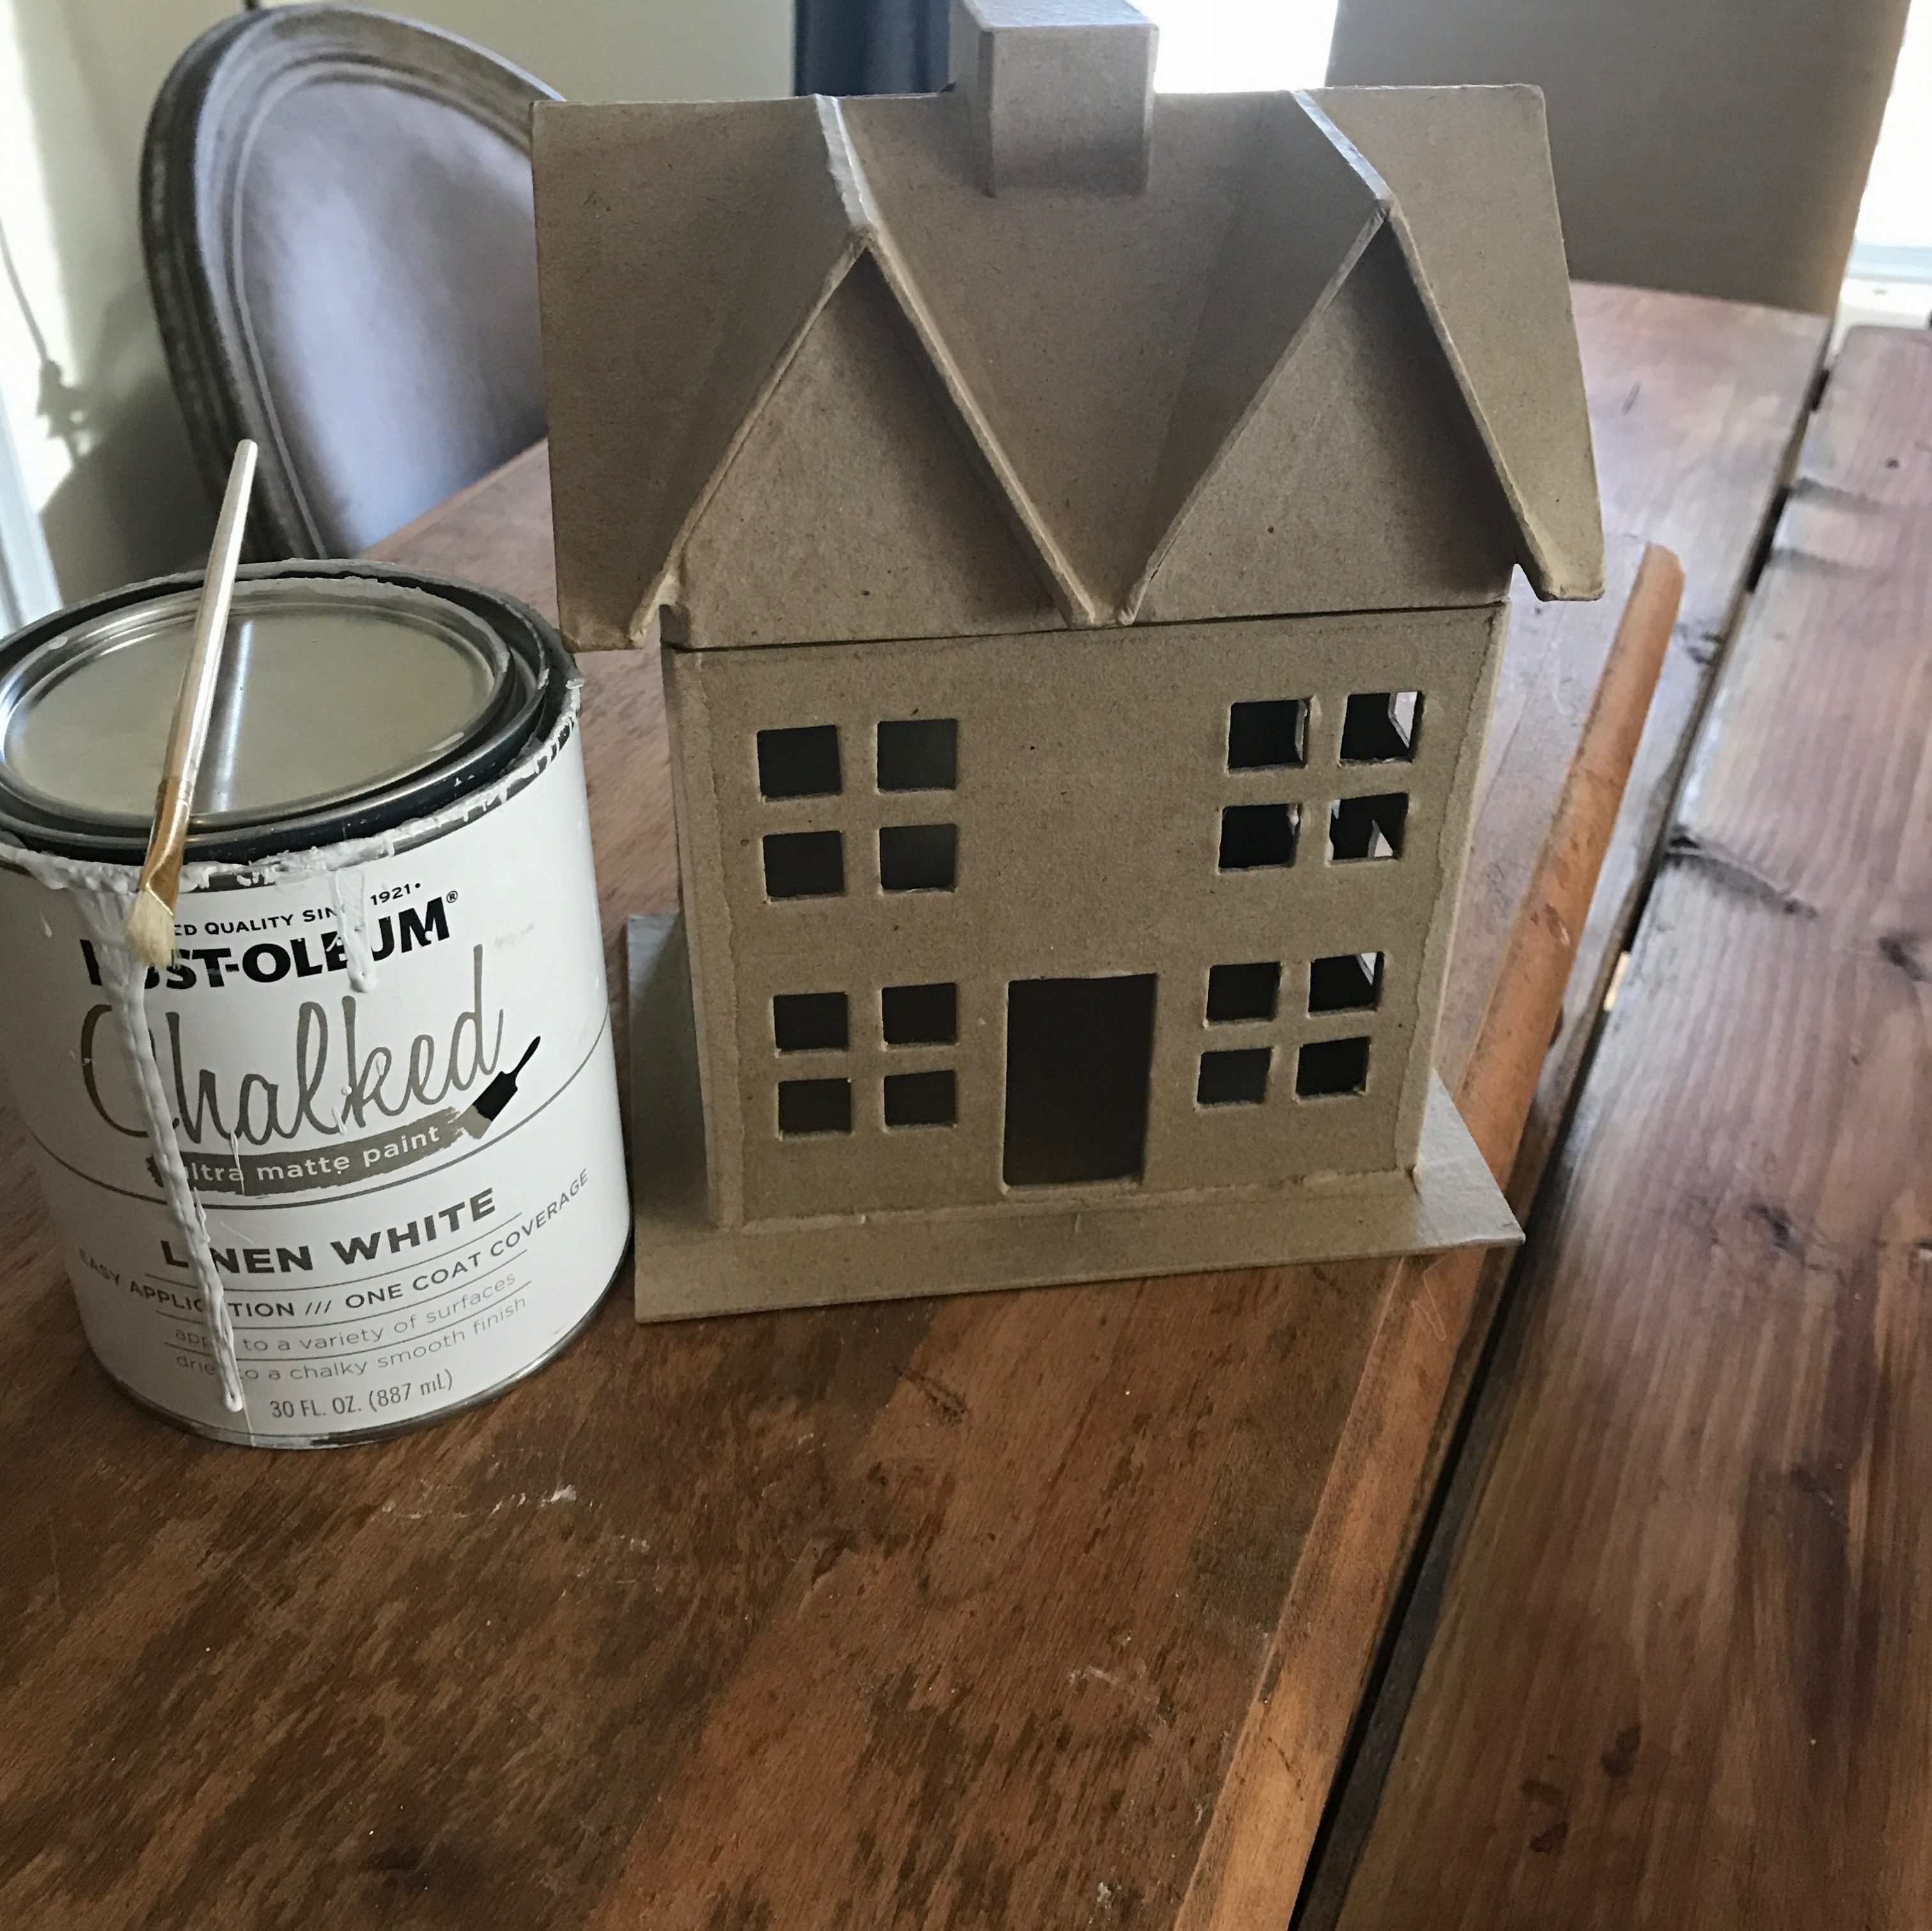
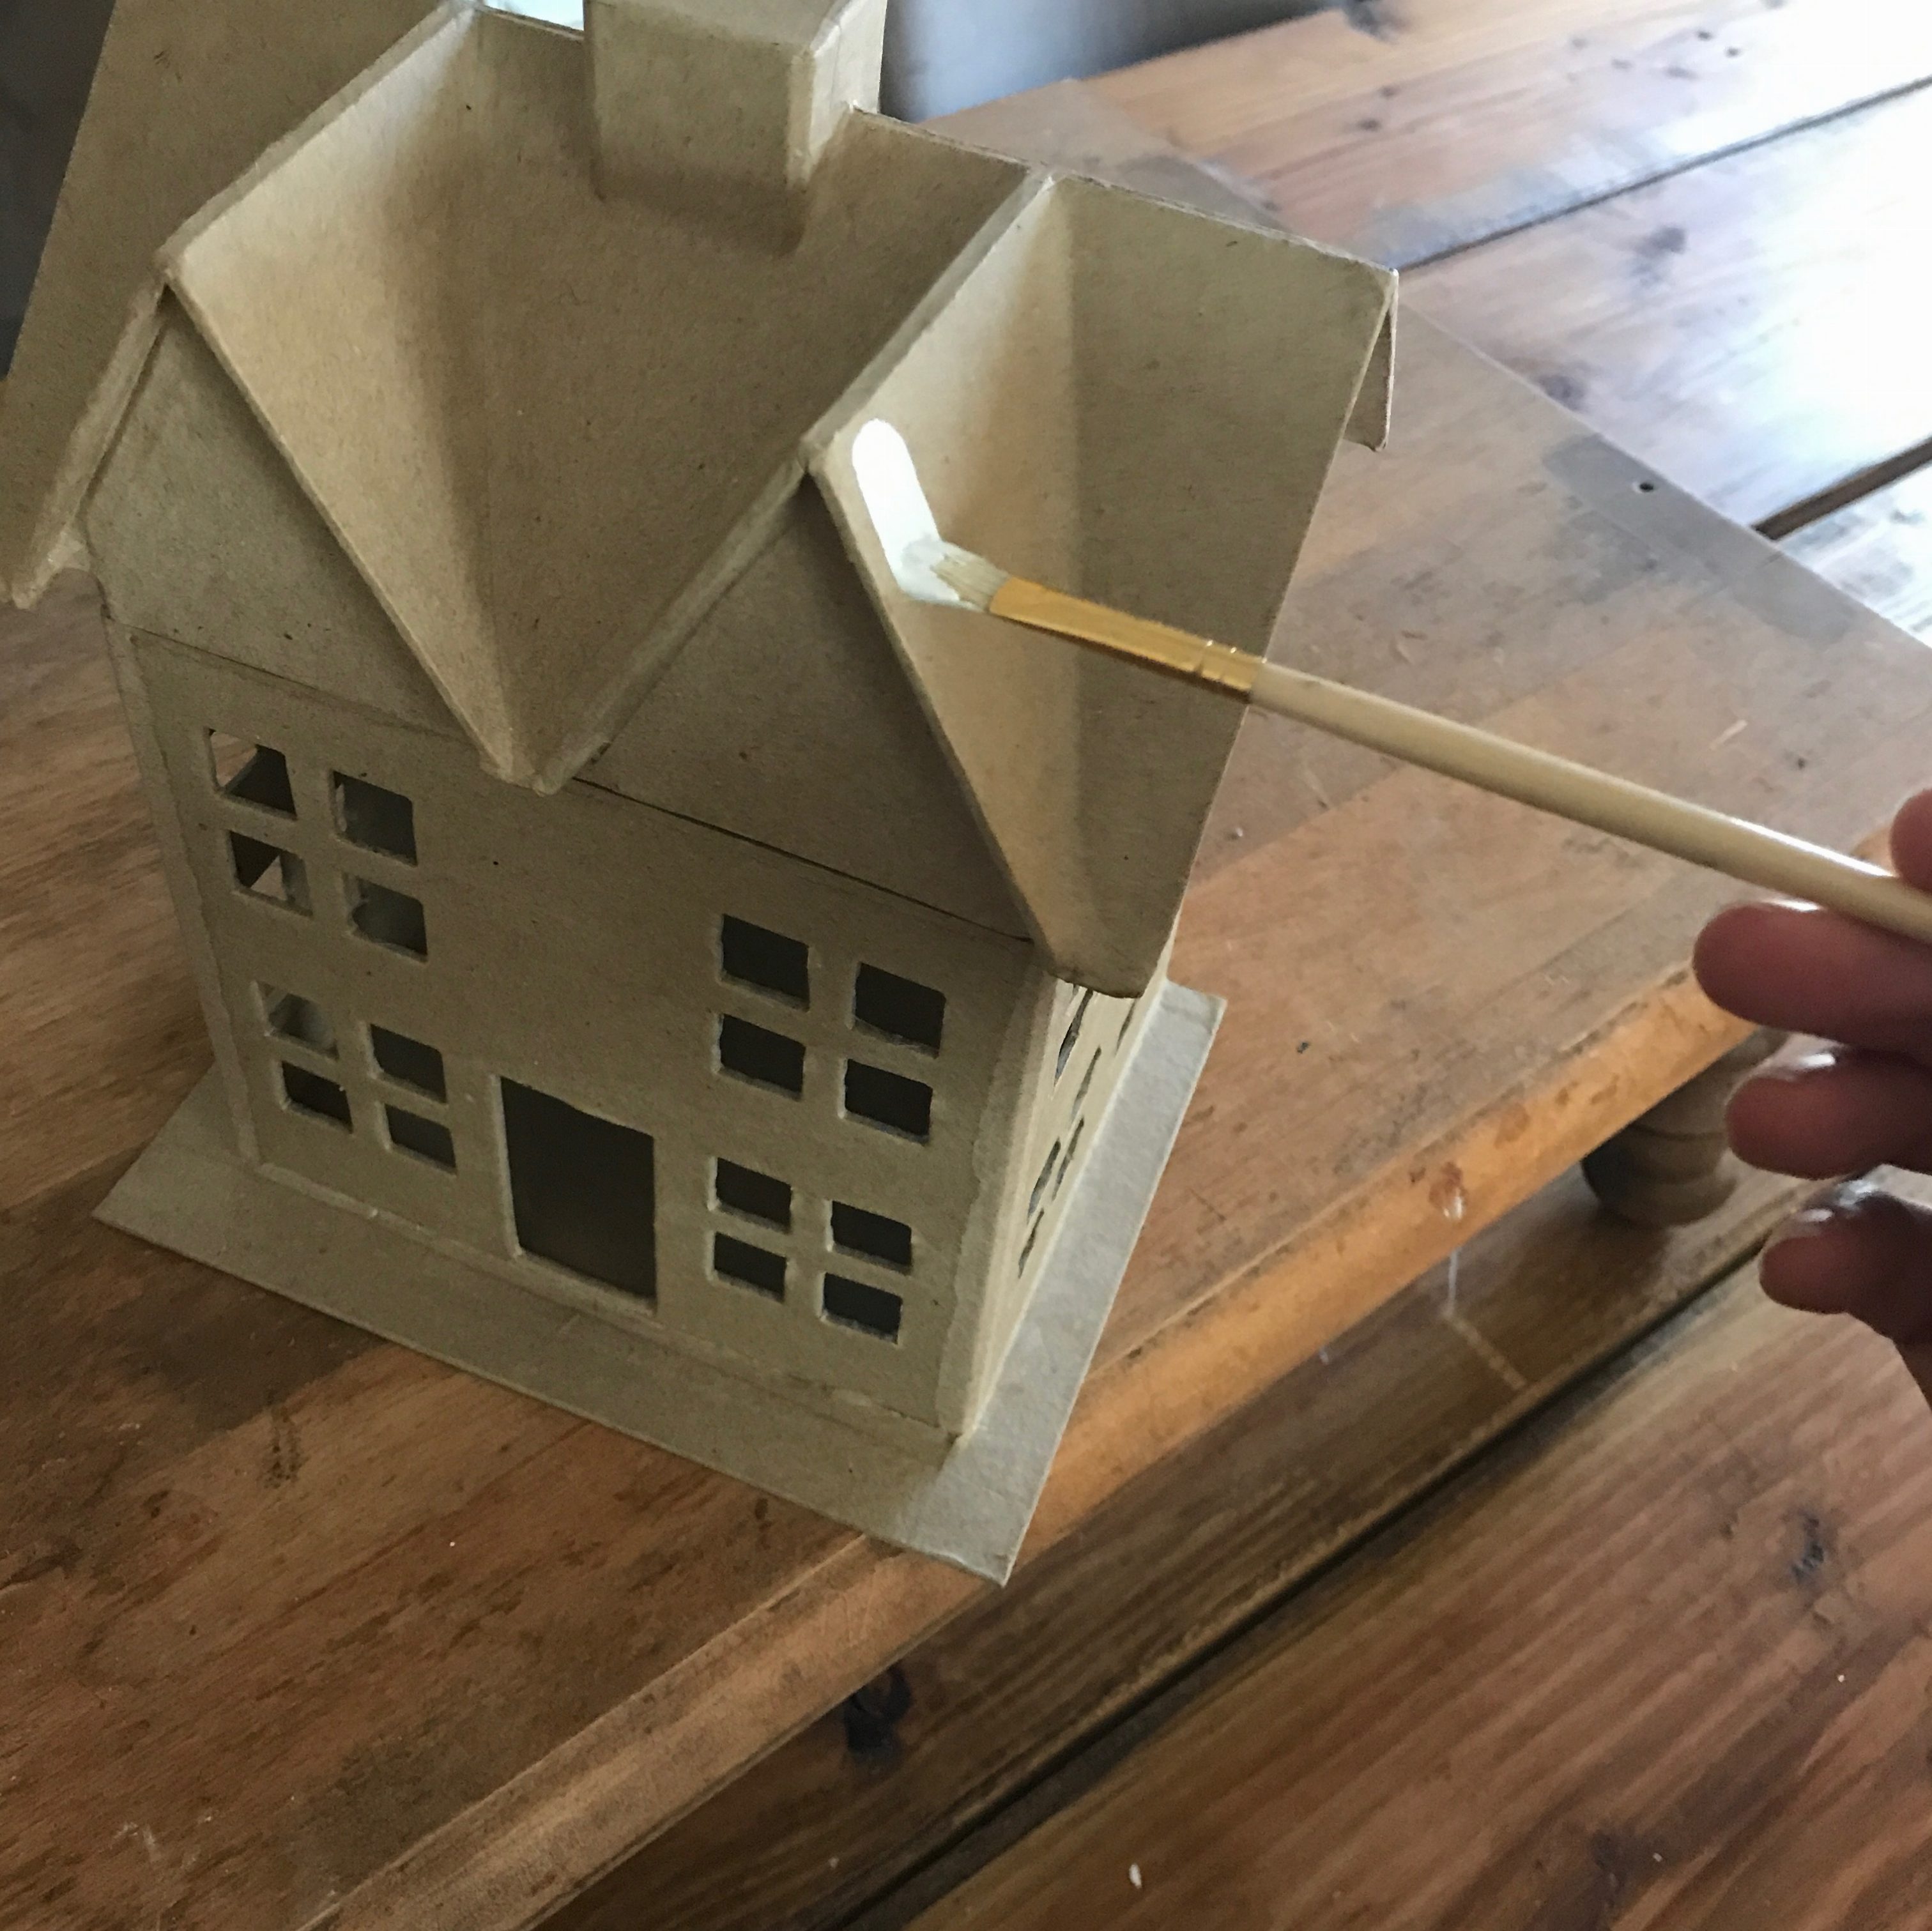
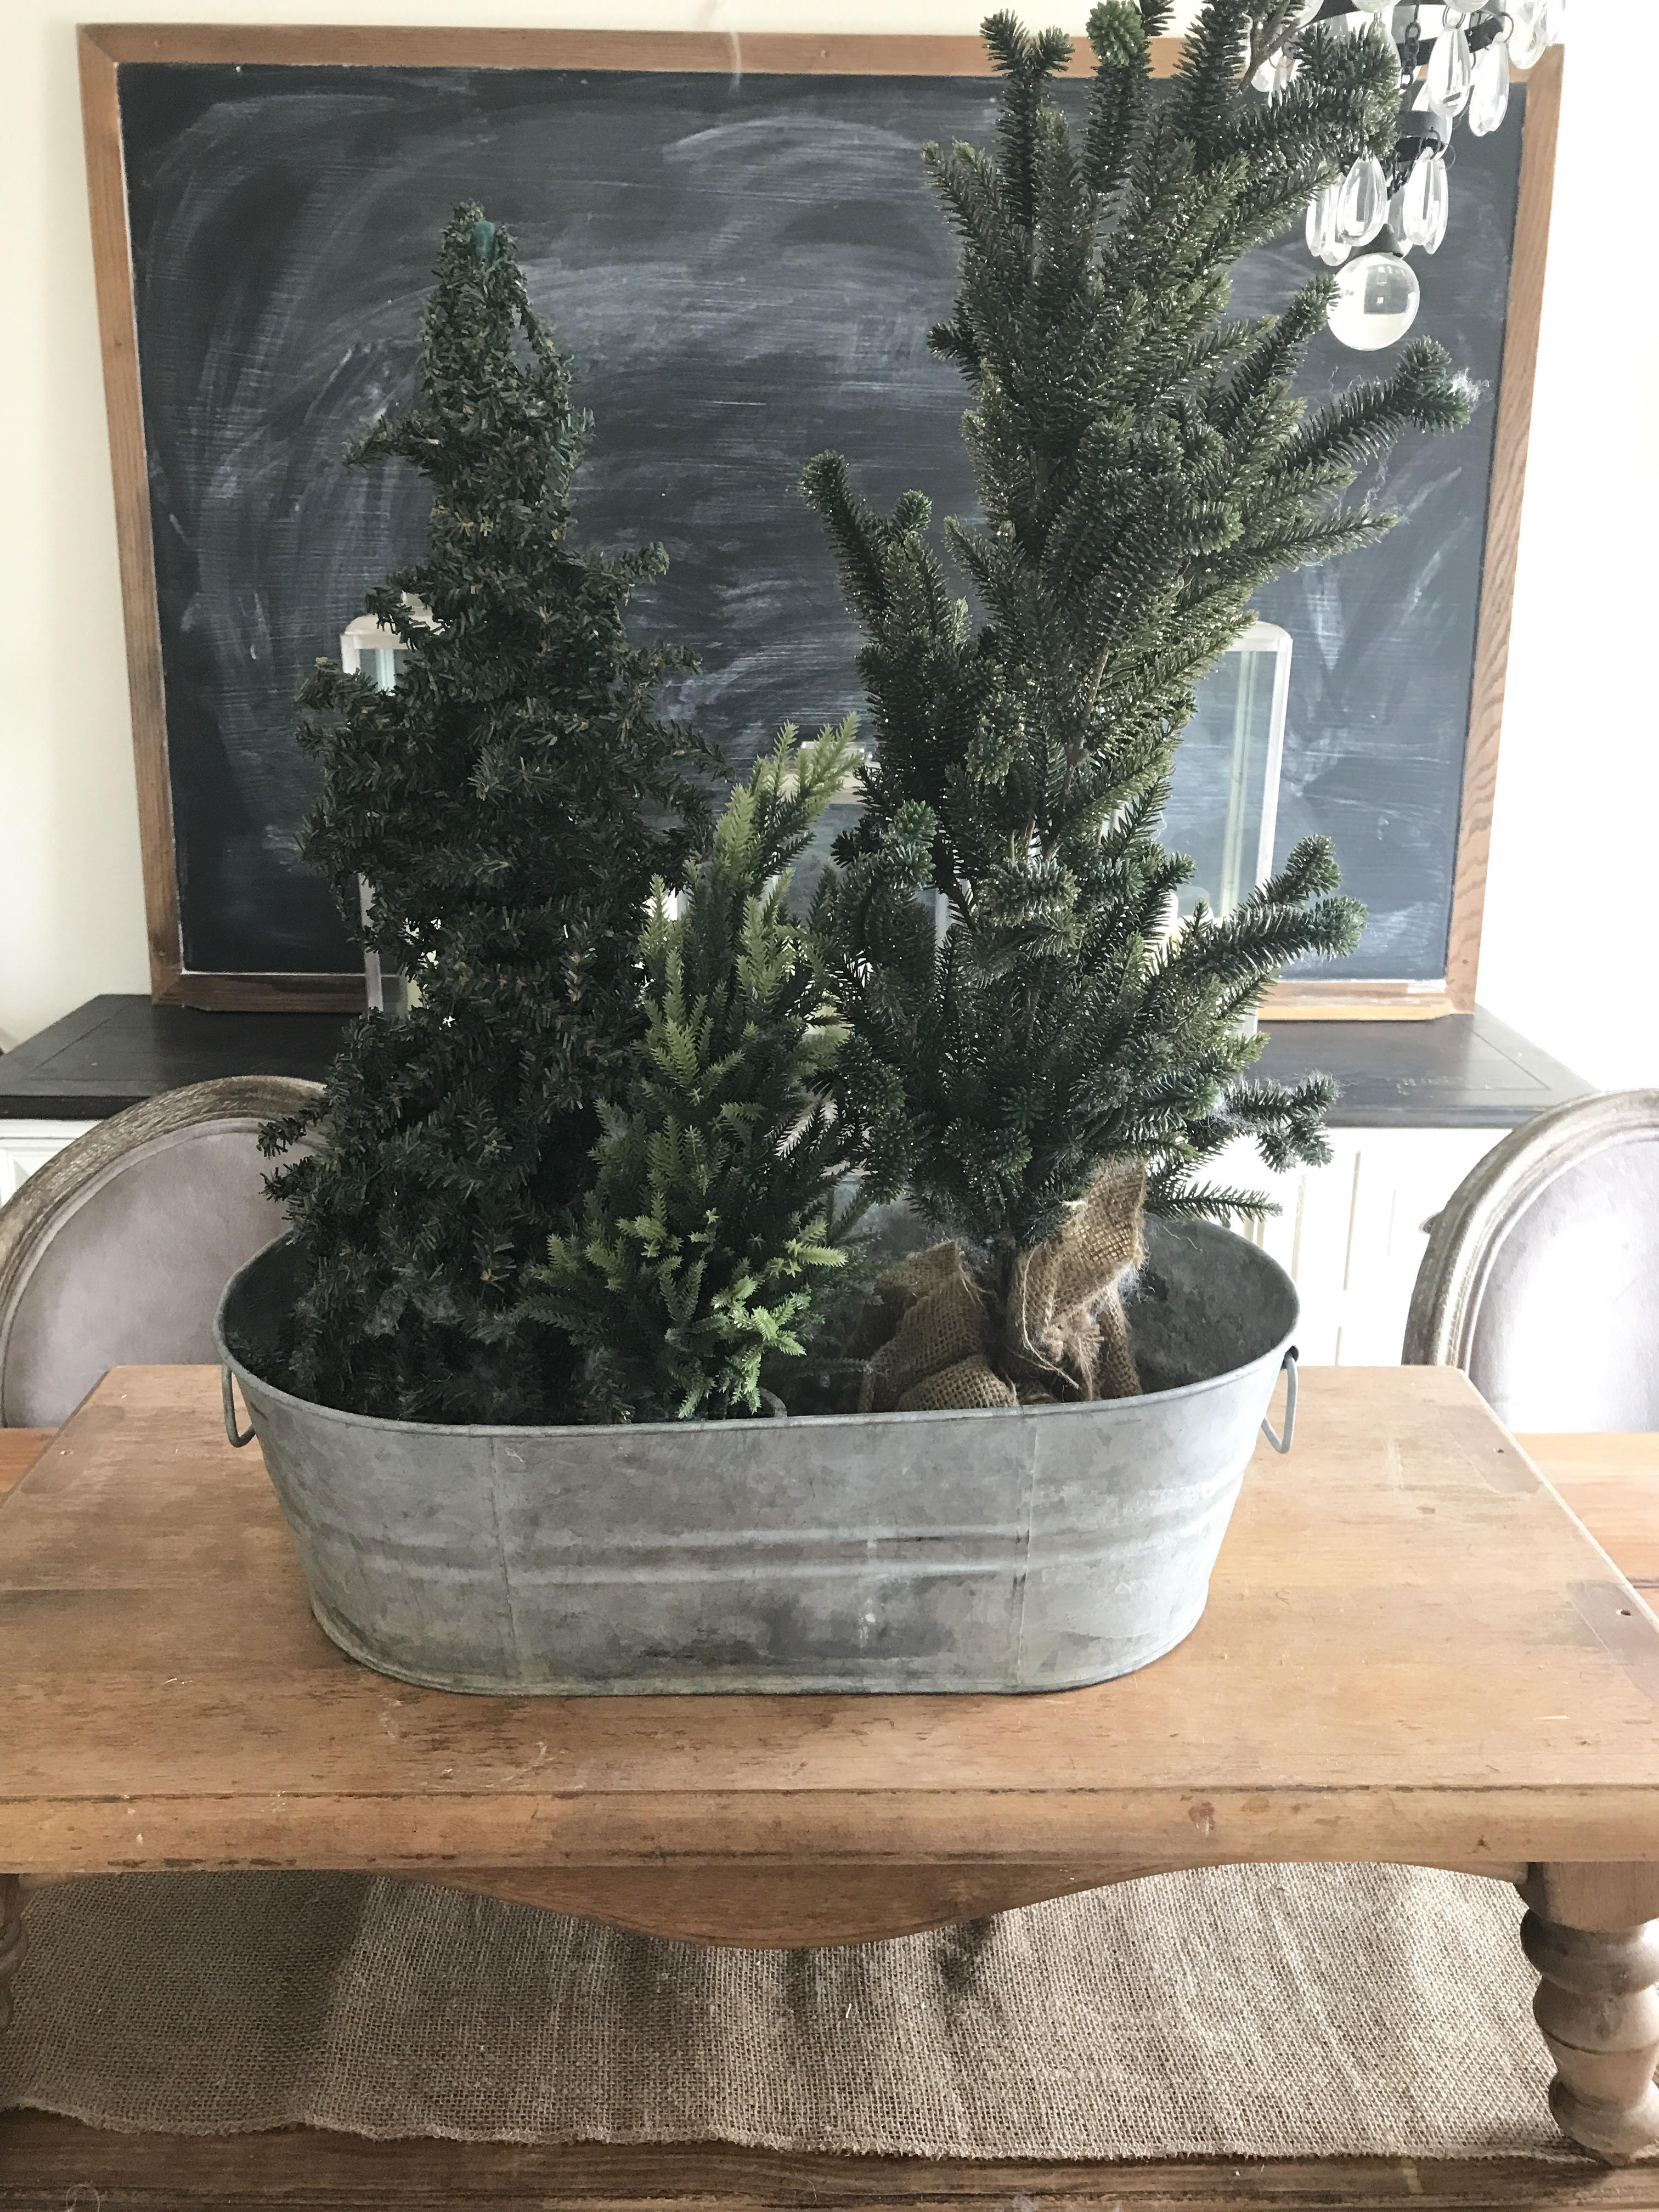
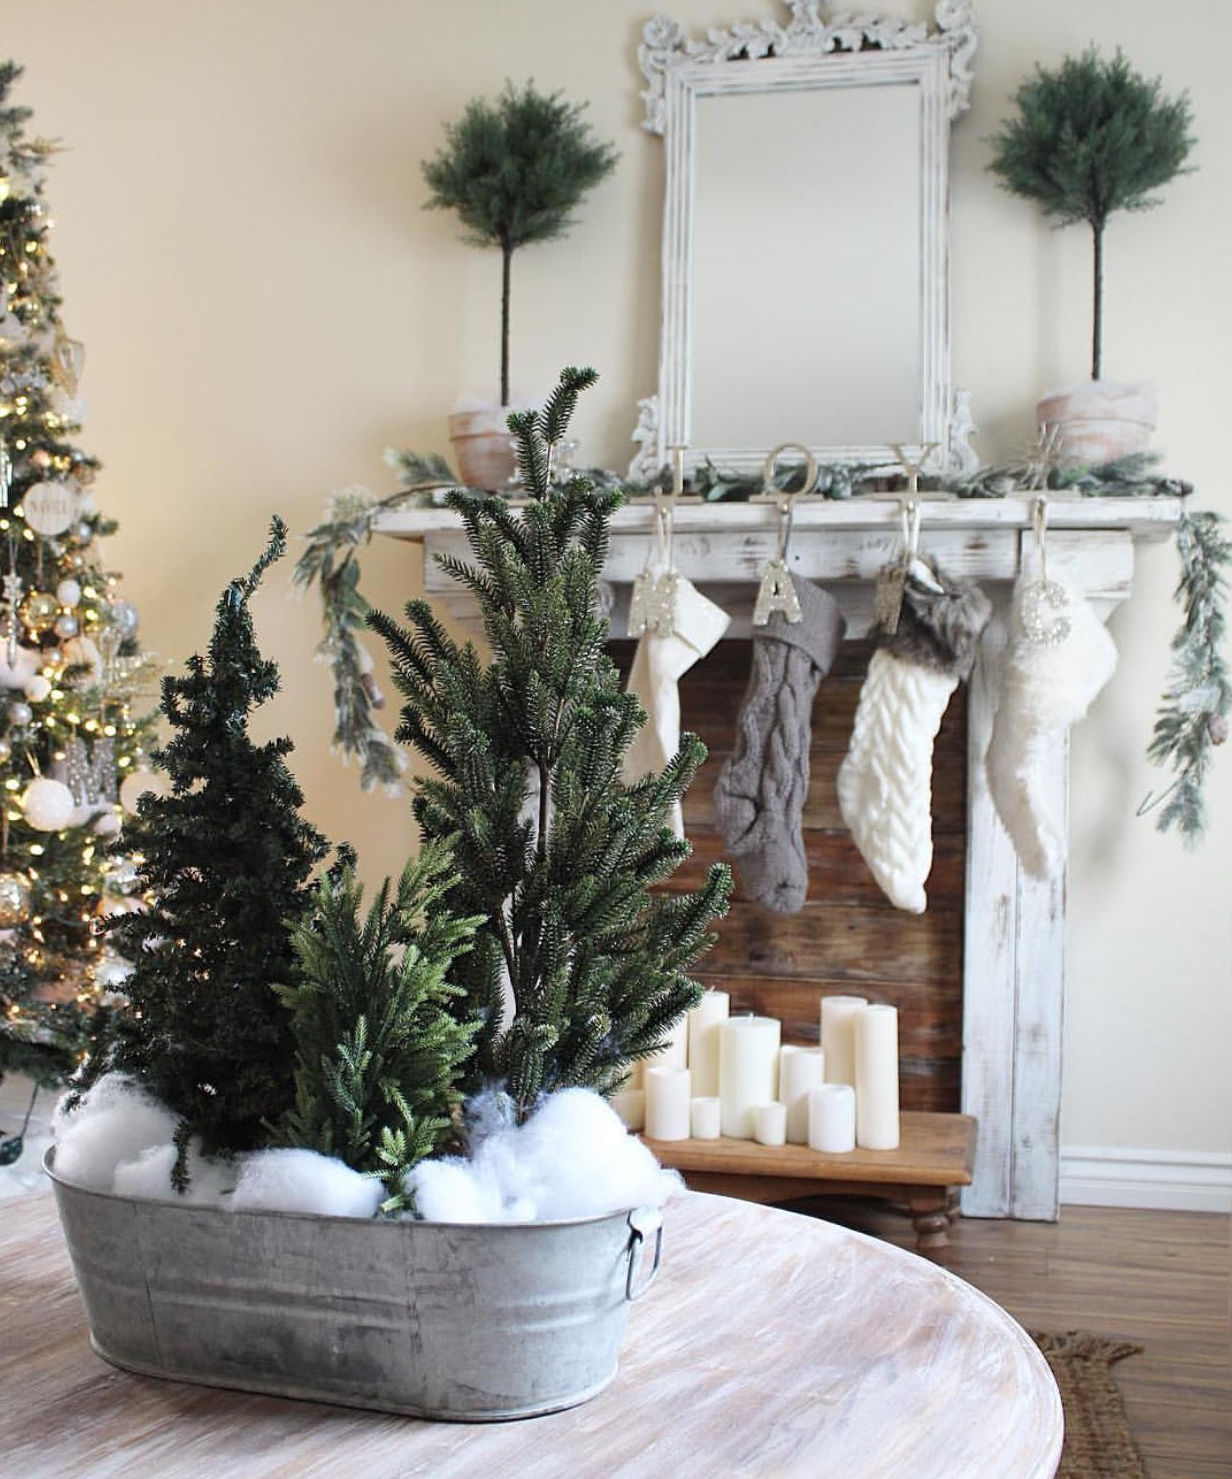
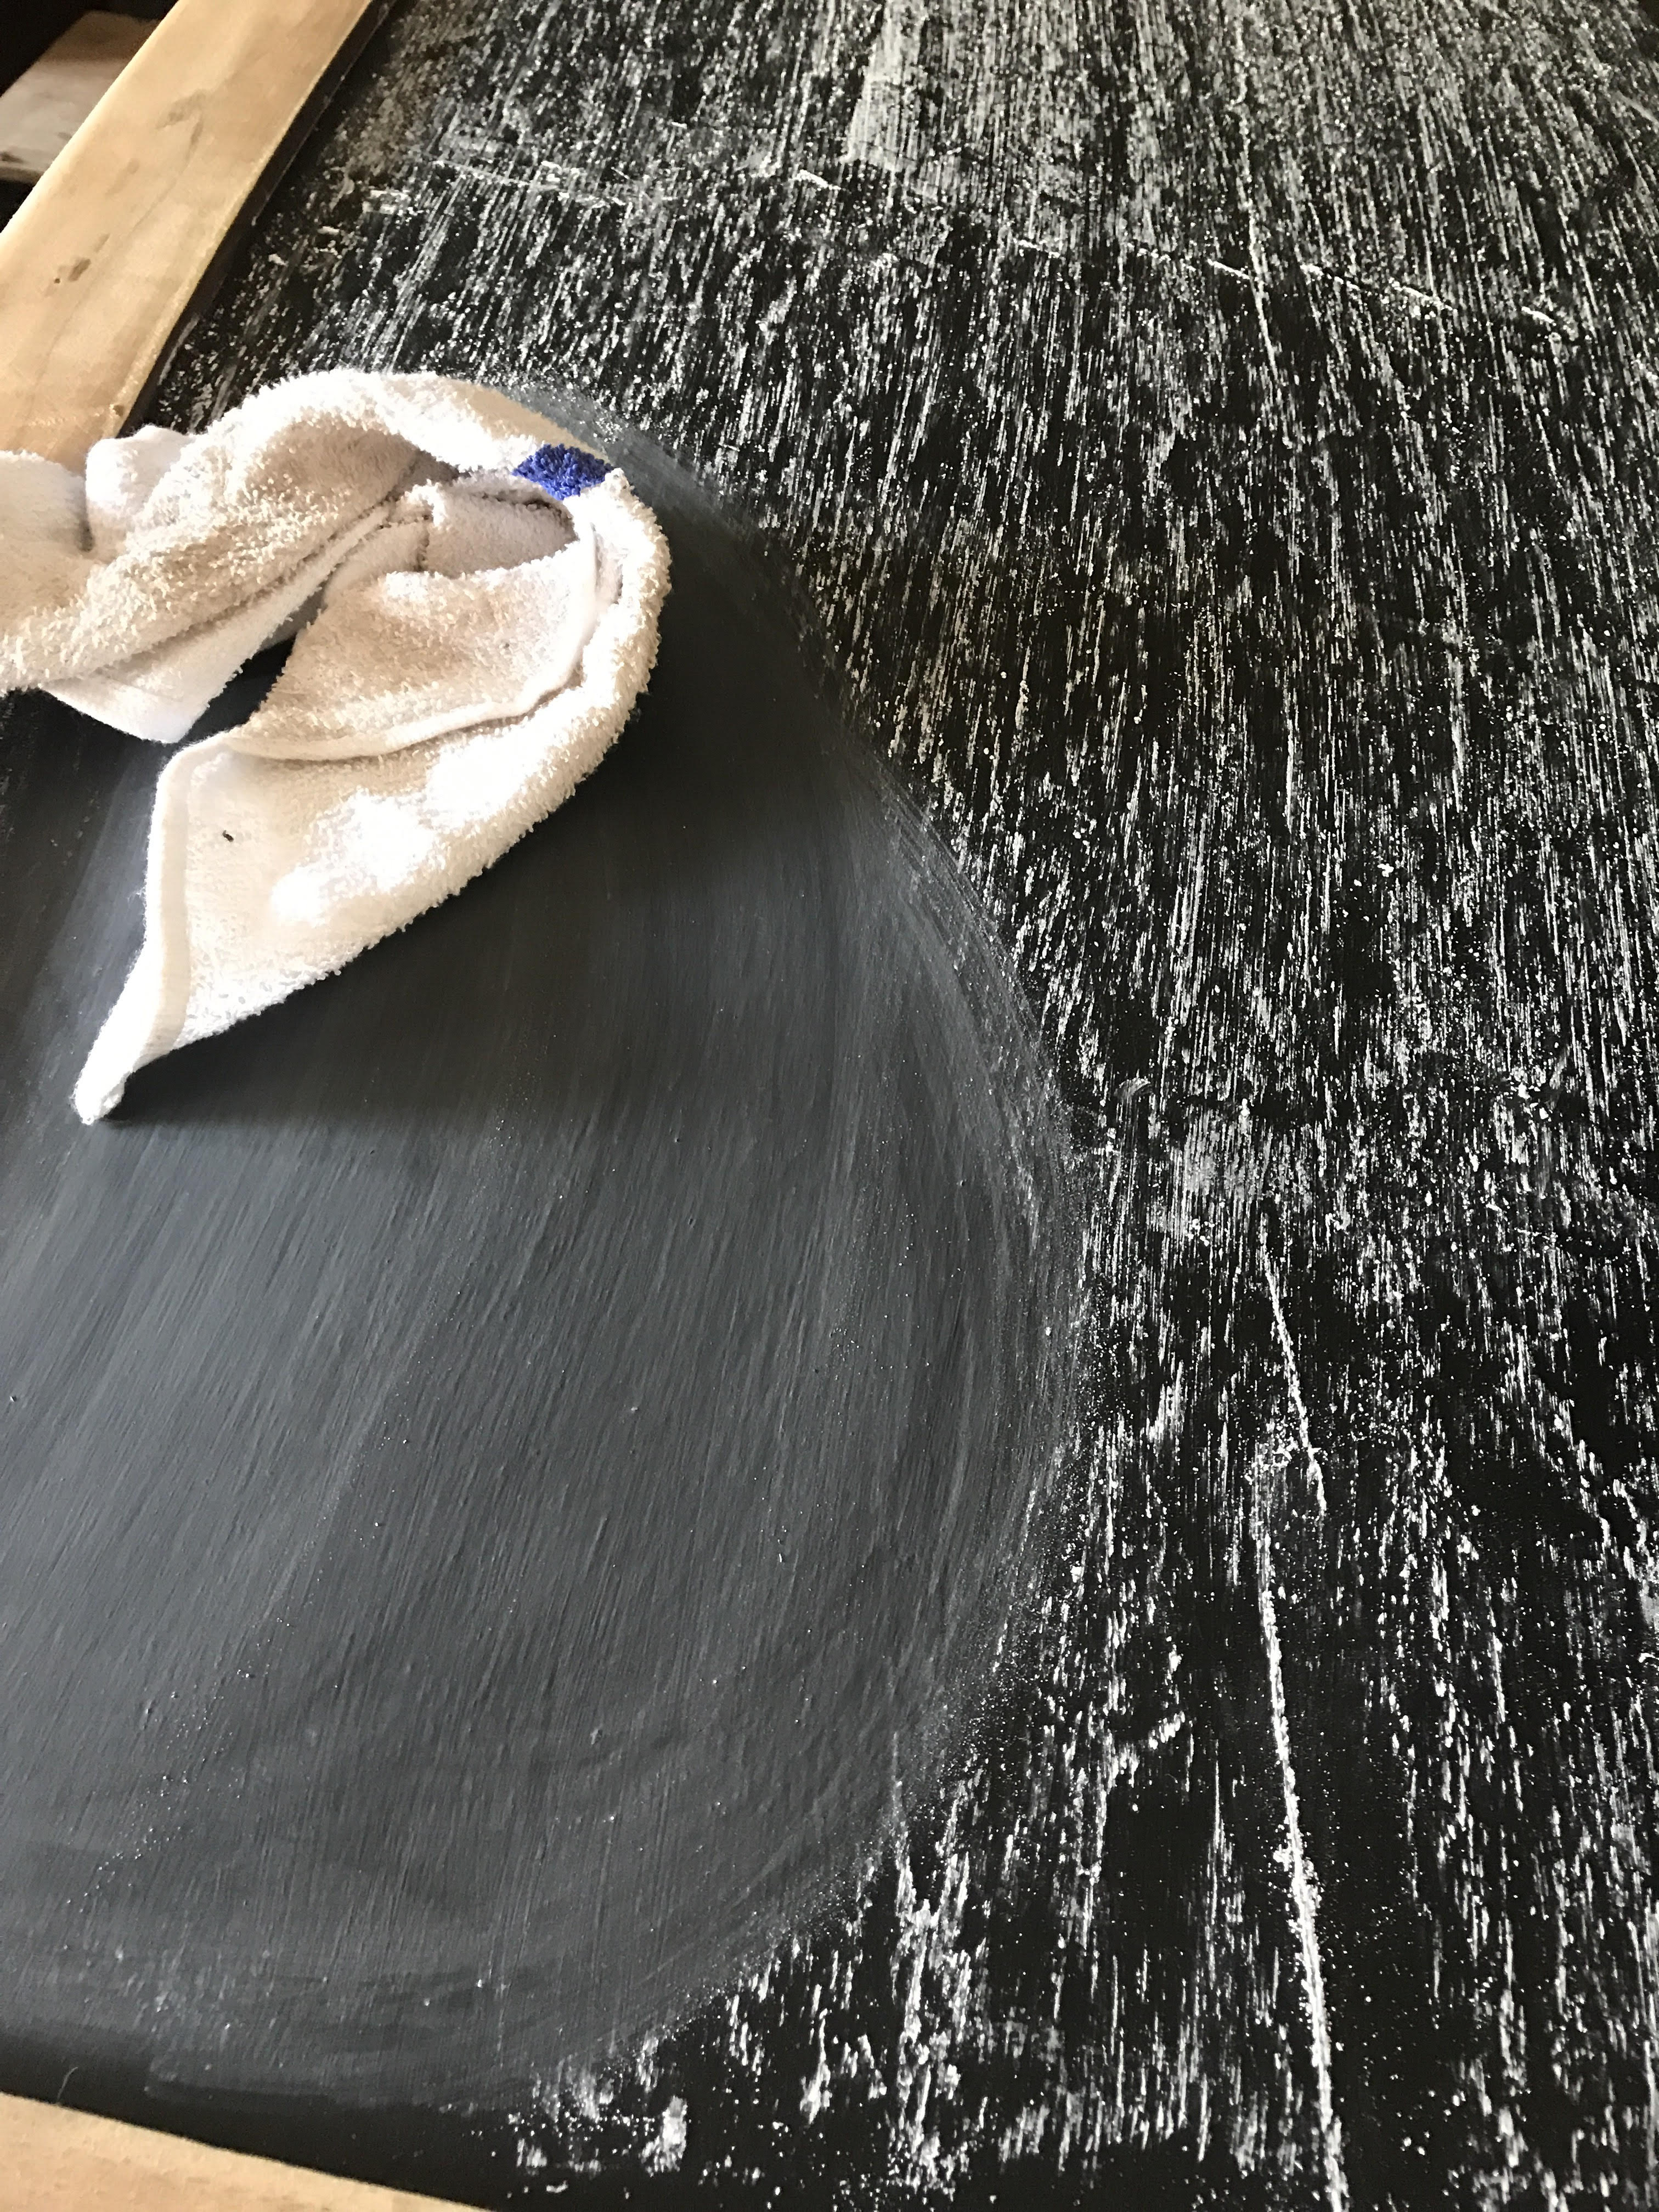
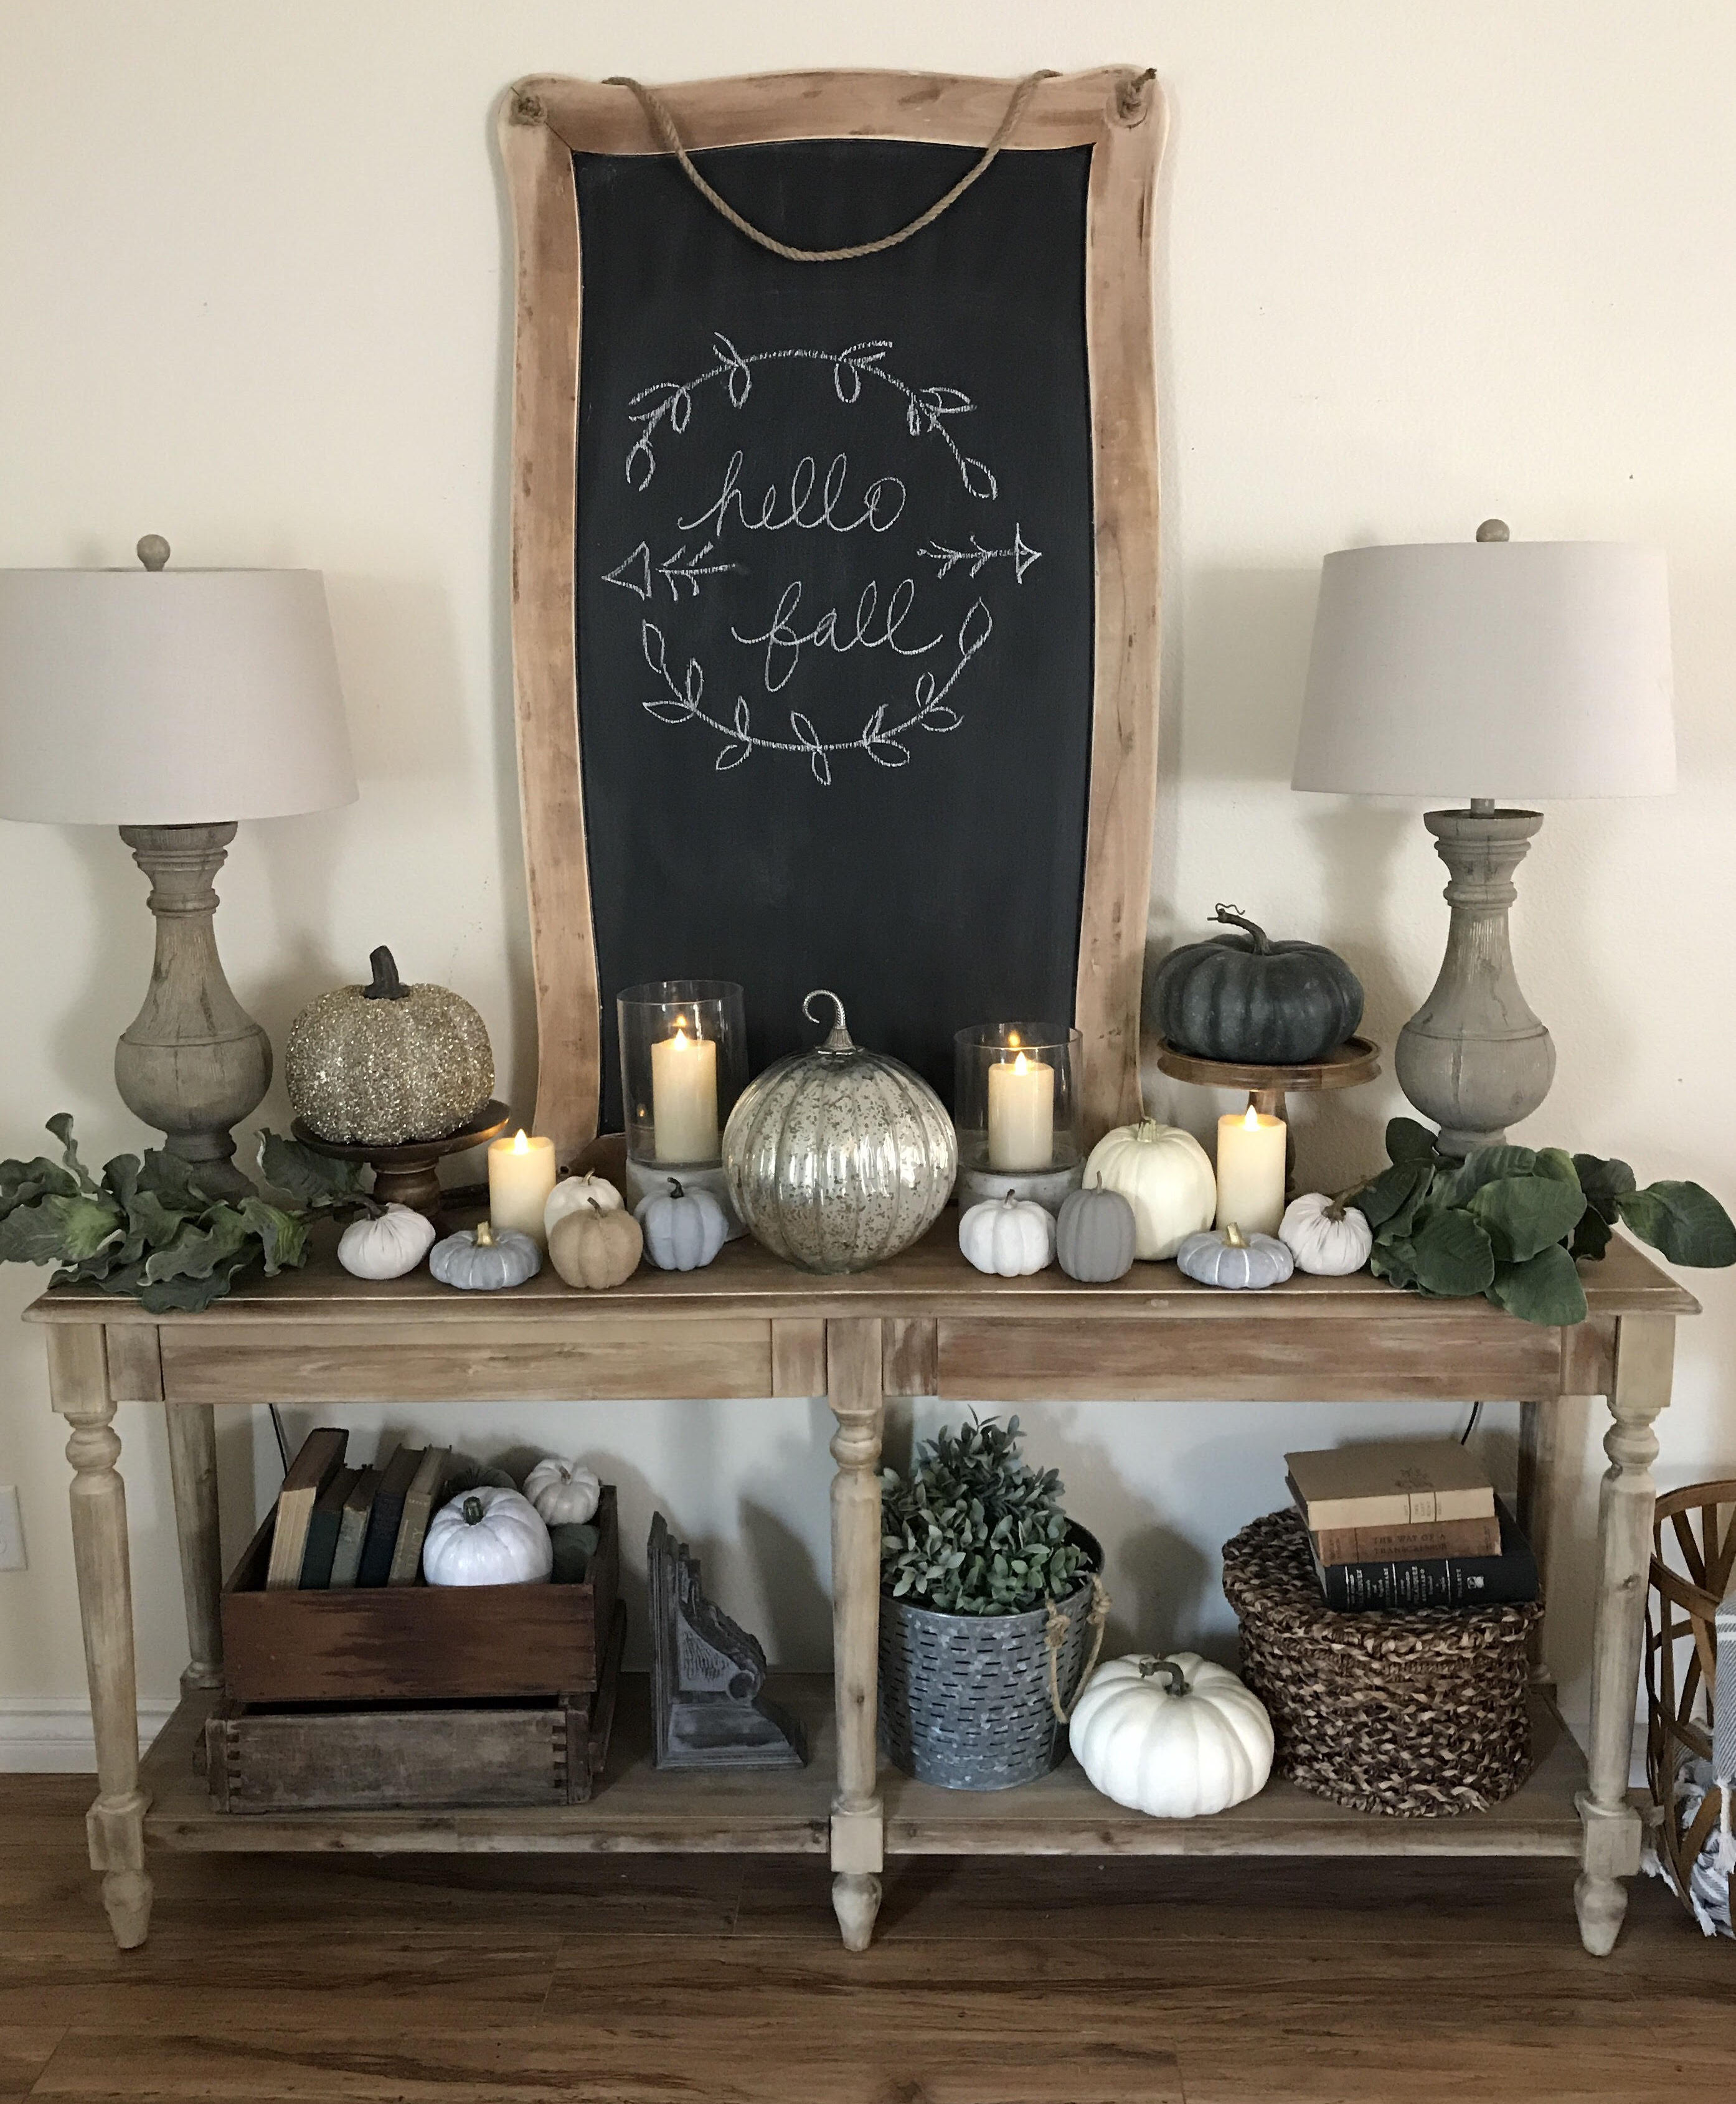
As of today, it has been a success. I haven’t purchased any unnecessary “wants” unless I used a gift card, voucher or money earned selling our stuff. It also helps that this month we have been “Tidying Up” Marie Kondo style, so we have been finding lots to donate and sell. To be honest, I did get a bit of a late start because I didn’t fully decide to commit until about 5 days into the New Year but so far, so good. I have also found that by not running out to buy something new, it forces me to get creative and take a look at what we already have when it comes to redecorating spaces in our home.

I hope this blog post helps give a bit more insight into my WHY for No Spend January and my new perspective on shopping. Old habits are hard to break but I promise you, your outlook will shift as you begin to challenge yourself. If you feel inspired to do a no spend month of your own, go for it and please let us know how it went!

XO

Mel & Izzy

Follow us on Instagram and Facebook!

@livandmarket

Interior Decorating : Client Before & After Reveal

Hello Everyone!

   So excited to share this before and after reveal with you all. About a month ago, we shared that we were ready to branch out and give interior decorating/ consulting for others a try. Well, the feedback we received was incredible and it was exciting to hear that so many were interested in having us redo a space in their room.
.
.
   This is one of the first rooms we were hired on for and the client was really looking for a change. The existing furniture/decor had been in their previous home but like many, their taste and style had evolved over time. As many of us who have shopped for new furniture know, it all adds up very quickly and updating decor and/or furniture isn’t always in the budget.
.
.
  During our consultation, they were interested in keeping a few of the furniture pieces, just giving them new life with refinishing. They decided to keep the existing dining table and buffet but all the other decor and dining chairs were going to be updated.
These were photos snapped right when they first got to work refinishing the dining table!
.
.
  Can you believe that the client actually refinished the dining table and buffet themselves? All we did was tell them what to buy and how to do it and they knocked it out of the park, so proud of them! Both Izzy and I know how good it feels to work on pieces for our home, so we are glad that our clients get to have that experience and  showcase their hard work as well!
.
.
BEFORE:
AFTER:
The room already had great potential with the neutral wall color and beautiful floors. A new light fixture was put in and we went with all new wall decor. We didn’t put something on every wall because:
1. Less is more
2. The client has plans to  install wooden shutters on the windows.
.
.
The space really needed something to anchor the table, so the area rug was brought in from another space in the home.
 Once the larger pieces were in the room, it was time to bring in the decor and stage the space (my favorite part)
 .
.
I truly believe that it’s the small touches that bring the space together and we are so happy and honored to have a hand in updating such a special space in our client’s home. We hope you all enjoyed  this before and after reveal and can’t wait to show you more spaces that we have in the works!
XO
Izzy and Mel
Be sure to follow us on IG!
@livandmarket

DIY IKEA RUG-PILLOW HACK

Hello Everyone!

I wanted to put together a blog post to show you all how we made these fun throw pillows out of inexpensive IKEA rugs. They were pretty simple and easy it to make… and also very budget friendly (which you know we love!)

SUPPLIES NEEDED:

  • IKEA RUGS (1 rug makes 1 pillow cover)
  • Pillow insert (used the IKEA insert sized 16×24)
  • Sewing machine
  • White/off white thread

DIY STEPS:

I played with the design of how I wanted to make the pillows but ultimately decided to just follow the natural crease lines in the rug  and create this envelope style cover. These rugs were priced at $3.99 each at IKEA and are also available in other colors.

I ultimately decided on the dark grey/brown rug, as I wanted to use them for our outdoor space. I didn’t want to invest a lot of money in outdoor pillows since our area gets up to some pretty high temps and fabric is easily destroyed by the heat. Yet, I still wanted to try to make something on the more durable end, so by using the rug as my “fabric” they not only look great but will also hold up to wear and tear compared to other fabrics.

Step 1:

Lay out your rug and determine your fold lines…. in this photo you can see how the natural crease lines provide an easy guide to follow.

Step 2: 

Fold over the top half of your pillow ( shown below)

Step 3: 

Grab the bottom fringe and fold/tuck up underneath the top flap so that only the fringe of the top fold is showing… (see photo below)

Step 4:

Break out the sewing machine  and run a single stitch all the way up each open side (one on the left, one on the right.) I used a basic white thread in my machine and it worked very well on the rug material, so I would recommend using a white or an off white thread color. If you do not own a sewing machine you can do this part by hand with a needle and thread,  it will just take MUCH longer.  (please see photo below to see where the stitch needs to go)

Step 5: 

You should have an open flap underneath the tassel detail, right in the middle of the pillow cover. This is where you will put in the pillow insert. I was lucky to find two pillow forms at IKEA in the perfect size, marked down to $2.60 each. They are normally $4.90 each (still a fair price). The style of pillow is the 16 x26 inch size, I included the tag info below.


Step 6:

Fluff and enjoy, you’re done! I will probably add a coat of scotchguard  to the pillow covers, just for added protection outside. But these would be great for both indoor and outdoor spaces! We were able to get both these pillows done for a little over $13 (thanks to the clearance pillow insert) Even without the pillow insert on sale, these pillows cost around $9 each to make!

Hope you enjoyed this post, if you decide to make your own please tag us @livandmarket, we would love to see!!

xo

Mel & Izzy

@LivandMarket Follow us on Instagram and Facebook!


The Sandlot Themed Birthday Party!

Hello Friends!

Now that the party has passed, I wanted to write a blog post and share more photos from our little guy’s Sandlot themed birthday party. It was such a fun theme to plan and decorate for….. and lucky for us, there was no shortage of baseballs or wooden crates in our house! Luckily, a lot of the “decorations” we used for the party were items we pulled throughout our home. In addition the the party photos, I have a few tips that I wanted to share with you all when it comes to party planning and how not to blow the budget.

  1. Plan ahead!

Easier said then done right? I am a MAJOR procrastinator myself, so I often have to remind myself of my own advice! First thing I recommend is to pick a “theme” or color scheme as soon as possible.

(I am very much a “planner” so I am known to start planning for a party several months in advance! That’s just me and I understand not everyone does that but I do recommend starting to at least get those wheels turning ASAP!)

2. Shop around and purchase when on sale (if possible)

Once you have an idea of what kind of colors or items to be on the lookout for, this will help you take advantage of deals when you see them. Create a budget for the party and stick to it!

I am a big fan of shopping the after holiday sales, depending on when your parties fall throughout the year. For example, my daughter’s birthday is in May, so I would always shop the after Easter clearance for plain decorations and candy for her party. I would look for the candy that didn’t have Easter labeling and for plates, napkins, bags etc in colors that would work with her birthday party for that year. By buying these items 50-75% off, this helped me purchase little by little and save big in the end.

EXAMPLE: I purchased these plastic baseballs months before the party, I found them in the Easter section at the 99 Cent Only Store. They came in a pack of 6 for $1, so I purchased a few bags and tucked them away in a box I had designated for his birthday party.

EXAMPLE 2: Scoreboard poster was ordered through Zazzle  in advance. They had emailed over a free $20, so I shopped the site until I found something that would work for his party. I believe the poster ended up costing $5, because at the time, the posters were on sale 50% off, then I added in my $20 credit!

BONUS: We can put the poster up in his room afterward. We added the poster to a piece of galvanized metal we picked up at a yard sale for $2!

3. Incorporate items you already have:

Luckily since both Izzy and our son are huge baseball fans, we had a lot of items to work with when it came to decorating. Izzy has several  wooden crates and galvanized buckets that we were able to use both inside and out. The American flags were pulled from our 4th of July decorations and my father in law brought several vintage pennants from the East Coast because I asked him to be on the lookout when at flea markets and such. The pennants will also be  another decor item for our sons bedroom and the man cave! I did purchase the mini pennants and a larger vintage through the local resale app, Offerup for $15.

All the jars, tins and vintage books were  items we already had and mixed in, we just purchased the goodies to fill them up! (Don’t forget about your local dollar stores, a lot of the goodies were purchased at the Dollar Tree and 99 Cent Only Stores, just be sure to check expiration dates!)

4. Pace your DIY projects:

It always seems, no matter how much prep work we do, we are still running around last minute trying to get things done. It. NEVER. FAILS! So, if you are like me and overwhelm yourself with a “DIY TO DO” list, try to work through the list slowly, one project at a time. I do understand that there are certain projects that can’t be done until a few days before, especially if it involves food, but try to work on projects that can be done early and if you can, recruit your family and friends to help 😉

For this party, we were able to do a lot of the prep work earlier in the week. We made the s’more thank you tags, but didn’t actually assemble those until the night before. The pennants and banner were also  put together and put in place several days before and once I had the “layout” of the table, I was able to plan where what items would go where.


I will admit that the morning of, I was using my Cameo to cut out a paper Babe Ruth signature to glue onto the pinata but all worked out well in the end!

5. HAVE FUN!

Sit back and enjoy the  party! Understand that everything may not come out as planned and something WILL probably go wrong, but that is OK!  For us, it was the birthday cake. We ordered a small round Dodger cake with the cupcakes but a large sheet cake was made on accident. With the party starting in an hour, there was no time to remake so they gave us the huge cake for the price of a small one and it turned out just as great!

I truly enjoy the planning and decorating with hosting parties and the kids look forward to celebrating their special day every year. We understand that not everyone throws a big party or are into it as much as we are, but I hope a some of these tips were helpful,  just a few things to keep in mind when planning your next party, no matter the size or scale.

XO

Mel and Izzy

Follow us on Instagram @livandmarket

DIY Faux Marble Countertop

We are very excited to share with you how we finished off our new kitchen island by using  marble contact paper! So impressed with  how realistic it looks,  budget friendly and doable DIY project.

I stumbled upon this gorgeous contact paper  while googling… “DIY MARBLE COUNTERTOP” after getting the news that it was going to cost at least $700 to buy a piece of remnant marble and have it cut to the island  dimensions. We were a bit taken aback, since it was a smaller size but apparently the labor of cutting the slab was a big part of the cost. Unfortunately, that was much more then we wanted to spend on this project, so I decided maybe we could tile it ourselves with large pieces of marble tile and this lead me look up the cost of tile online.

During my google search, I stumbled upon this faux marble contact paper. It actually had lots of great reviews and  several YouTube videos showing how others had recovered their surfaces with it as well and it looked AMAZING!  I compared the dimensions  for the island countertop to the roll measurements and determined I would need 2 rolls. The rolls were priced at $9.99 each and free 2 day shipping with PRIME membership. I was a bit nervous ordering them as I was unsure how it would turn out but I figured I would give it a try for $20!

Once the rolls arrived, we got to work applying it to the island top. We ended up adding a piece of MDF to the top of the existing top to give it a bit more thickness to give the look of a chunky marble slab. It also provided us with a nice smooth surface (shown below).

Supplies:

  • Scissors
  • Measuring tape
  • Razor blade or X-Acto knife
  • Pen/Pencil for marking
  • Old GC or credit card for smoothing
  • Hair dryer or heat gun (optional for corners)

Begin by measuring your surface area. Since the width of our island was larger then the roll, we had the “seam” of the contact paper meet right down middle.

Once we determined our “Center” we marked it down the length of the island top so it provided us as a guide to keep the contact paper as straight as possible as we worked down.

Once all our markings were down the center, next we had to trim the the  overhanging edges off (length and width). We allowed enough so that the paper wrapped around the counter edges and just tucked in the little extra on the underside of the countertop.

Begin by peeling the back on your first roll about 4- 6 inches and while following your markings, lay down the sticky side of the paper onto your surface. (THIS WORKS BEST AS A TWO PERSON JOB).  This part can be a bit tricky, so just take your time and be patient. We found that it was best to just work in small sections at a time. Once you have the paper where you want it, begin to smooth it out with your old gift card or credit card.  If you make a mistake, the paper can easily be lifted and readjusted.

NOTE: We did notice that if you lift it a few times, you lose the stickiness of the paper and depending on your surface, it can cause a build up of bumpy particles underneath.

Work your way all the way down, peeling back and smoothing as you go.

CORNERS: When you get to the corners, we cut two slits so that it created a nice seam on the corner and used a hair dryer to help it stretch the material a bit and lay down easier. This is not required, it just helps create nice, clean corners.

*BE CAREFUL NOT TO OVERHEAT OR OVERSTRETCH or it will warp the paper (This was a lesson we had to learn the hard way)*

After  the first roll was applied, we just duplicated the cutting and measuring the second roll for the other side. I used the backing that we peeled off the first row as a template to double check our measuring before we cut the second roll.

Lining up the second roll was the hardest part.  TIP: Make sure that if your project calls for multiple rolls to lay side by side like ours, you only trim one side and leave the other as is so that it is much easier  when it is time to line up the seams.

Keep working until your surface is covered and that’s it, you’re all done!

We have has this on our island for a few days now and so far so good! No lifting and  it has held up to dry and wet items being placed on it. Keep in mind that you cannot put hot items on this material 🙂

So happy that we spent the $20 on this material, it creates the high end look that we were going for but for a fraction of the price. Maybe down the line we will invest in a real marble top, but for right now it is functional and it looks incredible. You wouldn’t know it was faux marble unless I told you or you were looking really close. It immediately brightened up our kitchen and has me thinking of what other projects we can use it on for our home.

Before: We had an  old piece of drafting table board on the top until we got the marble slab put on. Once we realized we weren’t doing the real marble, we added another board to give it more thickness.

Christmas Village DIY

Good Morning!

We were overwhelmed with all your wonderful feedback on our DIY Christmas village, so we wanted to create a blog to show you step by step,  how we did it!

I had been eyeing the embellished mini Christmas houses in stores for some time now, I even bought some last year at JoAnns but then later returned them after I got them home and told myself I didn’t need them. Anyone else do this too?!  Well, this year they were popping up again and selling for about $15-$30 each, depending on size and detail. That was a bit more then I wanted to spend, so when I saw these paper mache houses on sale during a trip to Hobby Lobby, I figured I would try to create my own. (The kids and I could make a project out of it)….

The paper mache houses came out to a total of $13 for all 5. I decided on one large house, 2 medium and 2 small  TIP: always work in odd numbers!

I also picked up some embellishments to decorate the houses: mini wreaths and trees

Fast forward a couple weeks, it was time to start decorating for Christmas, and I wasn’t as enthused as I once was to completely bedazzle  five little houses. Feeling a bit overwhelmed,  I brought them all out and thought, they look cute enough just like this. ….maybe I should just leave them for a simple, minimal look.

But of course, after some time passed, my brain wouldn’t let me do that. I HAD to decorate them somehow! So, I decided I would just keep it simple,  just paint in a white snow roof, maybe add the little Christmas wreaths and tree embellishments.

I started out by painting  and glittering one roof, I still wasn’t feeling it. Then I decided to add the wreaths and trees…. started to look better. I kept playing with the embellishments, added the sprigs of greenery and glitter until it all  finally came together. Once I finished one, I recruited the help of our daughter and we decorated the remaining houses to mimic the first. Here are the supplies used to create our Christmas Village….

-SUPPLIES-

  • Paper mache houses (purchased %50 off at Hobby Lobby)
  • White paint (we used chalkpaint that we already had)
  • White glitter (we used bot chunky and fine) purchased from Michaels
  • Mini wreaths and Christmas trees in two sizes (Hobby Lobby)
  • Faux garland trimmings
  • Glue gun and glue sticks
  • Faux snow (Dollar Store)
  • Mini flatback pearls or rhinestones
  • Mod Podge
  • Paint brushes
  • Aluminum tray (optional)
  • Battery operated tea lights (optional)

Step one:

We started off by painting the roof with white paint, one generous coat seemed to work well.

Then we painted the base….

STEP TWO:

The paint dries quickly, so next we took a different paint brush and applied a thin coat of Mod Podge to the roof and base., then sprinkled over with fine glitter. (We worked in a disposable aluminum tray, to prevent as much glitter mess as possible)

I also went back over to dab the roof with the Mod Podge, for the chunkier glitter to adhere to….

Once that was dry, make sure to shake off the excess glitter into the pan.  Then, I applied globs of hot glue in the slopes of the roof, where snow would naturally gather and quickly sprinkled in the fake snow.

Again, shake off the excess into the pan.

Step THREE:

While that dried, it was time to glitter the wreaths and Christmas trees! These were also on sale half off,  came out to about $1.50 each pack. To complete the five houses  I purchased one pack of wreaths and two packs of Christmas trees, one pack each in two sizes (Larger size not shown here).

First step was removing the red bows and gold string from the wreaths…

Once those were off, I applied a layer of modge podge to each wreath and Christmas tree, then coated in a layer of fine glitter, shaking off the excess.

Then I cut up bits of the faux pine needles, glued to the wreaths and topped off with mini pearls…

I also had  these holiday picks (3) from Michaels for .75 each….the mini grapevine wreath was the perfect size for what I had in mind!

I just removed the wreath from the JOY piece and repeated the glitter and greenery embellishing process on these wreaths as well.  (I always try to reuse items, so I cut off the stick and turned the remaining JOY piece into an ornament with a loop of jute twine!)

Once all the wreaths and trees were glittered and dried, I hot glued them onto the front  and along the base of the paper mache houses, ensuring that each house was a little different.

Then we just added the fake snow and bottle brush trees around to finish off our Christmas village! The glitter trees were purchased from Target dollar spot $1 for the small size and $3 for the large. The green ones were only $1 each from the 99cent only store. We also added battery operated tealight candles for inside, to light up at night.

All together this project cost under $50, including the houses and trees! We already had the fake snow and other misc craft items so the cost will vary, based on the items you already have.  It definitely was a process and luckily we knocked it out quickly since our daughter became a glittering master 🙂 I love that we made these little houses together and have decided to make it a tradition to do a Christmas craft together each year!

We hope you all enjoyed this tutorial, please let us know if you have any other questions!

XOXO

Mel & Izzy

Follow is on Instagram @LivandMarket

DIY Mini Christmas Tree Centerpiece

We have already started decorating our home for Christmas ( much earlier then usual) and it seems as though the Christmas decor has gone and multiplied itself while in storage! As much as I try to “simplify” our decor each year buy reselling or passing on what we no longer use, I am always overwhelmed with what seems like endless bins and boxes. It never fails! With that being said, we really don’t “need” anymore holiday decorations. Also, buying tons of new decor each year is expensive, so to save money and garage space, we try to find creative ways to rework what we have!

Last year while shopping at Home Goods, I saw an amazing Christmas arrangement. It had a metal tin base with three different sized mini Christmas trees and faux snow. Checked the price and it was $59.99….a little higher then I would like to spend but it was just too cute! So, I put it in my cart…. I wanted to contemplate if it was worth the purchase or not while I finished up my shopping . As I neared the register, it hit me: I have a couple mini Christmas trees like this at home AND an old metal tub, I could just make this myself! So pleased with my light bulb moment, I stopped by Michaels on my way home to pick up a bag of faux snow and another mini Christmas tree.

As soon as I got home, I got right to work. I rinsed out the old tub from the backyard, arranged the Christmas trees in the tub and then added the fake snow. ..project done in less than 5 minutes! It came out even more beautiful than the one in the store and cost a fraction of the price!

What I love about this project is that you can make your own adjustments based on what you already have. Don’t have a tin? No problem, try using an old basket or wooden crate. No Mini trees? Try your faux poinsettias or nutcrackers from the years prior and add in some light up garland instead of the fake snow. Also, if you are just starting out and don’t have years worth of decor, keep your eyes open at yard sales or thrift stores! We hope that this little diy project has inspired you to rethink your Christmas decor! Izzy and I are firm believers in working with what you already have and you can make your home beautiful on a budget.

We wish you all a wonderful  and safe Thanksgiving , enjoy  this time with your loved ones and be sure tell them what they mean to you <3

XO

Mel and Izzy

ITEMS USED: 

Vintage Metal Tin- This was a $1 yard sale find

3 Christmas trees – Already had two, bought the smallest one on sale at Michaels for  $4

Faux snow from Michaels- $3 with a coupon

Total cost for Mini Tree Centerpiece: $8

How to Refinish Furniture with Homemade Chalkpaint

Hello everyone!!

I can’t believe October is almost over and before you know it, we will be rolling into Thanksgiving and then pulling out all the Christmas decor.  I wanted to finally take the time to sit down and blog about refinishing furniture with homemade chalkpaint. To say that this blog post is very overdue,  is an understatement. When we first started our blog, this was one of the first tutorials that I planned to post. Now, here we are months later and still no post…….. until today!

I also wanted to give credit to my friend Annette for sharing this AWESOME recipe with us! She sells some super adorable and comfy clothing, you can find her page here —–>> Cute clothes here!!

We get tons and tons of questions on how to use chalkpaint on a regular basis, so I wanted to share how we have refinished several pieces using this homemade recipe. It’s actually really easy to make and will save you tons of money! Here is what we like about working with the homemade recipe:

PROS:

  1.  More color options: You can literally use any latex paint in ANY color to create your own chalkpaint. This is a plus because sometimes the ready to go chalk paints sold in store don’t have the exact shade or color you are looking for. By making your own, you get to pick the color you want.
  2. It saves you money: You can buy a gallon of regular paint for a fraction of the price than a quart size of the brand name chalkpaint. For small projects like a chair or nightstand, I like to buy the sample sizes from Lowe’s or Home Depot (usually around $5 or less). Even better when you score the marked down “oops” gallons and quarts!
  3. Easy to make: With just three simple ingredients, you are in business! Please see recipe below!

Chalkpaint Recipe:

  • 1.8 oz latex paint in the color of your choice
  • 2 1/2 TBSP plaster of paris
  • 1 TBSP of water
  • Mason jar and something to mix with

DIRECTIONS:

  1. Mix water and plaster of Paris  together until smooth, make sure you don’t have any lumps!
  2. Mix in the paint
  3. If you have any left over, store in a mason jar until you are ready for your next project!

How to use chalkpaint 101:

  • #1 question we get is…..do I need to sand or prime the furniture??             The answer is NO! It is not required to prime or sand down furniture for the chalkpaint to adhere well but sometimes is it necessary to sand if the surface you are working on has peeling paint, stuck on gum or food, etc.
  • How many coats will I need?  It really all depends on the look you are trying to acheive. If I am going for a rustic, shabby look, sometimes just one coat is enough. But overall,  I would say we apply at least two coats.
  • When do I sand to acheive that “worn” or “chippy” look?  You want to hit those corners, table legs, edges after you are all done applying all your coats of paint. Then, be sure to dust off before sealing.
  • What do I seal with?  We like to seal with a polyacrylic in clear matte…see photo below! Use at least 1-2 coats 🙂

If you made it this far, thank you so much for following our blog! We hope that this post was helpful and please let us know what other posts you would like to see. Check out a before and after shots of the projects we worked on using this exact recipe, enjoy!

Before

After

We mixed our own chalkpaint with leftover paint that we used to paint our guest bathroom. Interior is white, exterior is Benjamin Moore Revere Pewter.

BEFORE: GARAGE SALE FIND- VIntage CHAIR

AFTER

Refinished with just one coat and sanded on the carved detail to give it a rustic look. Recovered the seats with remnant burlap.

XOXO  Mel & Izzy

Follow us on Instagram!

DIY: How to Create your own Chalkboard

This is a DIY tutorial we have wanted to post on for some time now and are so excited to finally be sharing with you all! Creating a chalkboard seemed a bit overwhelming to us when we first tried it, but once you get going, you realize it’s not hard at all and you’ll be wanting to turn every surface into a chalkboard! 🙂

Our first attempt at a chalkboard was actually on a dry erase board. We stumbled upon one that was classroom size at a garage sale for $8 but when we got home and tried to clean it up, we realized that the dry erase part of it was unusable since the marks were in permanent marker. But, we loved the wood frame on it and thought we would try to convert it to a chalkboard instead! It came out even better then we expected….see below:

We have converted several items into chalk boards since this dry erase board and it’s so easy to do that we want to share a tutorial on how you can do it too! Here are the supplies you will need to get started:

Supplies:

  • ChalkBoard Paint
  • Primer
  • Paintbrush or Paint Roller
  • Chalk
  • Painter’s Tape

I got the idea to convert this wooden piece into a chalkboard after Izzy pulled it off the bottom of a coffee table we were working on. He had it propped up against the house and I just loved the unique size and wooden frame.

As you can see, this is how it looked still attached to the coffee table. It needed some work, so he sanded it down by hand because I wanted to keep the natural coloring of the wood but remove the stain spills.

Step 1:

  • Tape off the edges of your frame with painters tape (depending on the item you are working with) Note: We have also created a chalk board surface on glass. If able to, simply pop out the glass from the frame and you won’t have to worry about taping off edges, just be careful when handling the sharp glass edges.
  • Apply one solid  coat of basic primer, as seen below. We used the Kilz brand but any white primer will do. We just used a basic paintbrush to apply this entire coat as I don’t mind the look of the paint strokes, but if you want a smoother finish, we suggest using a paint roller and a brush for the hard to reach corners and edges.

Step 3:

  • Once the coat of primer is dry, apply the first coat of chalkboard paint. Again, you can use either a paint brush or roller.  Below is the chalkboard paint that we use:

Step 4:

  • Once completely dry, apply a second coat of chalkboard paint and let cure for 24 hours. Once it has set, it is ready to be primed with chalk!

Step 5:

  • Grab a piece of chalk, lay it down on it’s side and apply the chalk liberally over the entire surface of the chalkboard.

This process is called “priming” the chalkboard and be sure to do this because chalkboard surface is very porous. If you skip this step, you run the risk of  your first chalkboard impressions being permanent.

Step 6:

Once the entire surface is covered, you will need to grab a dry rag, rub in and erase away all the remaining chalk.

Once complete, you are all done and it’s ready for writing!

We decided to dress this piece up a bit by adding a rope detail since it had pre-existing holes from the original coffee table. We actually found this rope at the Dollar Tree of all places. Since we already had the wood piece and primer, we bought more chalkboard paint (approx $10 for a quart) and the rope ($1). All together this project probably cost around $15, even less since we have left over paint and rope to make more chalkboards in the future!


Coffee Table Before:

After: (table and chalkboard)


XOXO

Mel & Izzy

Master Bedroom Makeover

We have been so excited to share this full before and after with you all! This was our first time working on so many pieces at once for the same space and we were very excited for the opportunity to help transform this master bedroom.

It all started when my friend reached out to us and asked if we would be able to redo some end tables for her. She was looking to update the modern, dark espresso look to a rustic whitewash wood finish. Once we were done, her and her husband were really happy with how they turned out and  how it gave the space such a whole new look. So, when they asked if we would be up to refinish all the furniture in their master bedroom a few months later, we happily agreed. She mentioned that while their current furniture was still in excellent shape, her taste had changed over the years and she wanted to lighten things up, just like we had done with the end tables.

I dropped in one day after work to speak with her and her husband, to determine how they wanted each piece to look. While they wanted the pieces to compliment each other, they wanted to get away from the current look of all the furniture being too matchy matchy. The final decision was to do the same finish for the bed and nightstands and then carry that same look onto the tops of the dressers. The bases on two of the dressers would be white and the third done in a light gray. Also, we agreed to paint some of the existing hardware and then they picked out new hardware for the dressers and nightstands.

We applied our custom rustic whitewash wood finish to the sleigh bed, nightstands and dresser tops. Then we used white and gray chalkpaint for the bases, sealing it all with a poly. The finishing touch was painting some of the old drawer pulls and  then adding the new hardware. The transformation is really incredible and shows that you can transform the look of a space, using the furniture you have, without having to go out and buy everything new.

Before & After:

Also. the end tables we first refinished for them…..

Before:

After:

XOXO

Mel & Izzy